Using LCD
WalnutPi 3.5-inch LCD
The official WalnutPi image provides a 3.5-inch LCD screen driver. After flashing the desktop system and configuring the boot, you can display the desktop through the LCD, enabling OpenCV visualization, such as real-time camera capture display.
WalnutPi Official 3.5-inch LCD (Resistive Touch) Click to view tutorial
Directly run the USB camera code from the previous section:
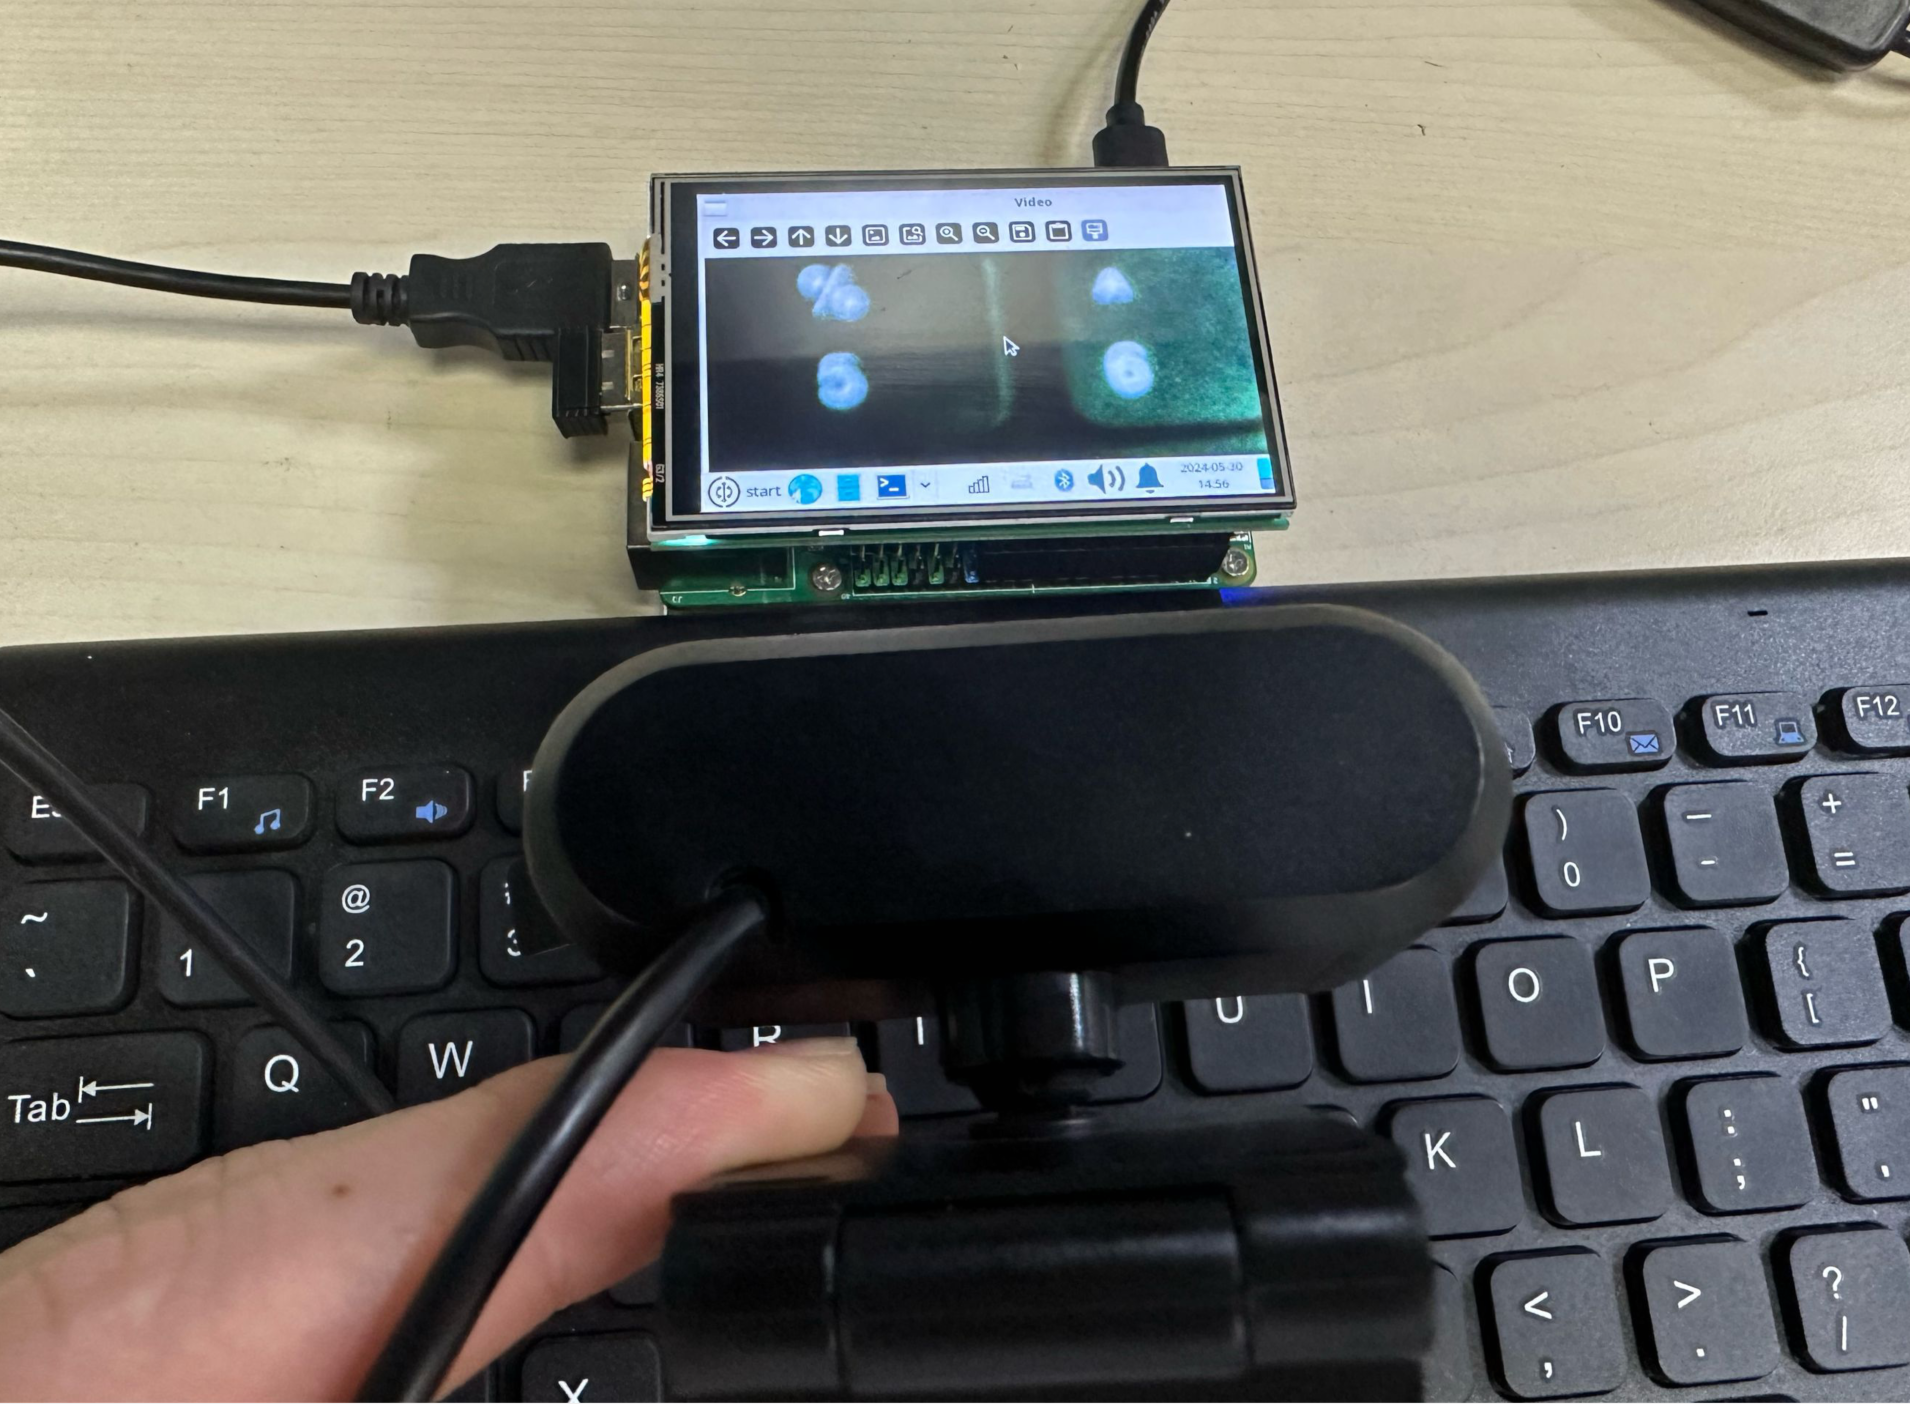
You can achieve borderless fullscreen display with the following code:
# Create a fullscreen borderless window
cv2.namedWindow('Video', cv2.WND_PROP_FULLSCREEN)
cv2.setWindowProperty('Video', cv2.WND_PROP_FULLSCREEN, cv2.WINDOW_FULLSCREEN)
The complete reference code is as follows:
'''
Experiment Name: Using USB Camera (Fullscreen Display)
Experiment Platform: WalnutPi 1B
Description: Press the spacebar to exit
'''

import cv2

# Create a fullscreen borderless window
cv2.namedWindow('Video', cv2.WND_PROP_FULLSCREEN)
cv2.setWindowProperty('Video', cv2.WND_PROP_FULLSCREEN, cv2.WINDOW_FULLSCREEN)

cam = cv2.VideoCapture(1) # Open the camera

while (cam.isOpened()): # Confirm it is opened

    retval, img = cam.read() # Read images from the camera in real-time

    cv2.imshow("Video", img) # Display the read image in a window

    key = cv2.waitKey(1) # Window image refresh time is 1 millisecond to prevent blocking

    if key == 32: # If the spacebar is pressed, break
        break

cam.release() # Close the camera
cv2.destroyAllWindows() # Destroy the window displaying the camera video
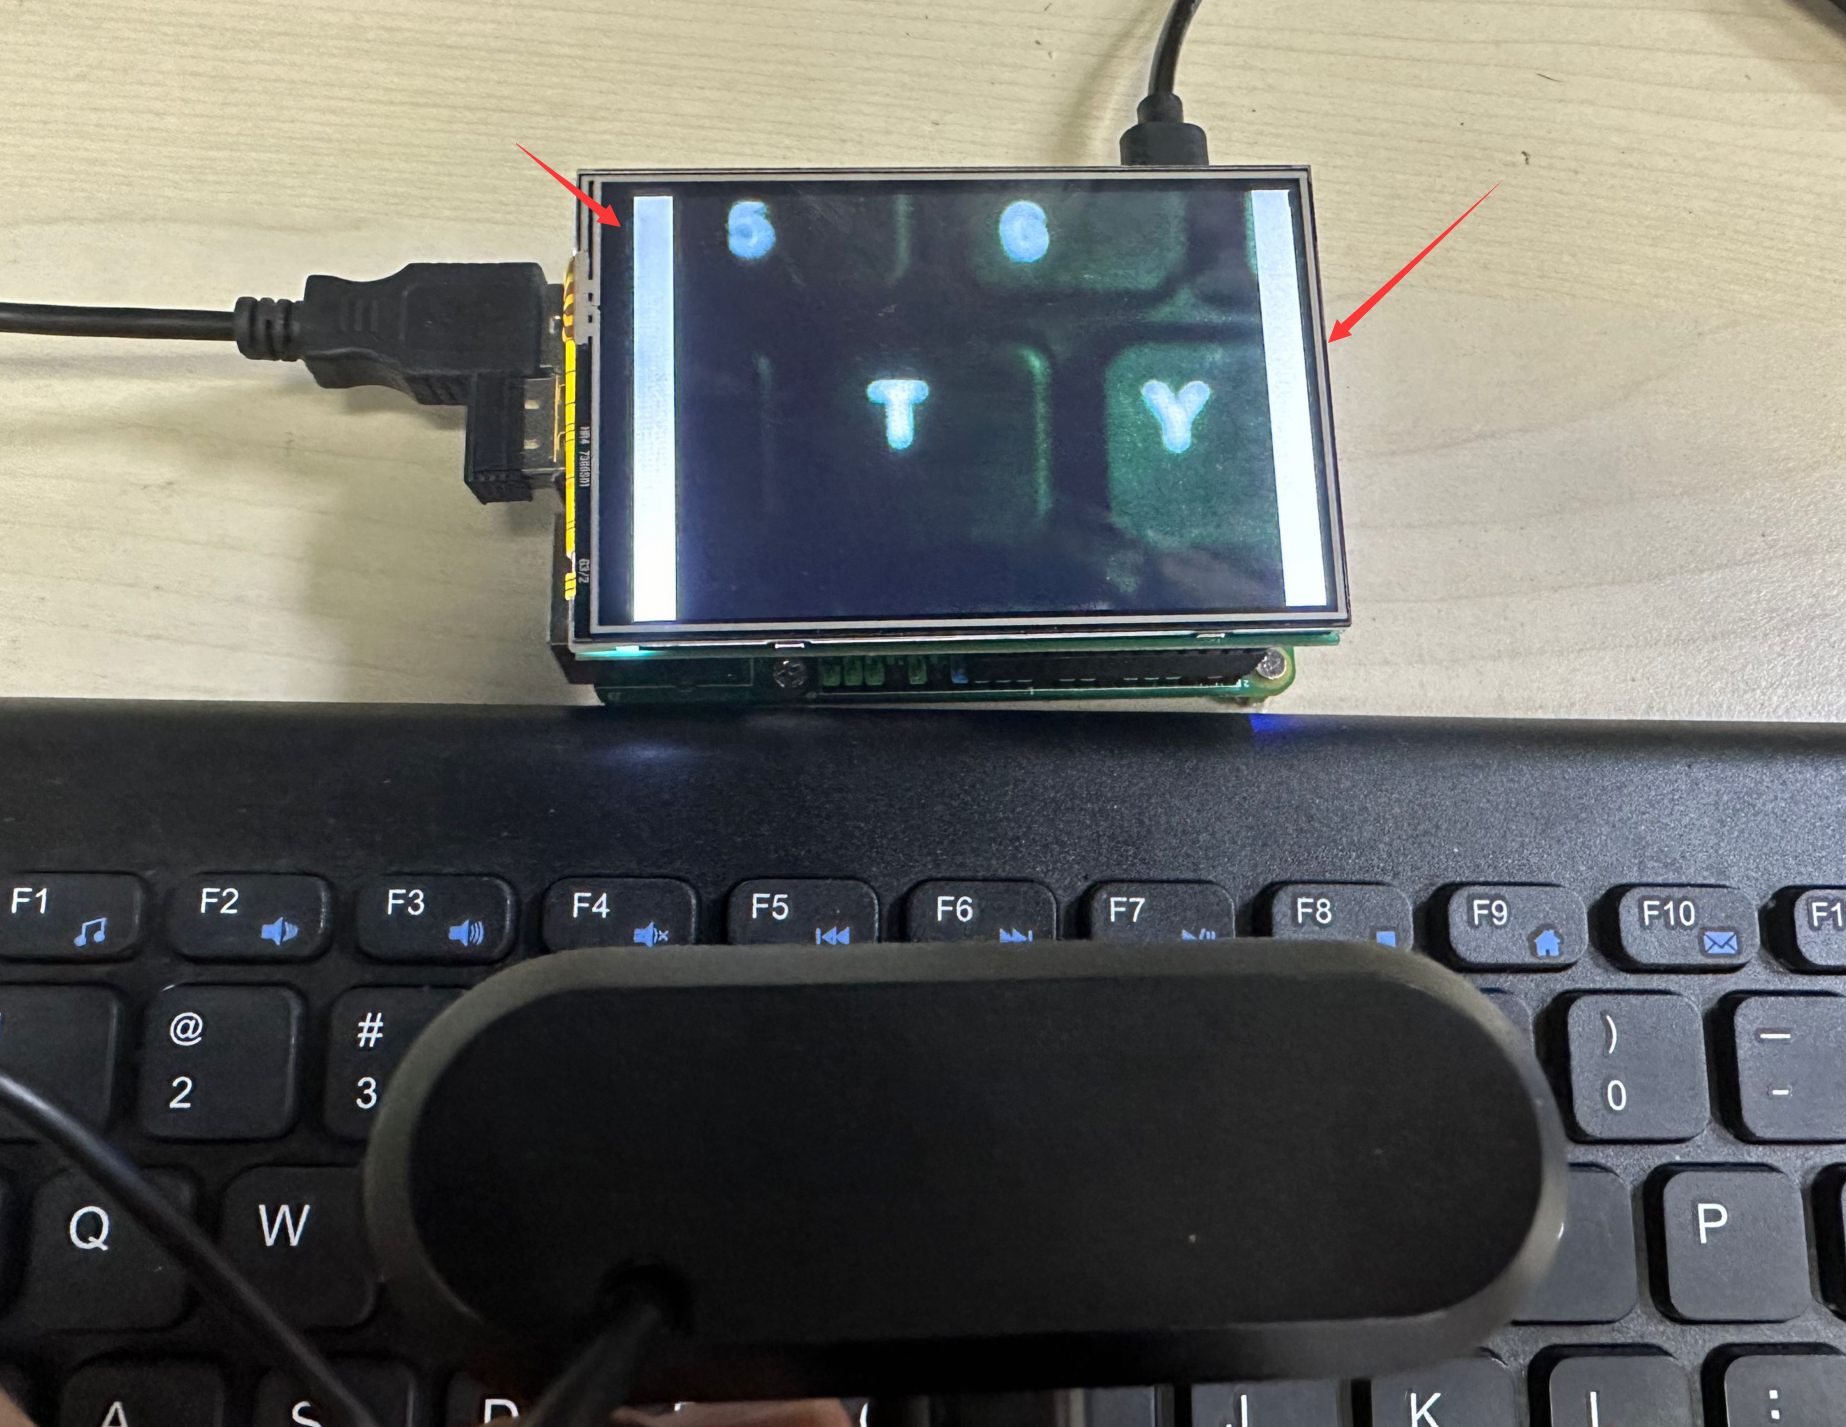
Code execution result (borderless):
Note
The 1.54-inch LCD can also achieve the above operations. WalnutPi Official 1.54-inch LCD Click to view tutorial