Walnut Pi CM2 Peripheral Assembly
Cooling
The Walnut Pi CM2 is based on the Allwinner T527 octa-core high-performance processor. The module is compact in size, and its temperature can reach over 70°C when connected to an HDMI display, so additional cooling measures are recommended.
- Baseboard thermal pad only: 10-15°C lower;
- Heat sink only: 10-15°C lower;
- Baseboard thermal pad + heat sink: 20°C lower;
- Active cooler: 20°C+ lower (Recommended. As the temperature rises, the fan speed increases for better cooling performance)
Baseboard Thermal Pad
A thermal pad is included with the IO baseboard purchase, which transfers heat to the baseboard.
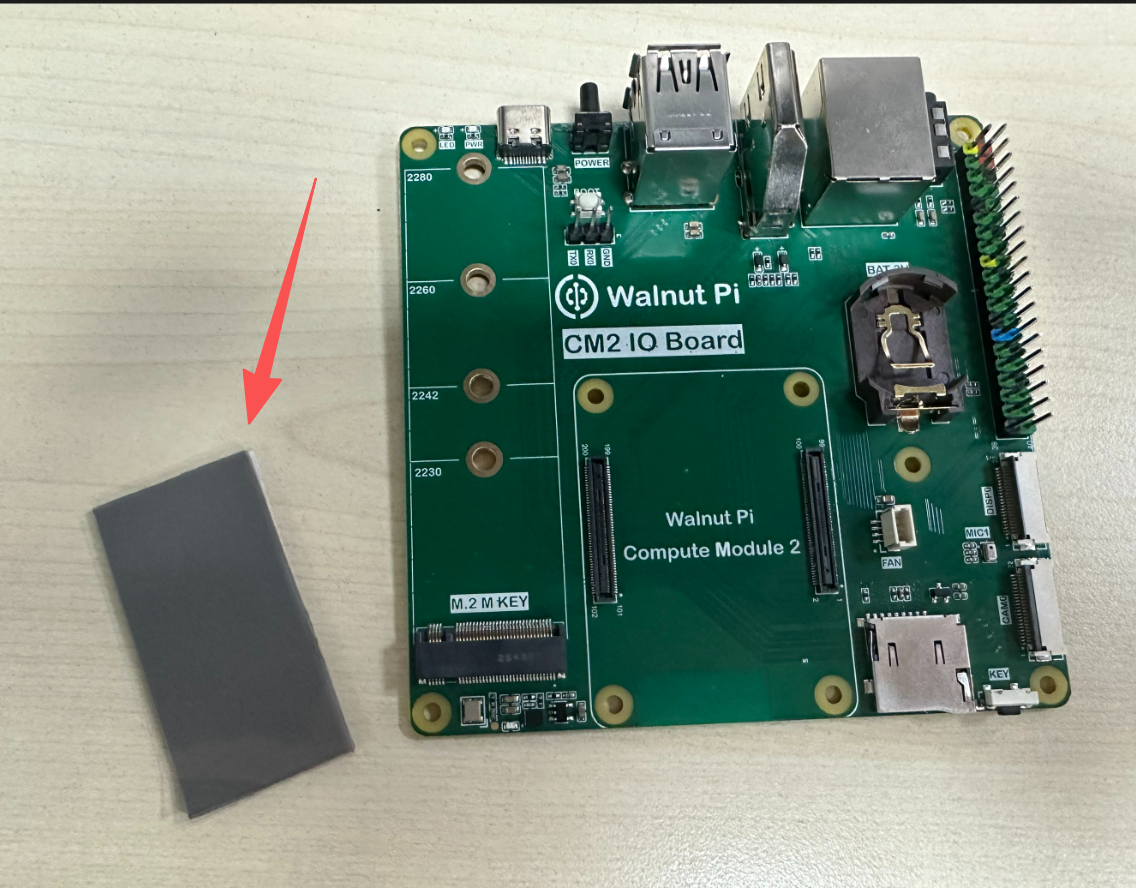
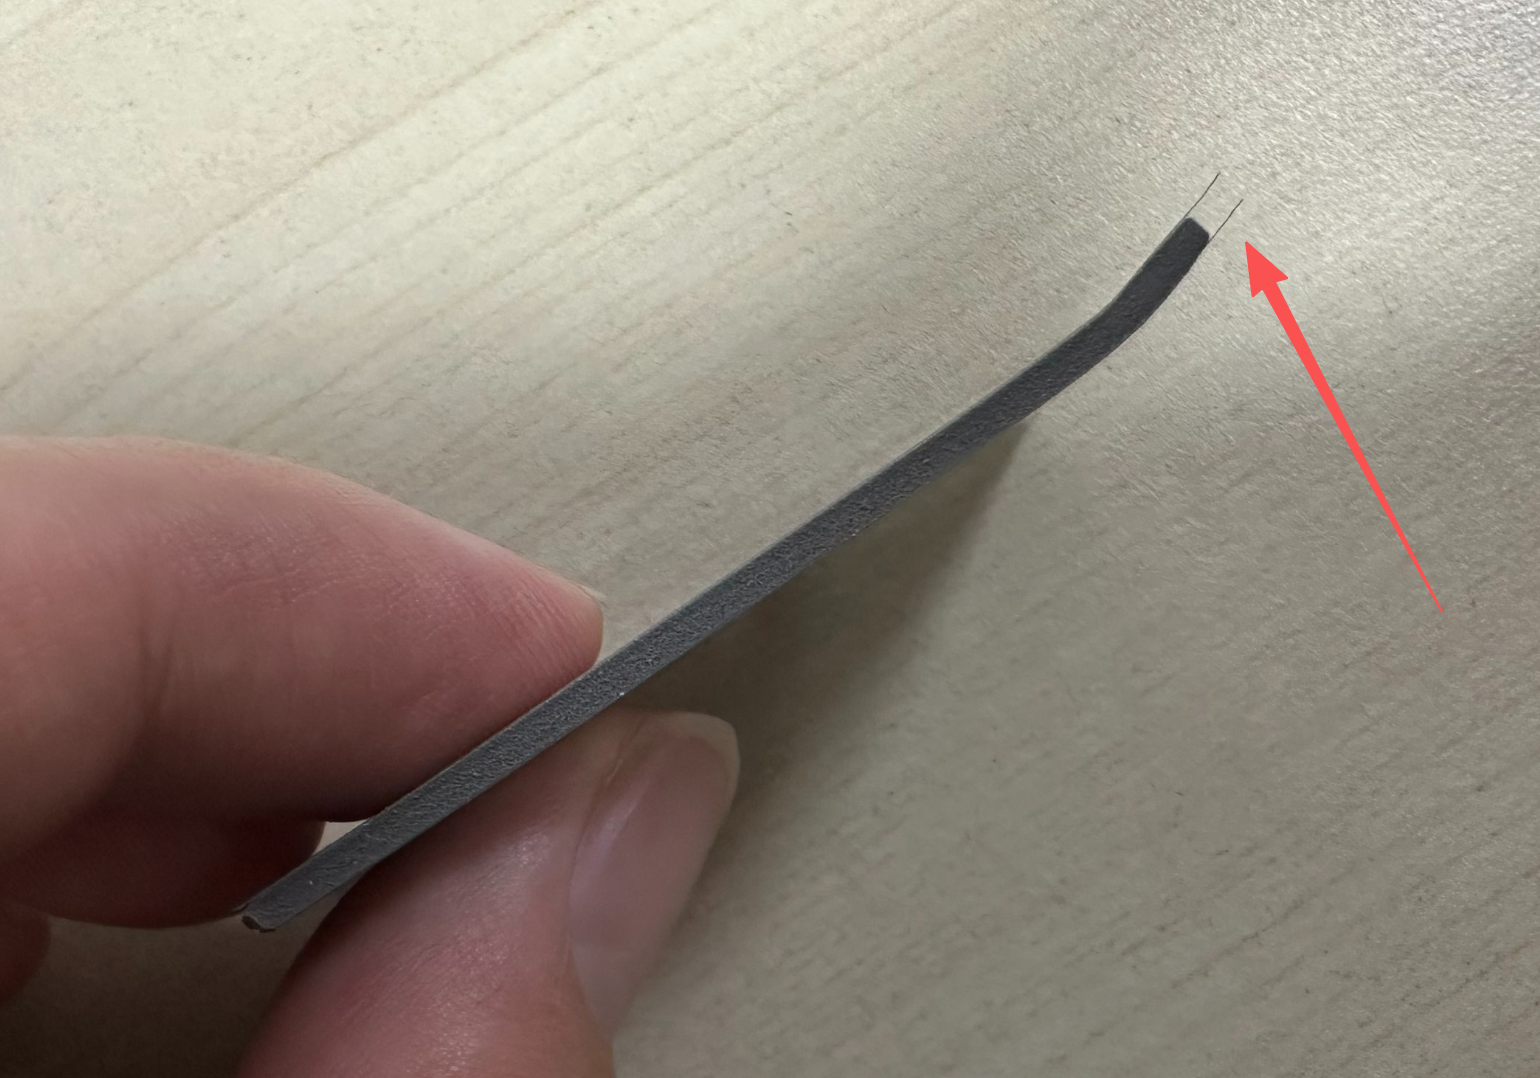
Peel off the protective film from the thermal pad.
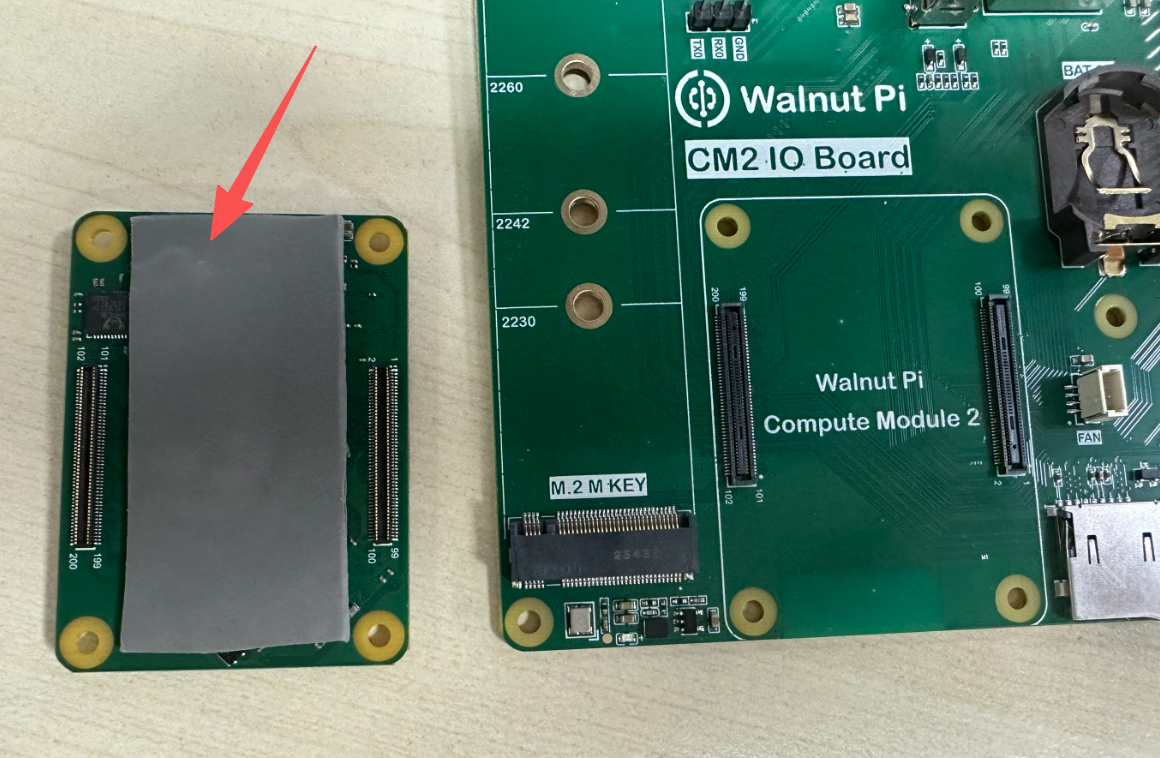
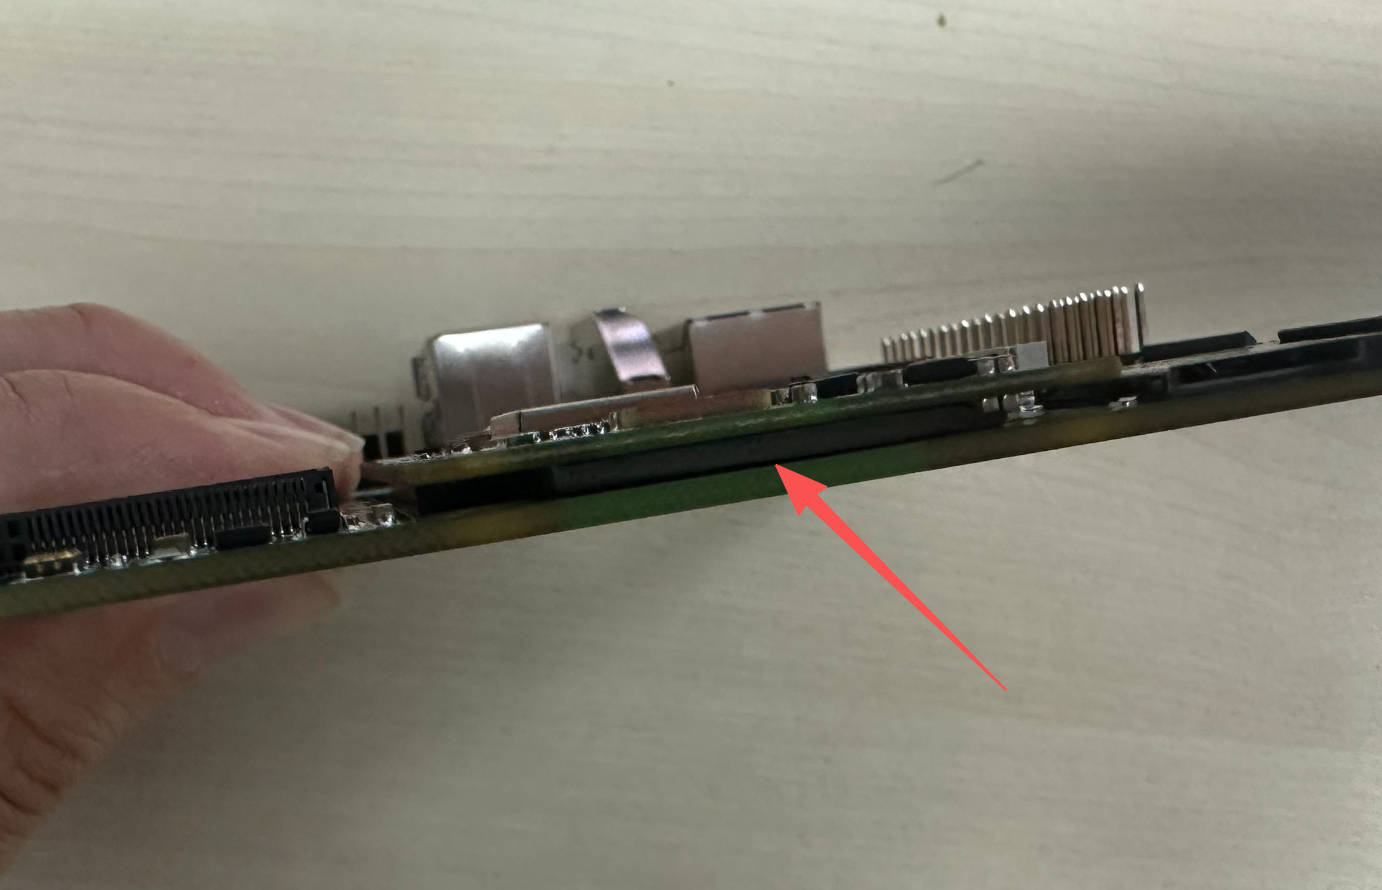
Attach it to the bottom of the CM2 module, then assemble the module onto the CM2 IO baseboard.
Heat Sink (10-15°C Lower)
The heat sink comes with a tool kit.
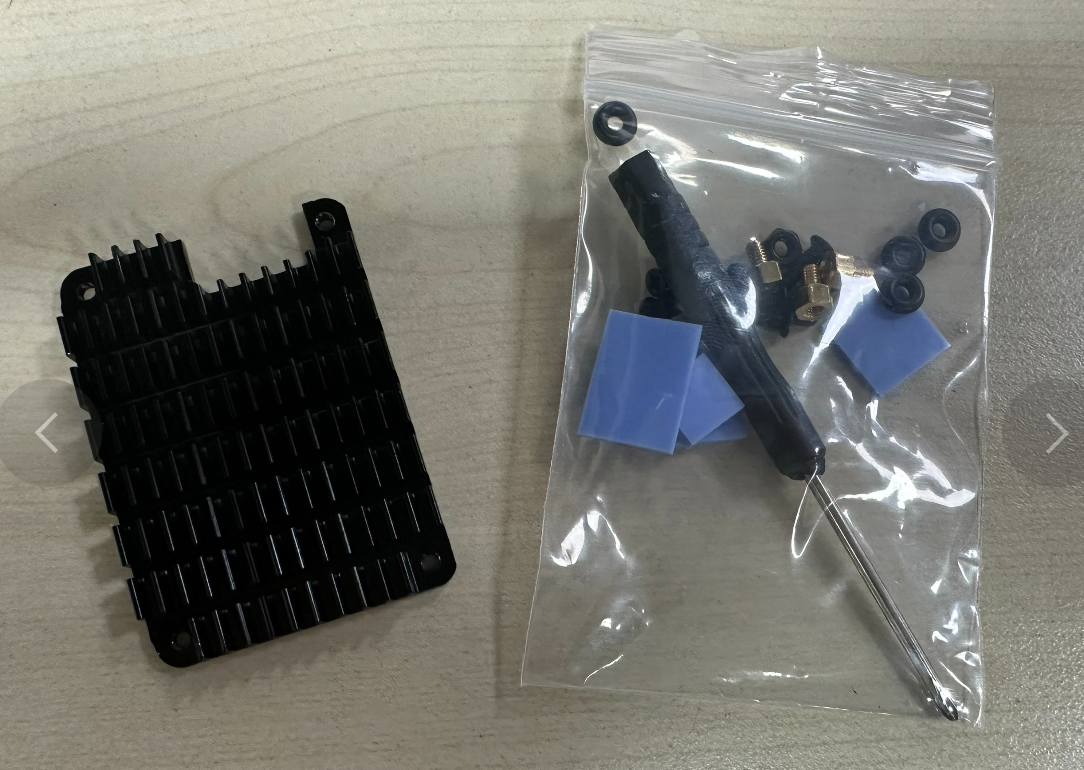
The tool kit is Raspberry Pi compatible. Walnut Pi only requires 2 of the included thermal pads: the thinnest square one and the smallest one.
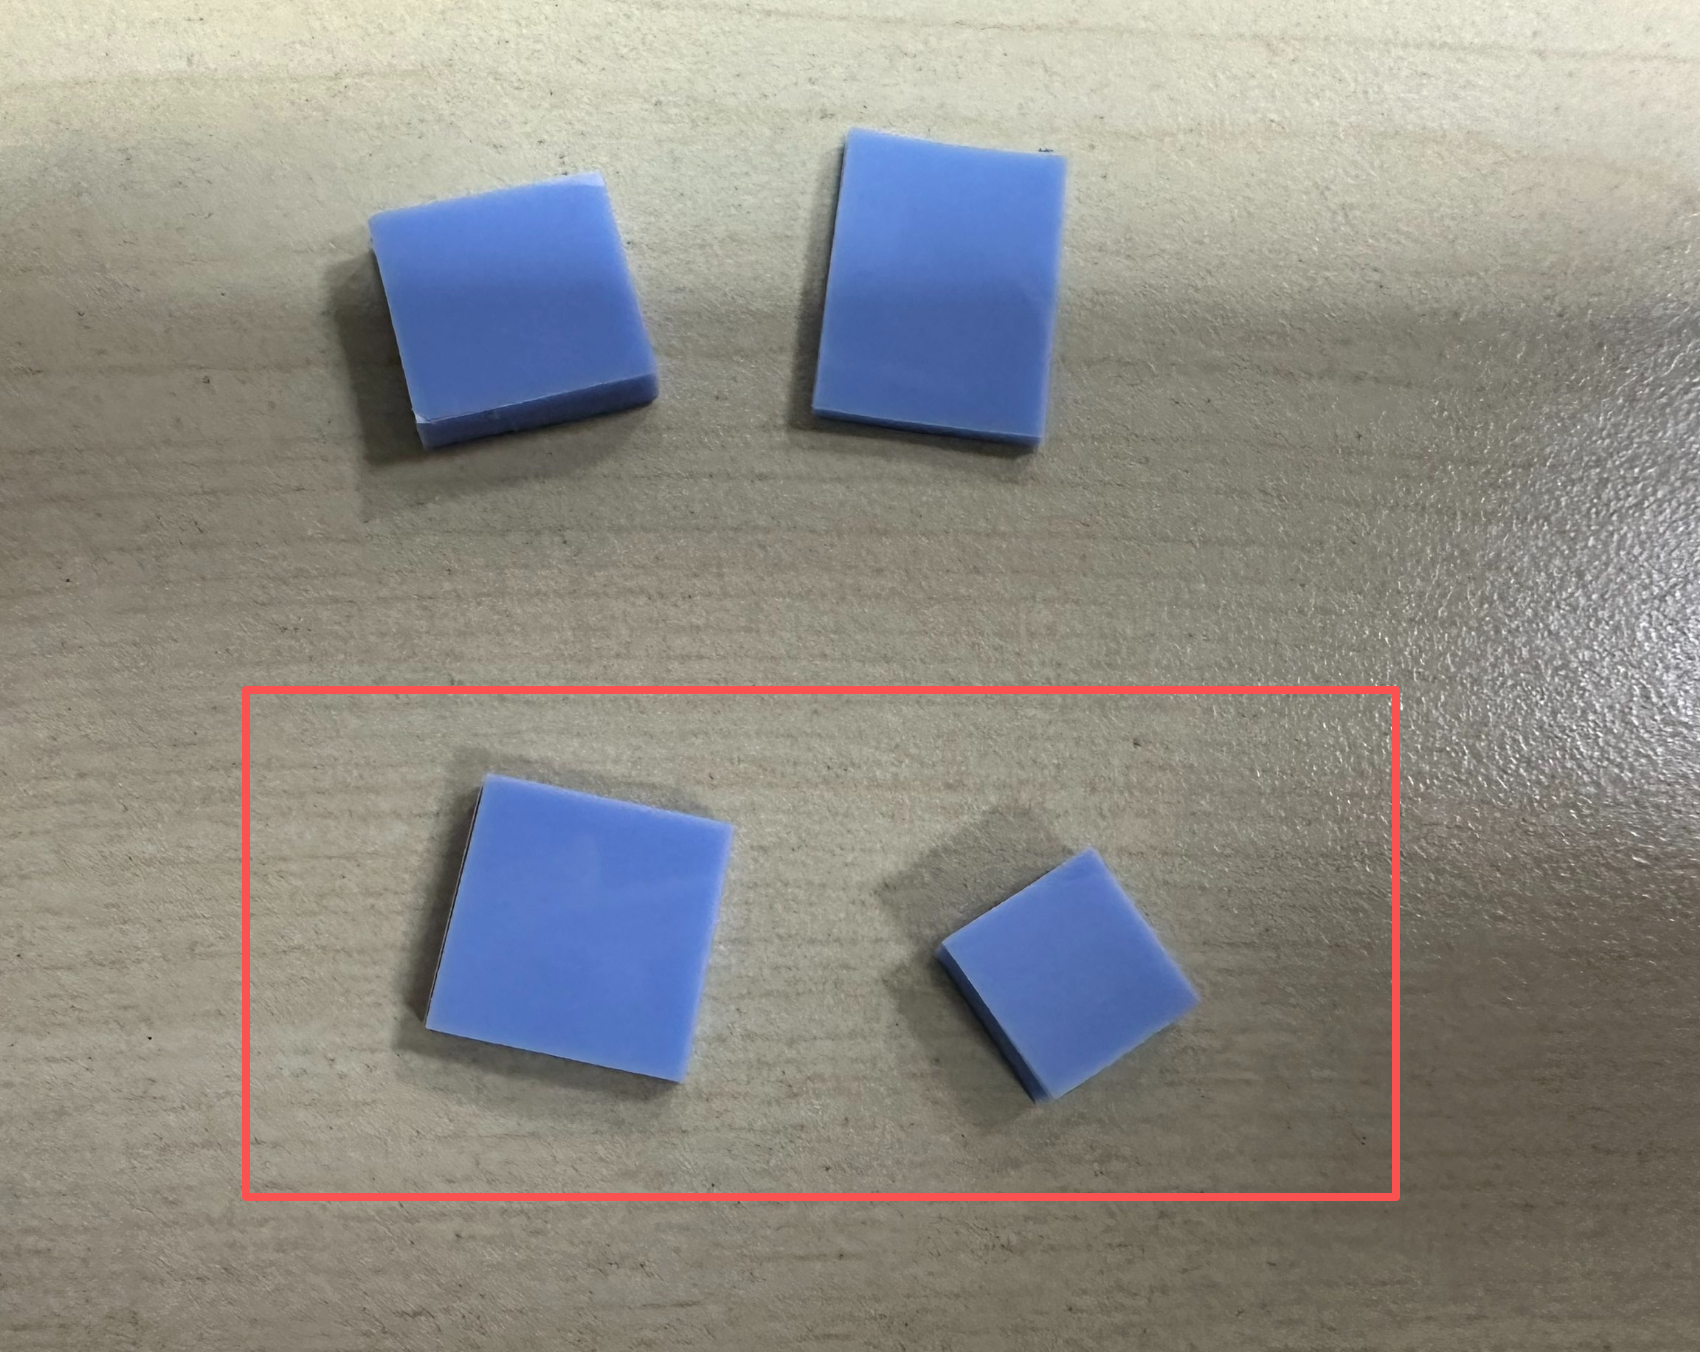
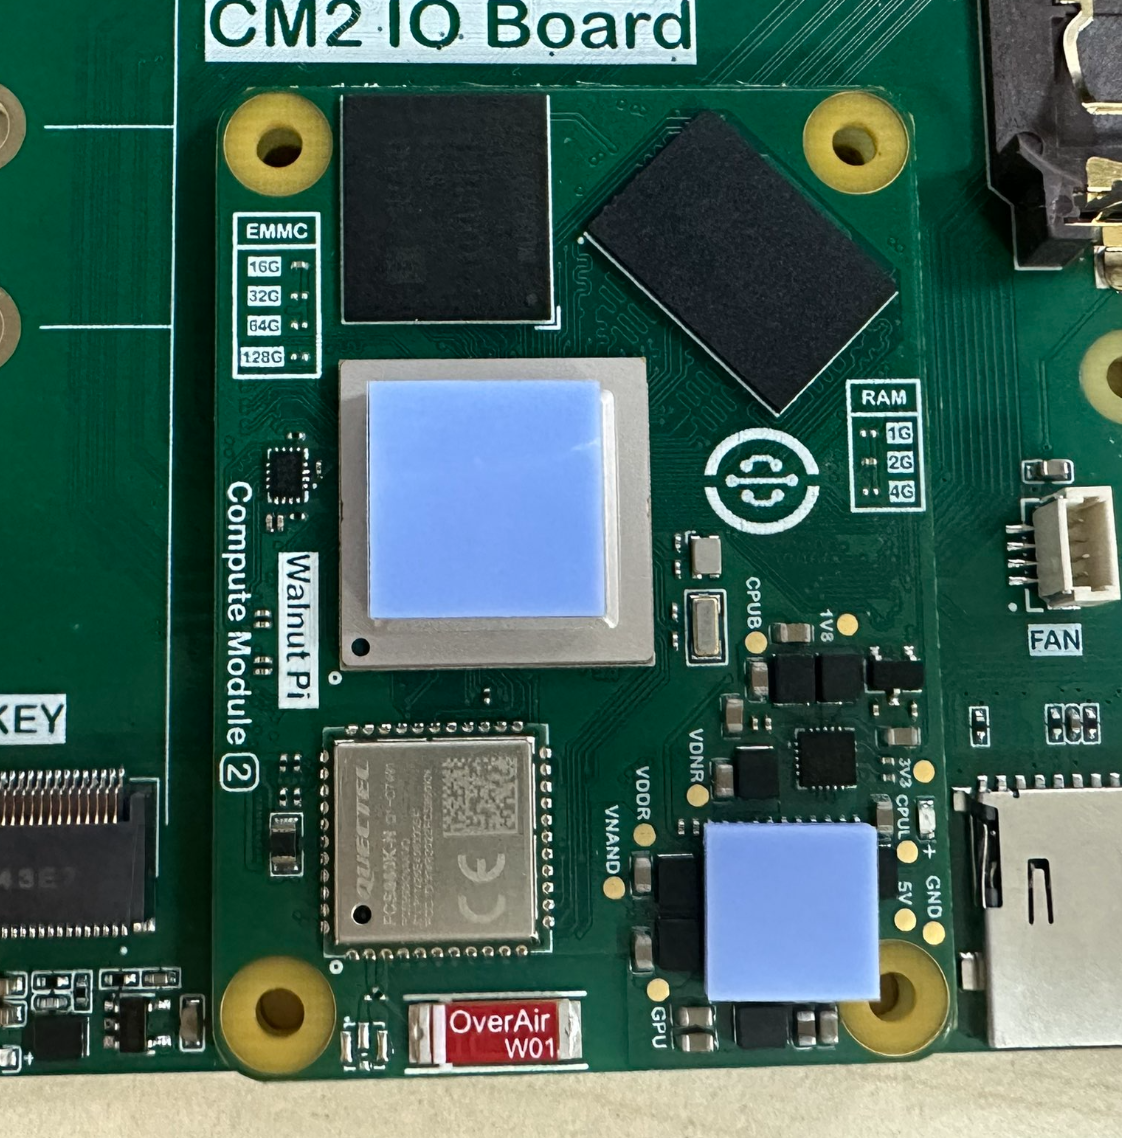
Apply the smallest square pad to the T527 main chip and the smallest pad to the power chip position. (These are the two areas with the highest heat generation.)
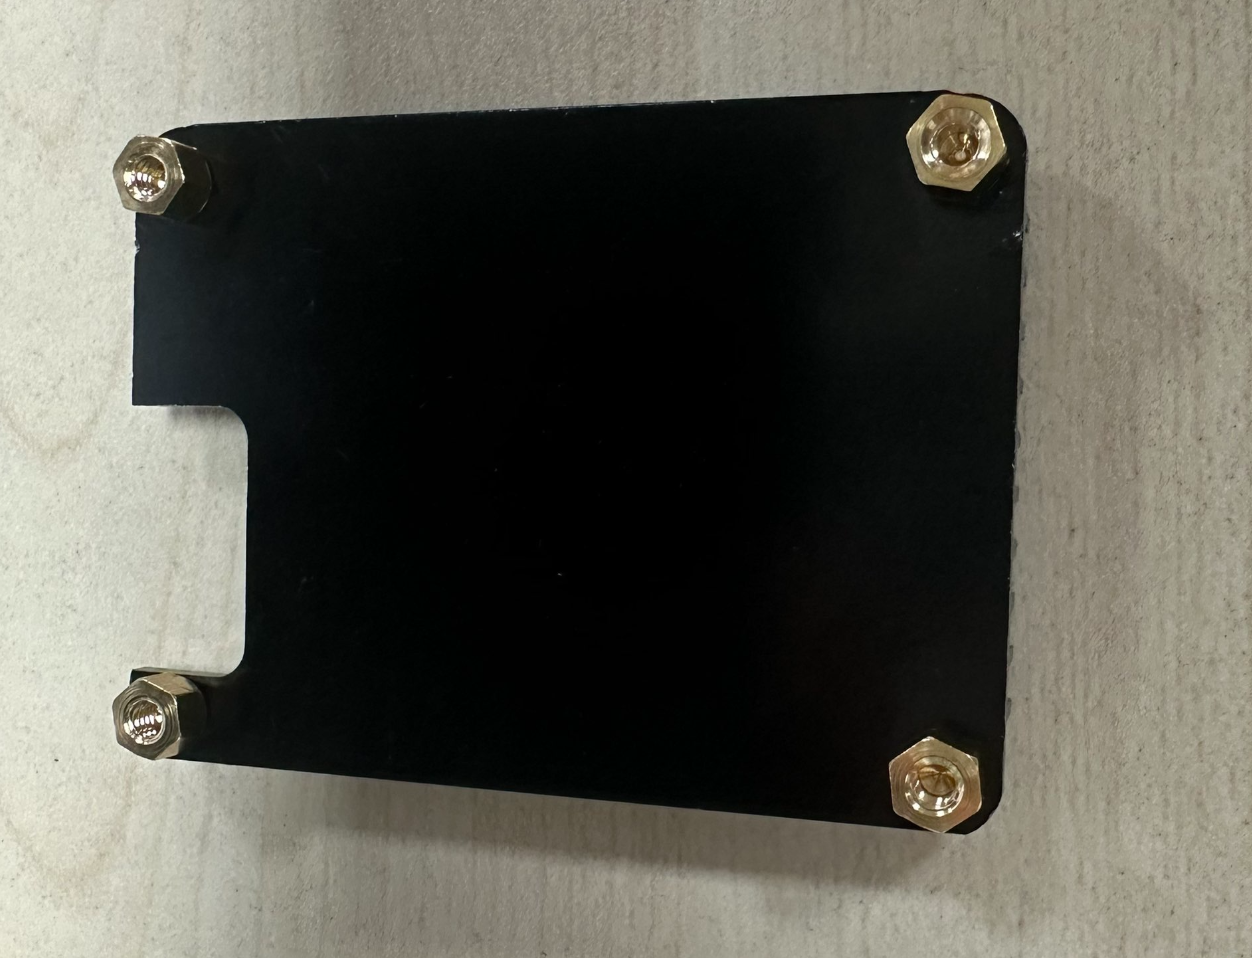
Screw the single-pass copper standoffs onto the heat sink.
Non-fixed Baseboard Installation
The non-fixed baseboard installation is simple and easy to disassemble. Place the heat sink with the copper standoffs installed at the notch position as shown below, then tighten it with the small screws.
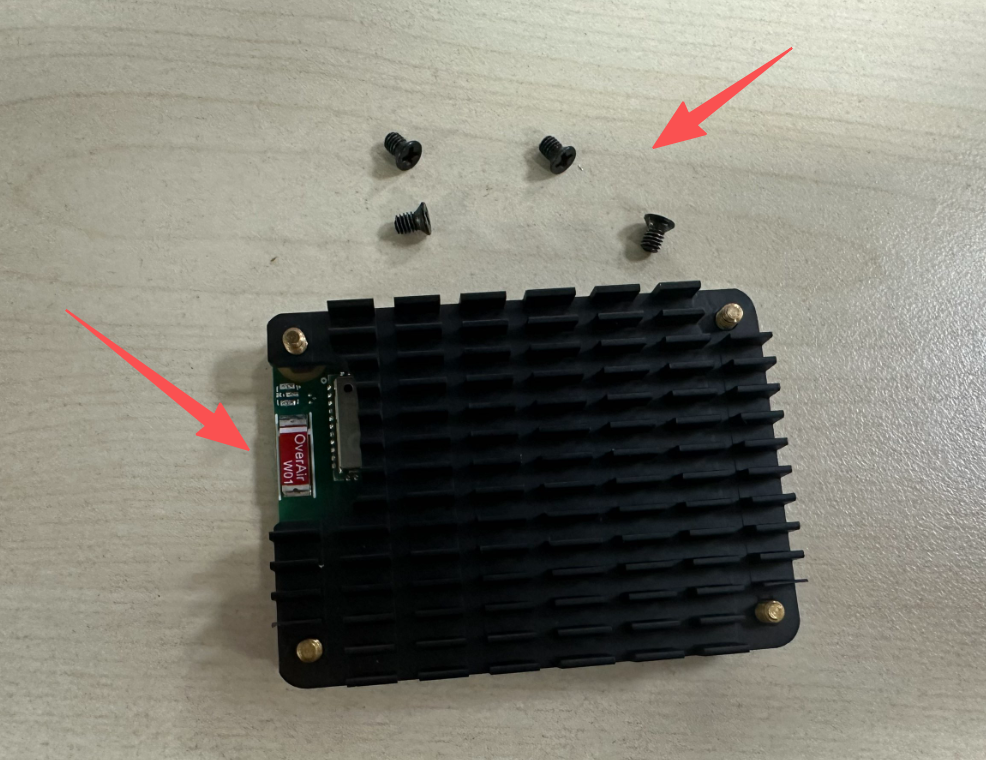
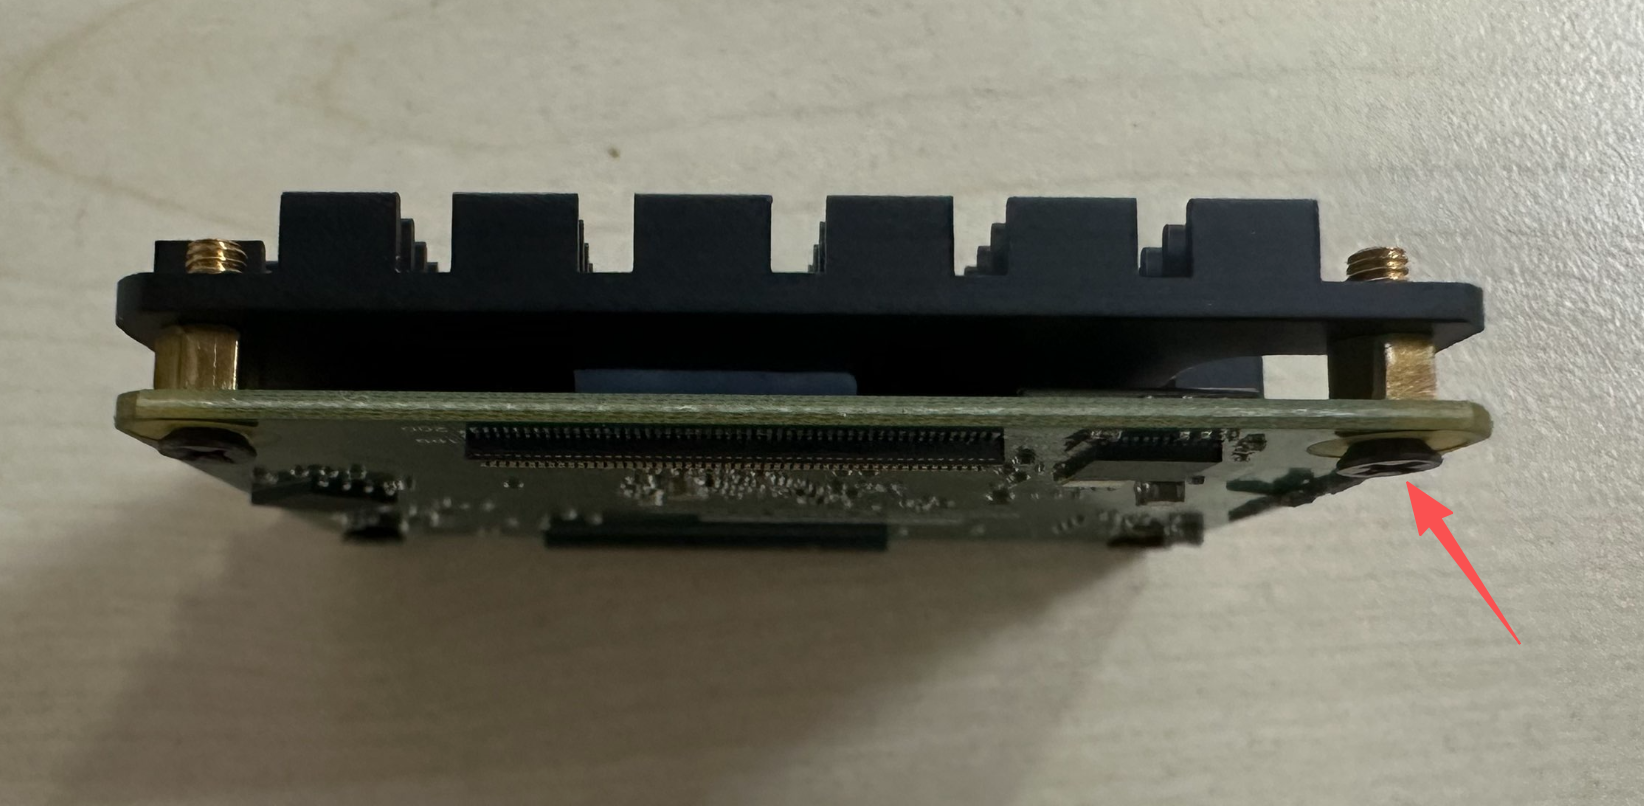
Then simply mount it onto the IO baseboard for convenient plug-in and removal.
Fixed Baseboard Installation
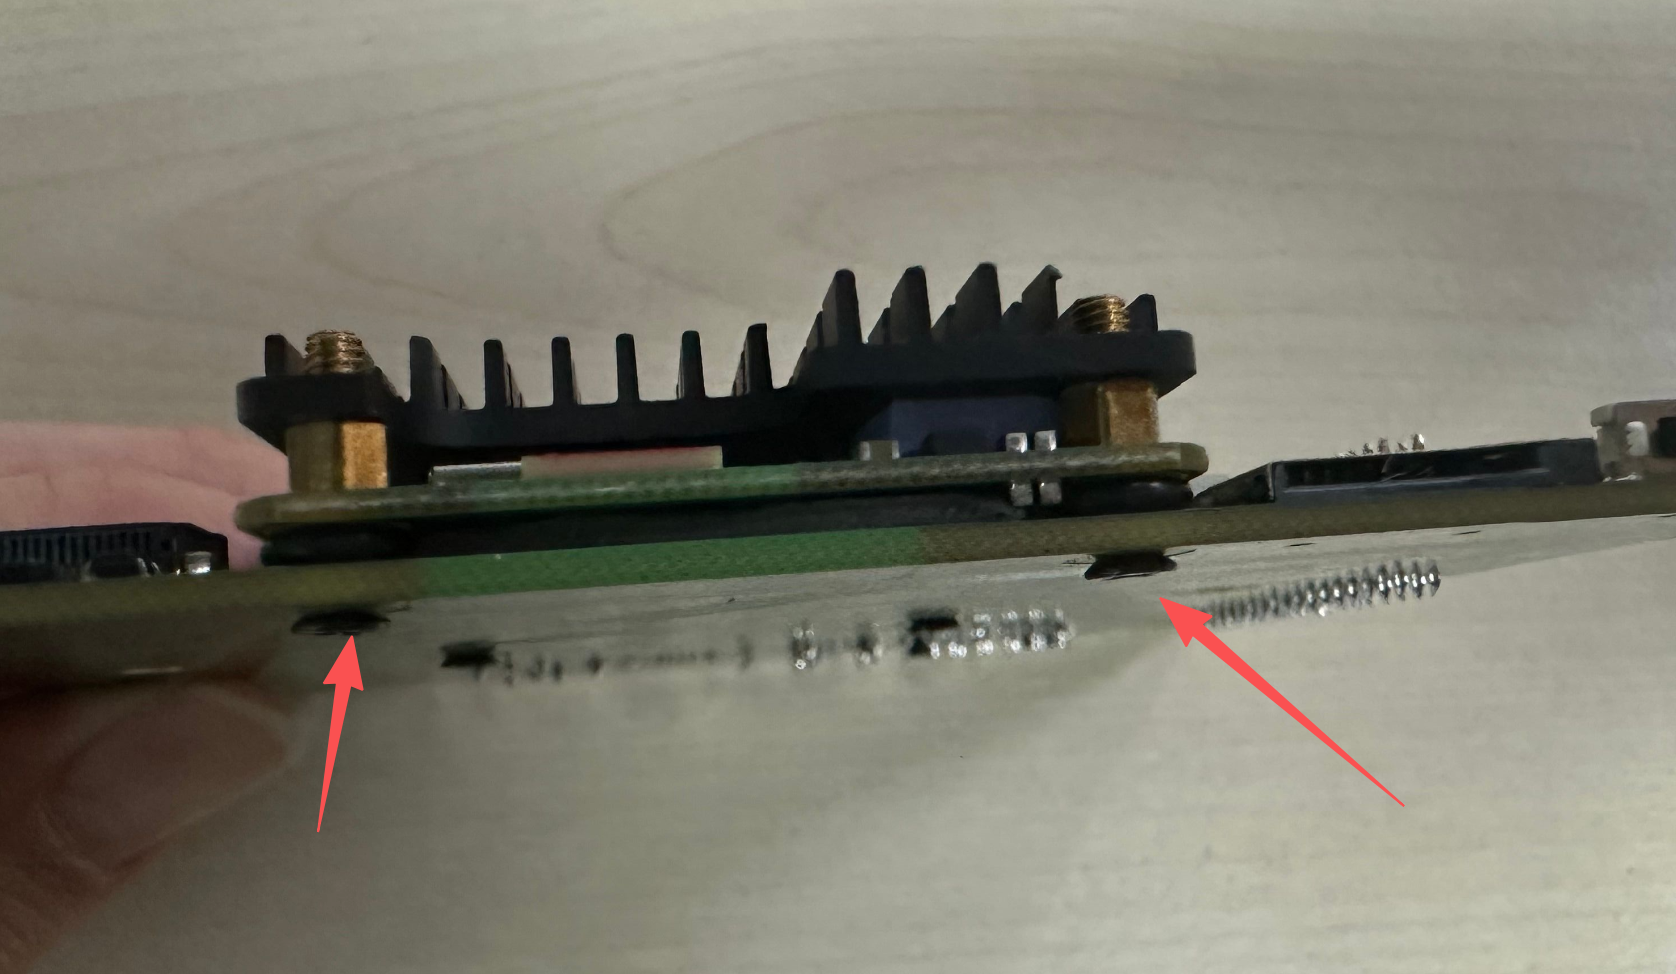
The fixed baseboard method secures the CM2 module and the baseboard together, suitable for scenarios requiring long-distance transportation or where vibration is present during operation.
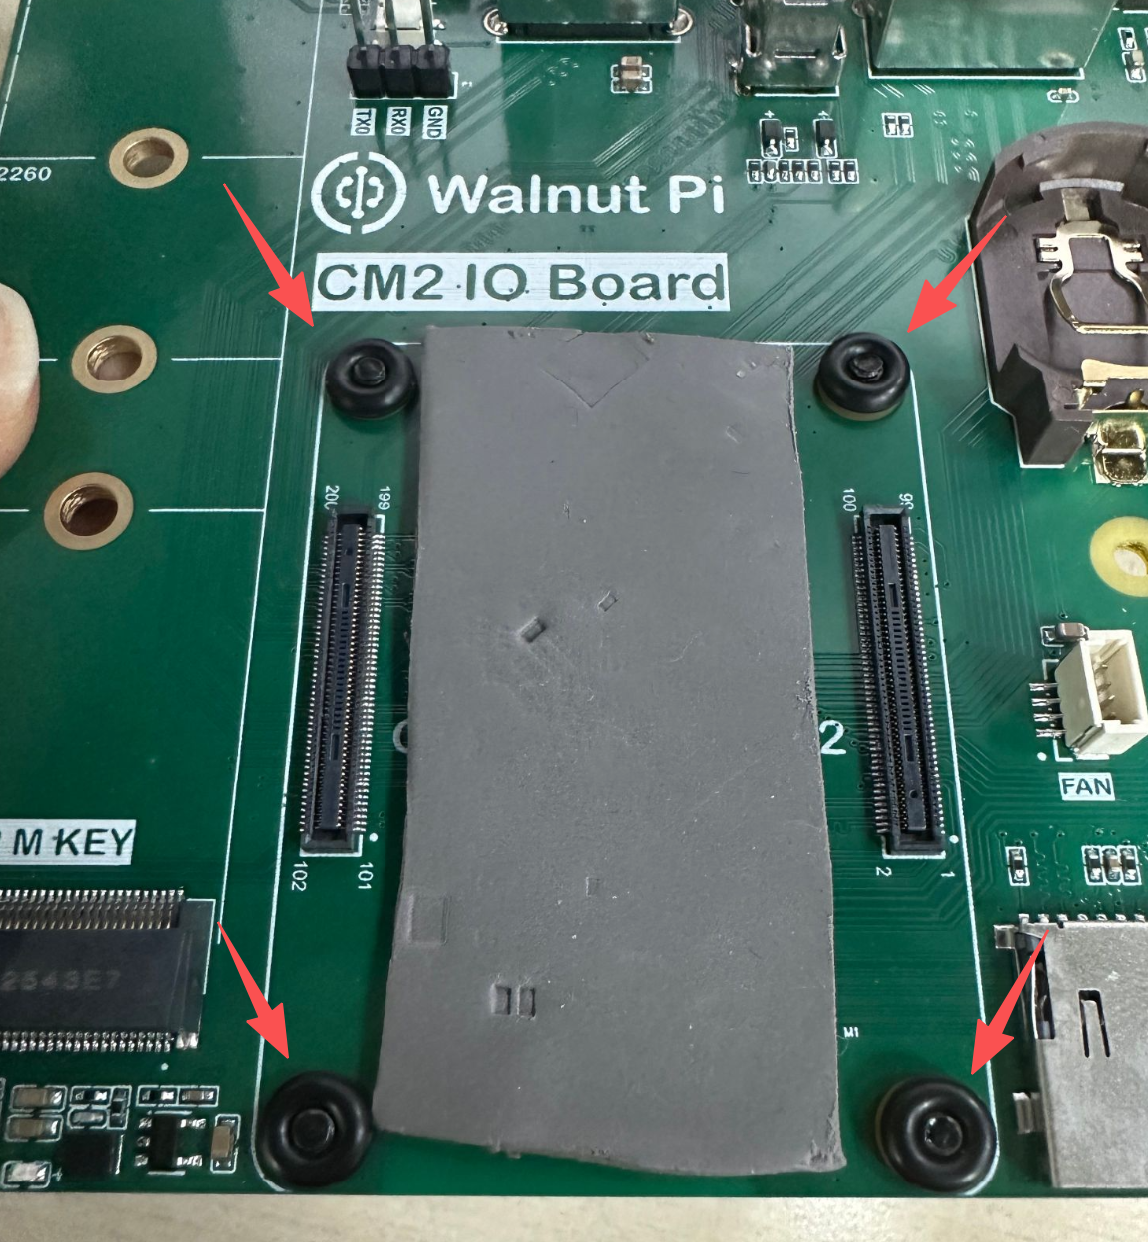
The included feet and long screws are required.
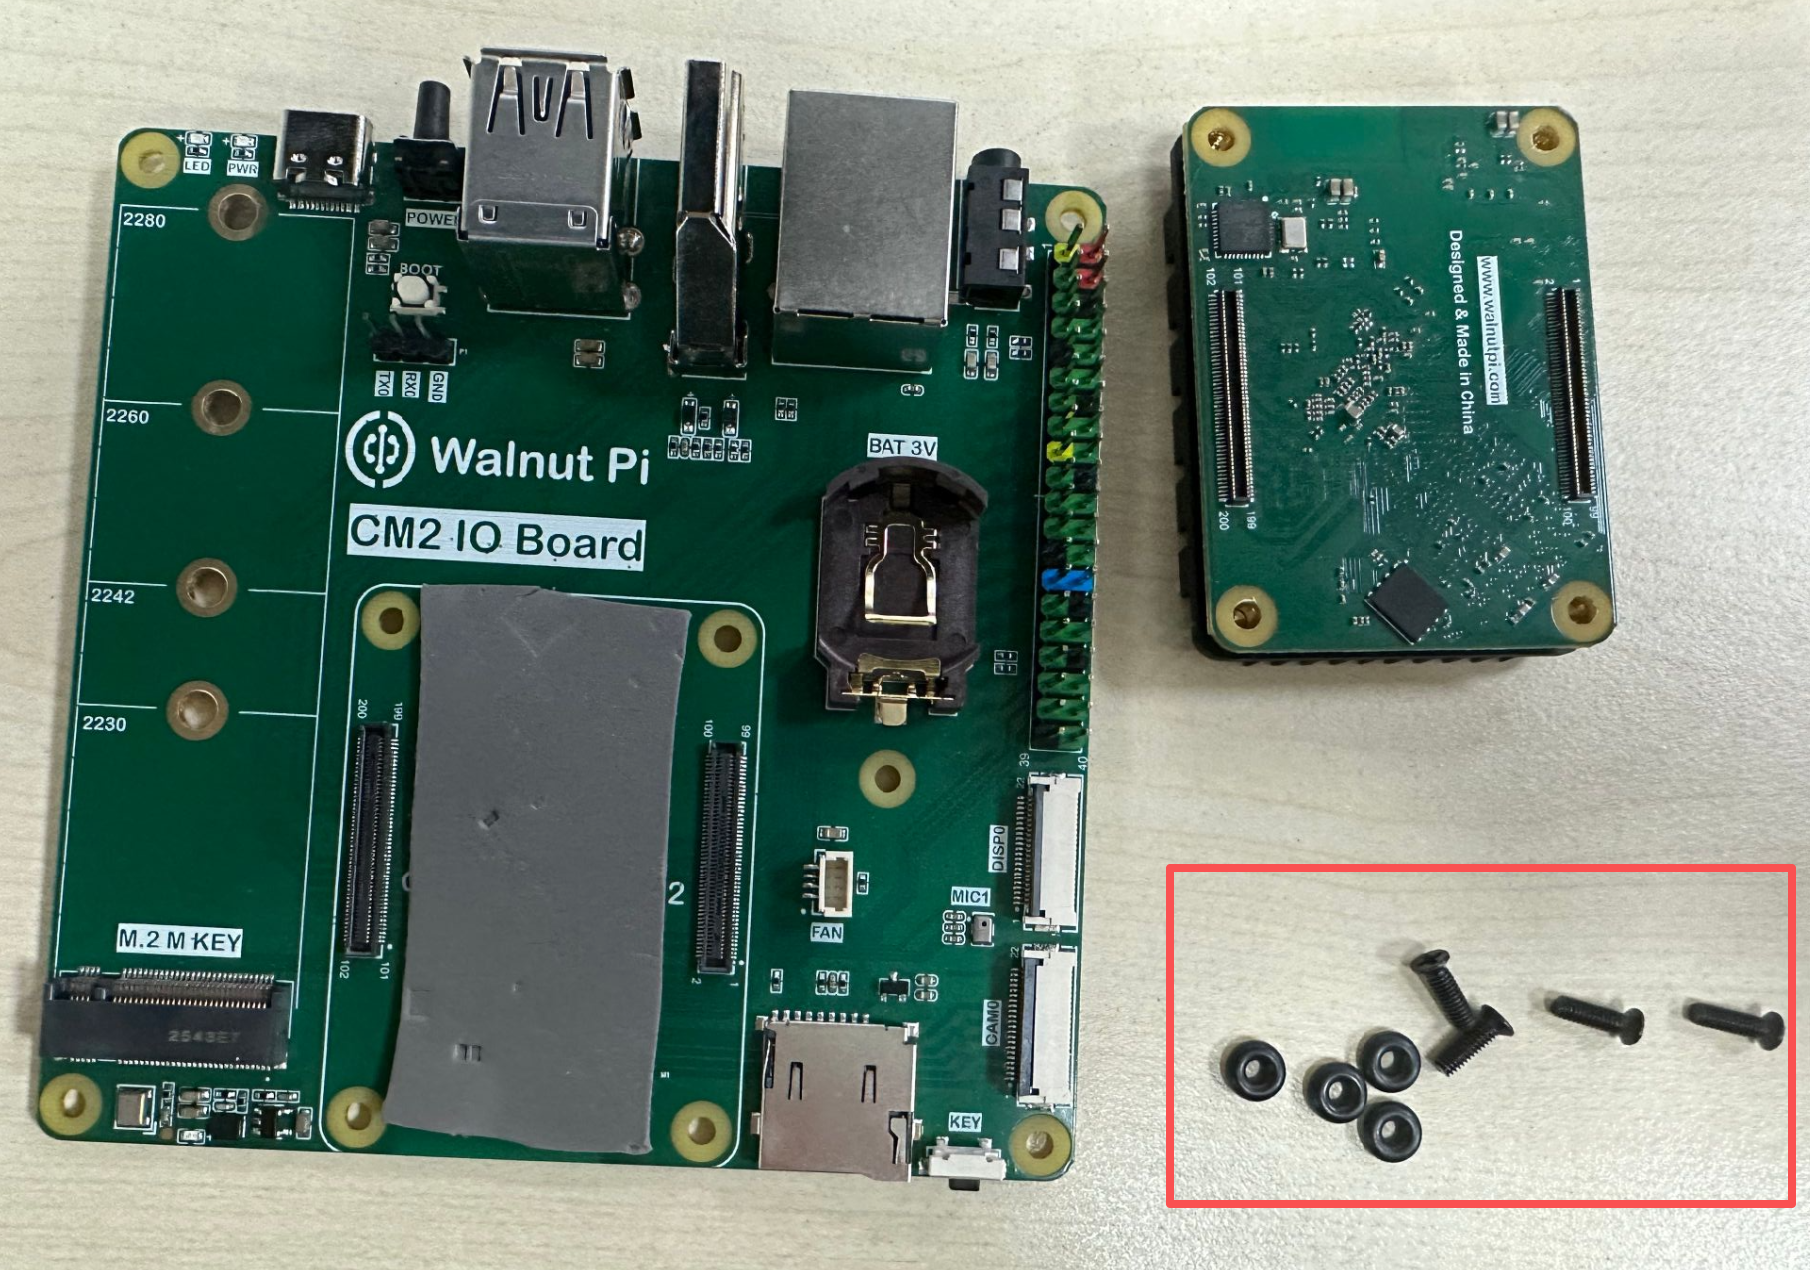
First, secure the 4 feet and long screws to the IO baseboard as shown below.
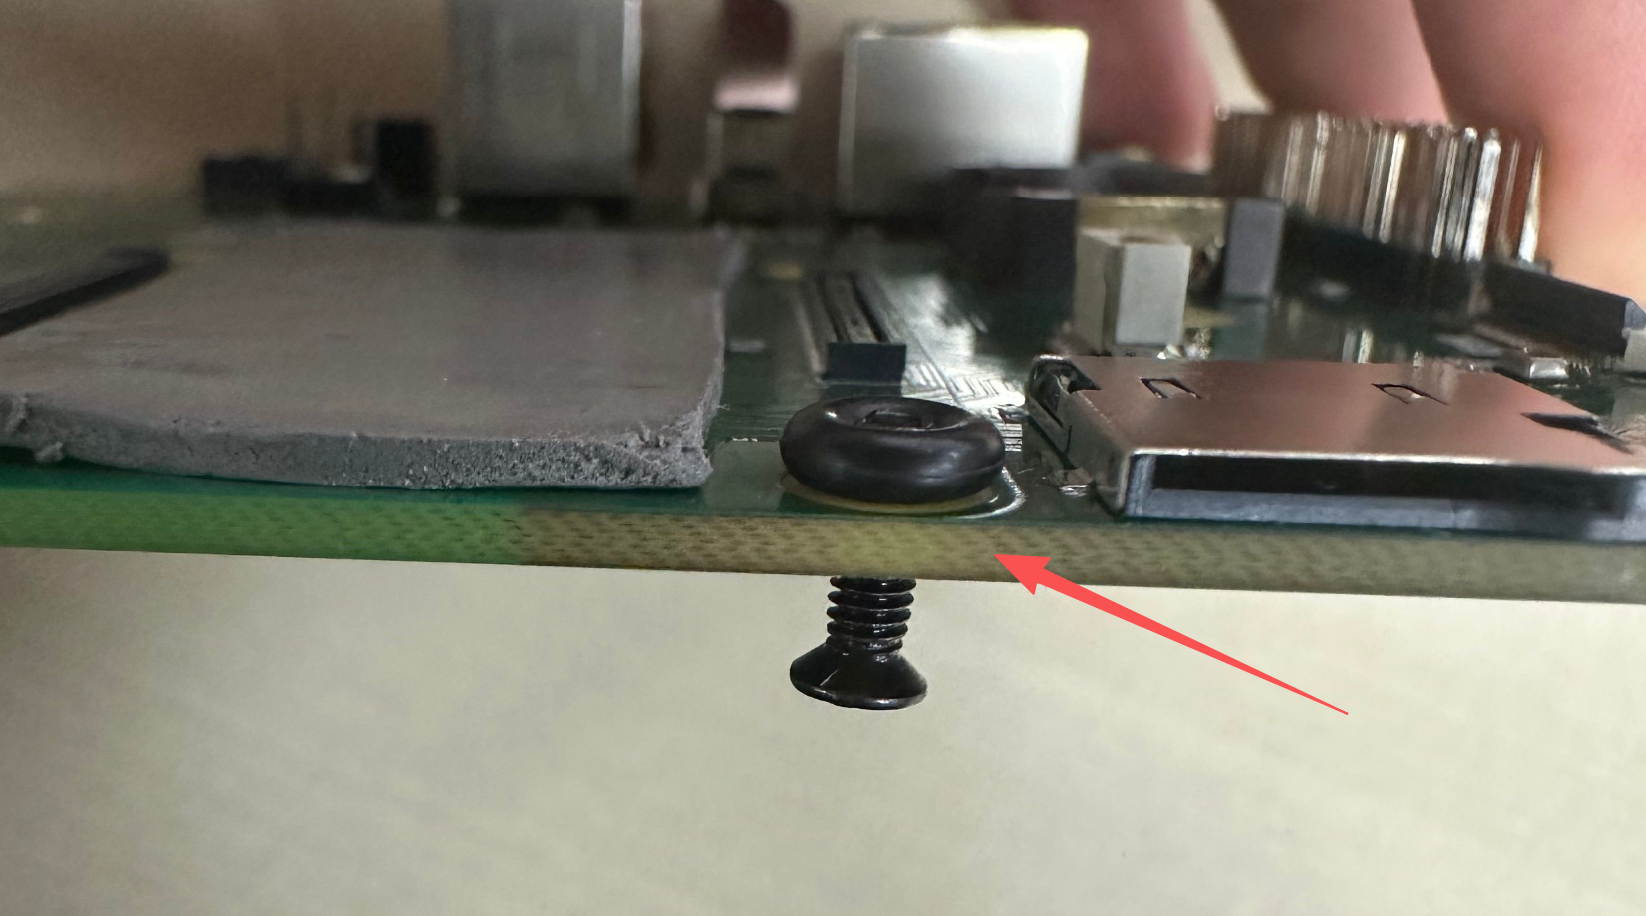
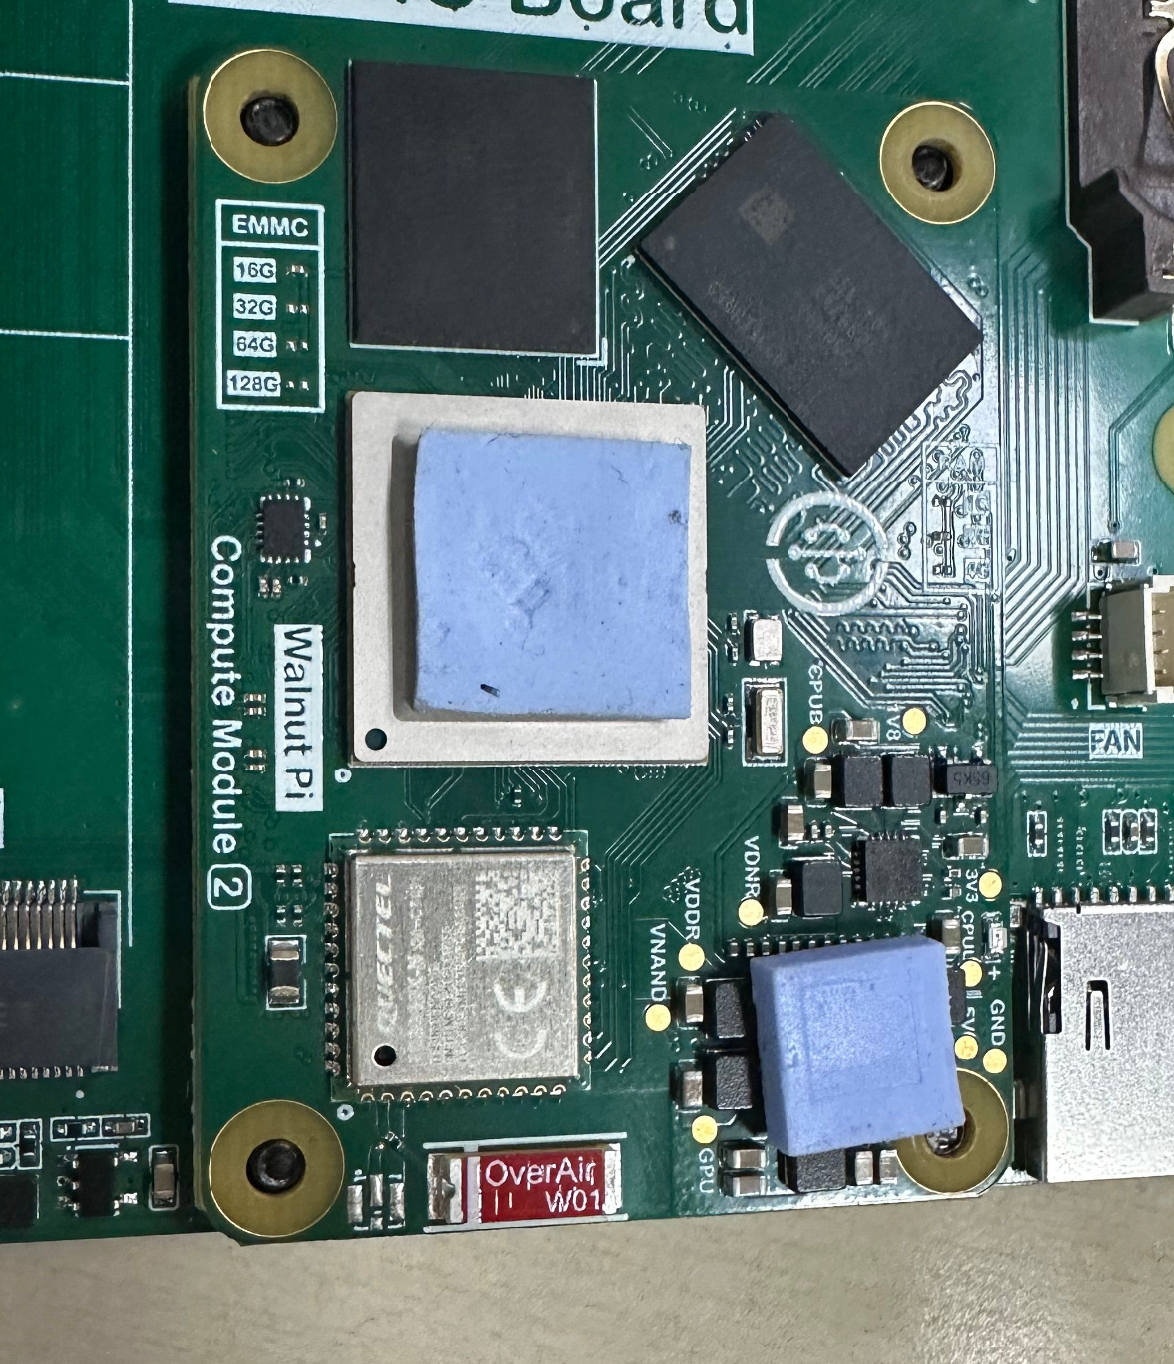
Install the CM2 module onto the baseboard.
Place the heat sink on top and tighten the screws.
Active Cooler (Recommended, 20°C+ Lower)
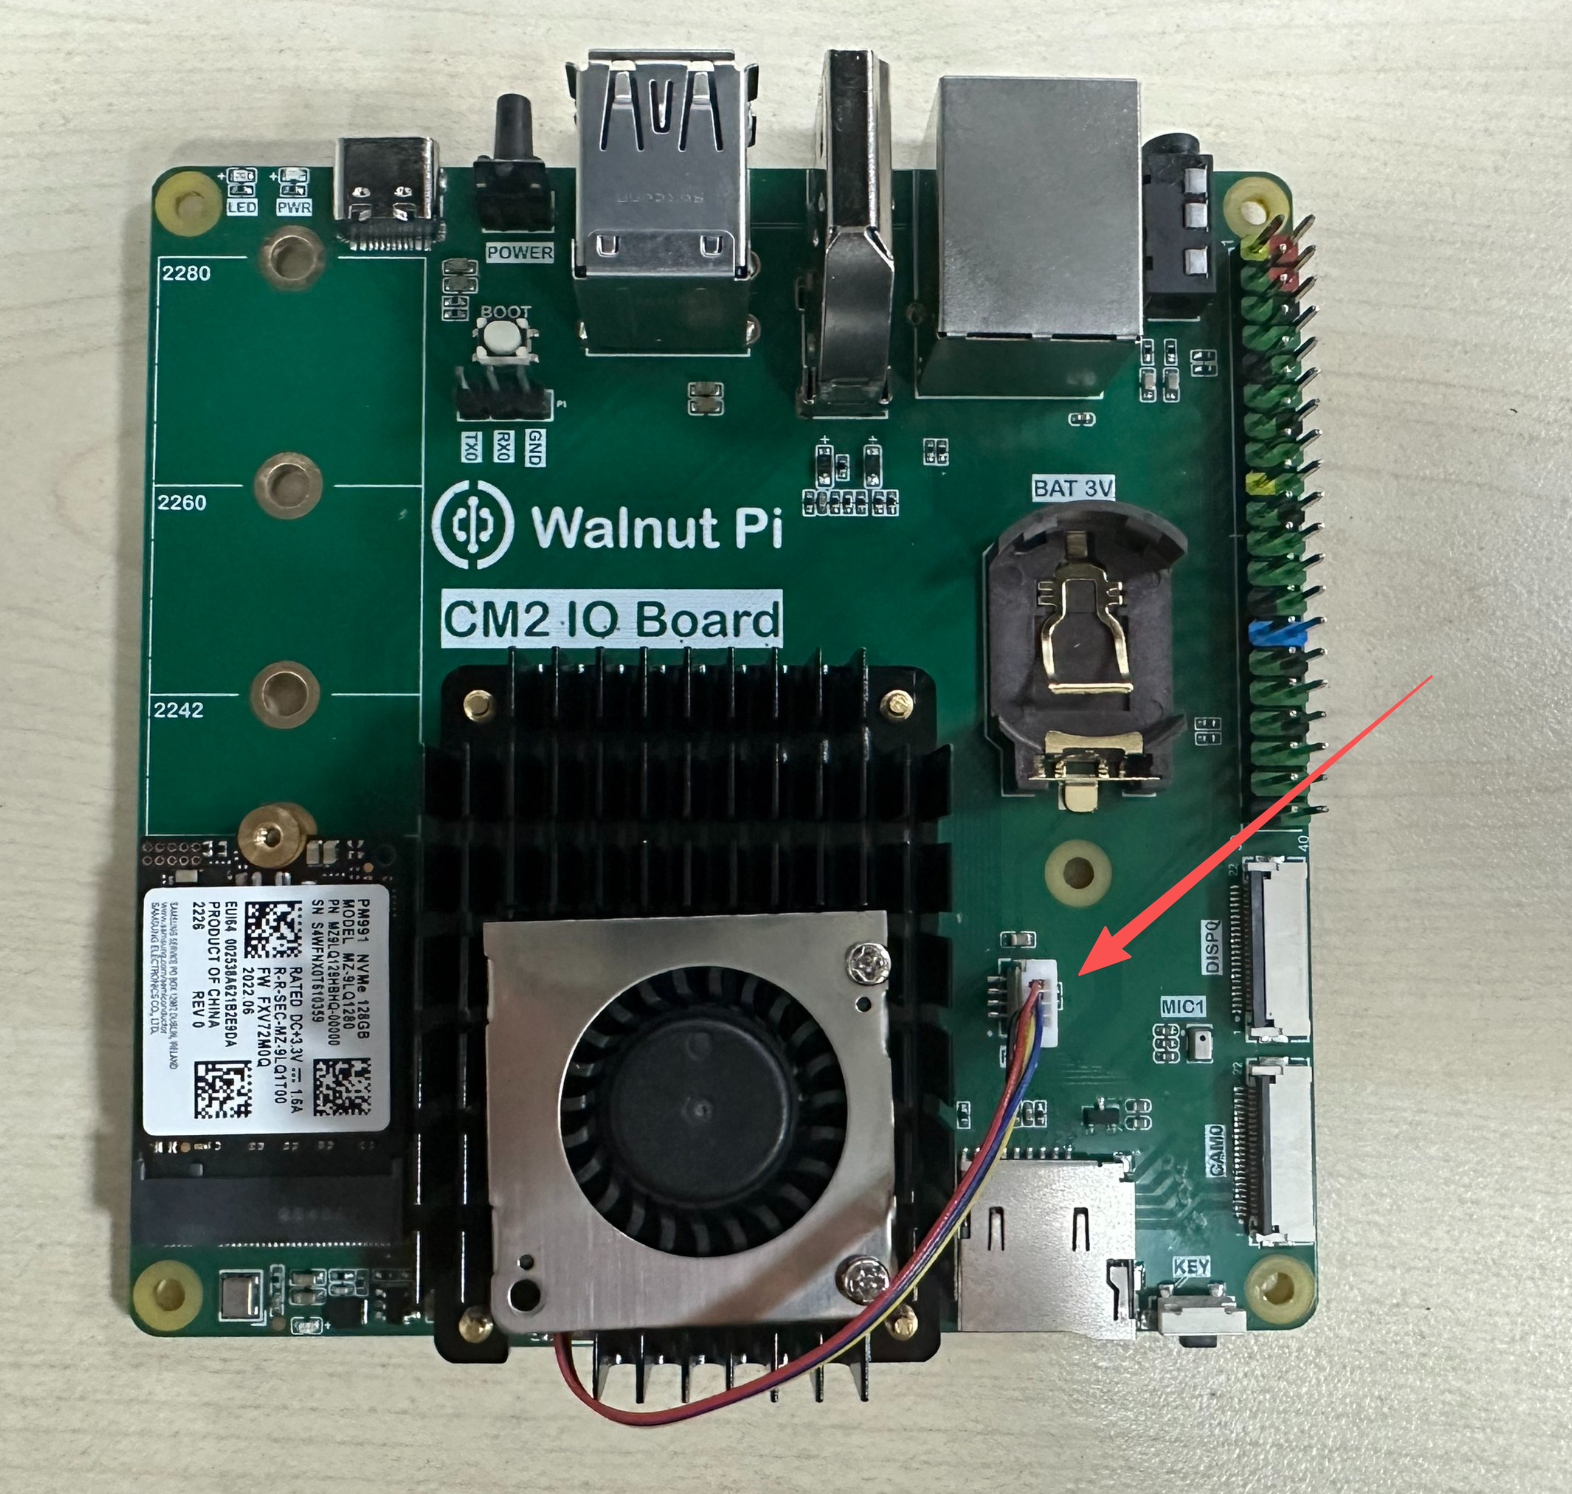
The installation method for the active cooler is exactly the same as the heat sink above. After installation, simply plug the cooler connector into the IO baseboard. It starts when the CPU temperature exceeds 50°C, and the fan speed increases as the temperature continues to rise.
RTC Battery
The CM2 IO baseboard features an RTC lithium battery holder, suitable for 3V 2032-size batteries. The charging function is configurable, making it suitable for rechargeable 3V lithium batteries.
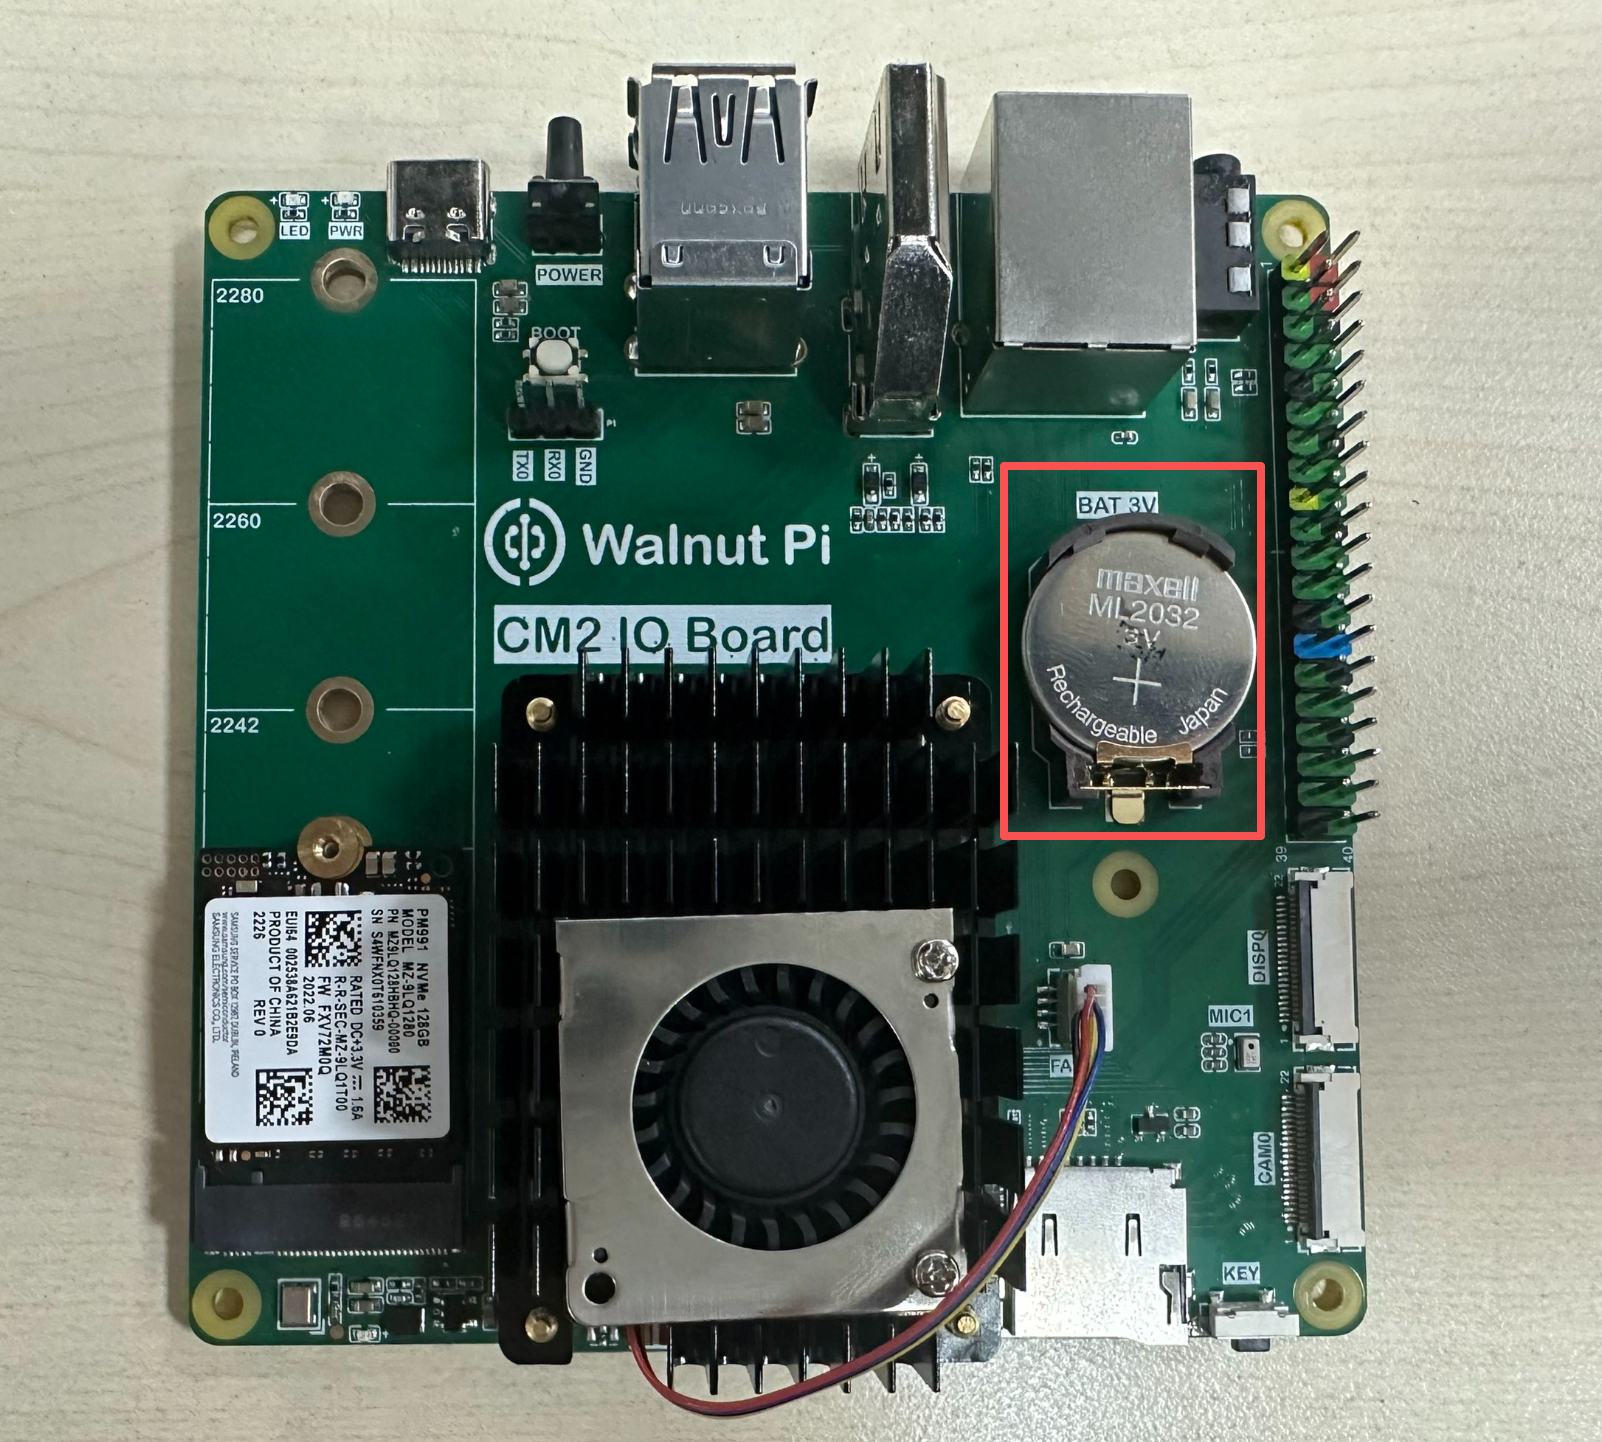
- To enable charging, use the following command. The default charging voltage is 2.9V. (Before enabling, please confirm that the battery in use is rechargeable.)
sudo set-rtc charge enable
You can also configure it via /boot/config.txt.
rtc_charge=enable
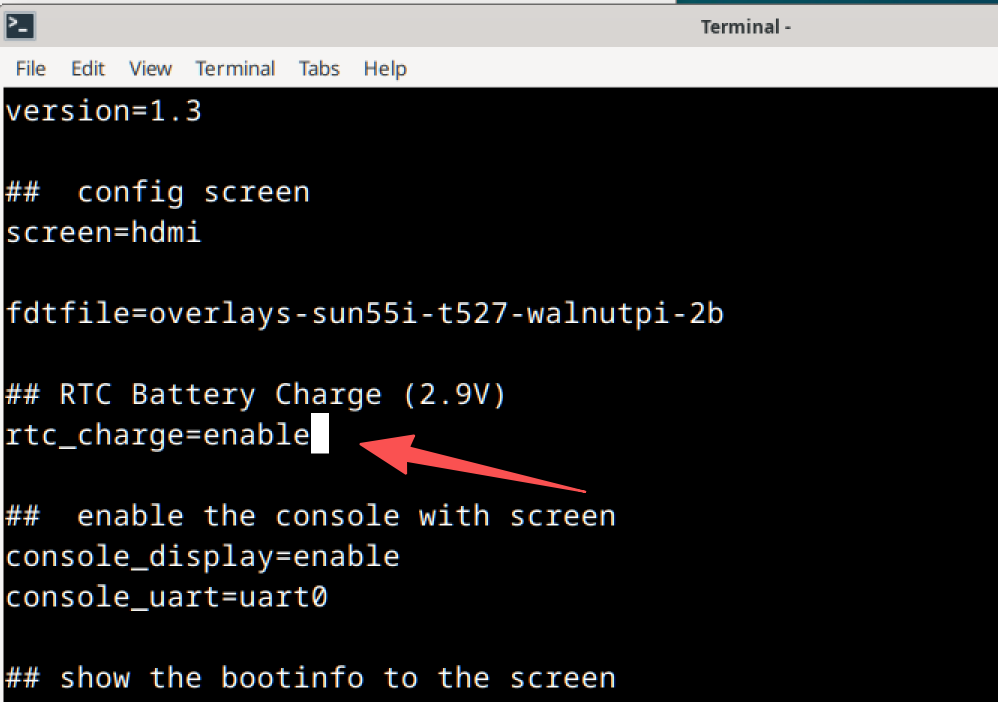
The configuration takes effect after a reboot.
NVMe SSD
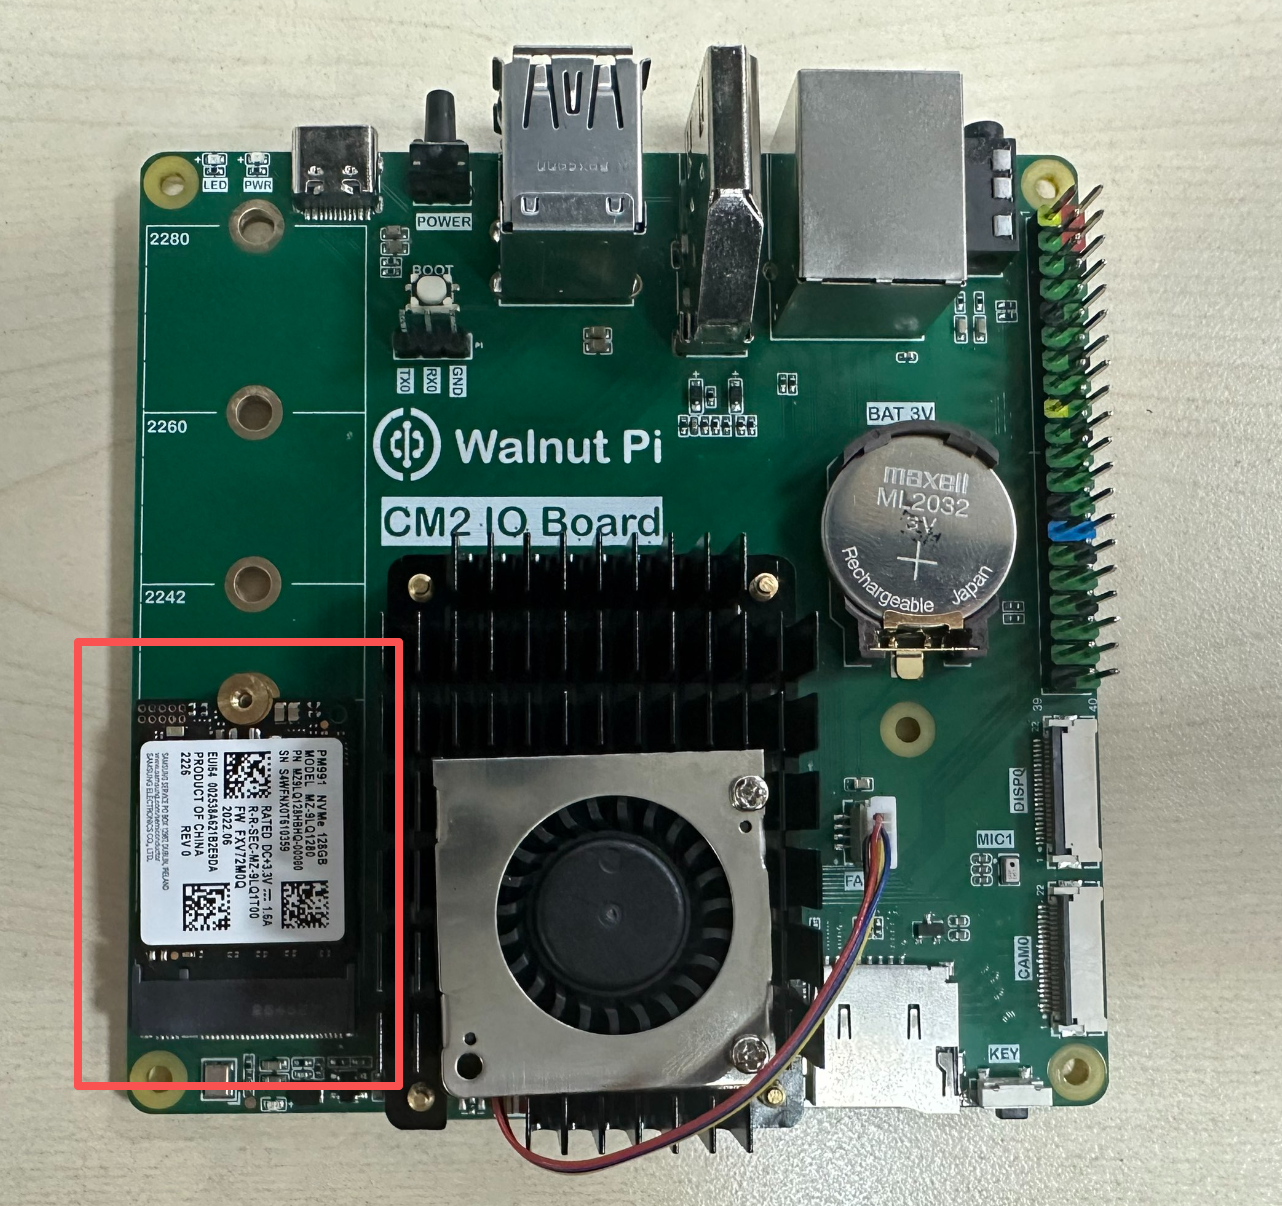
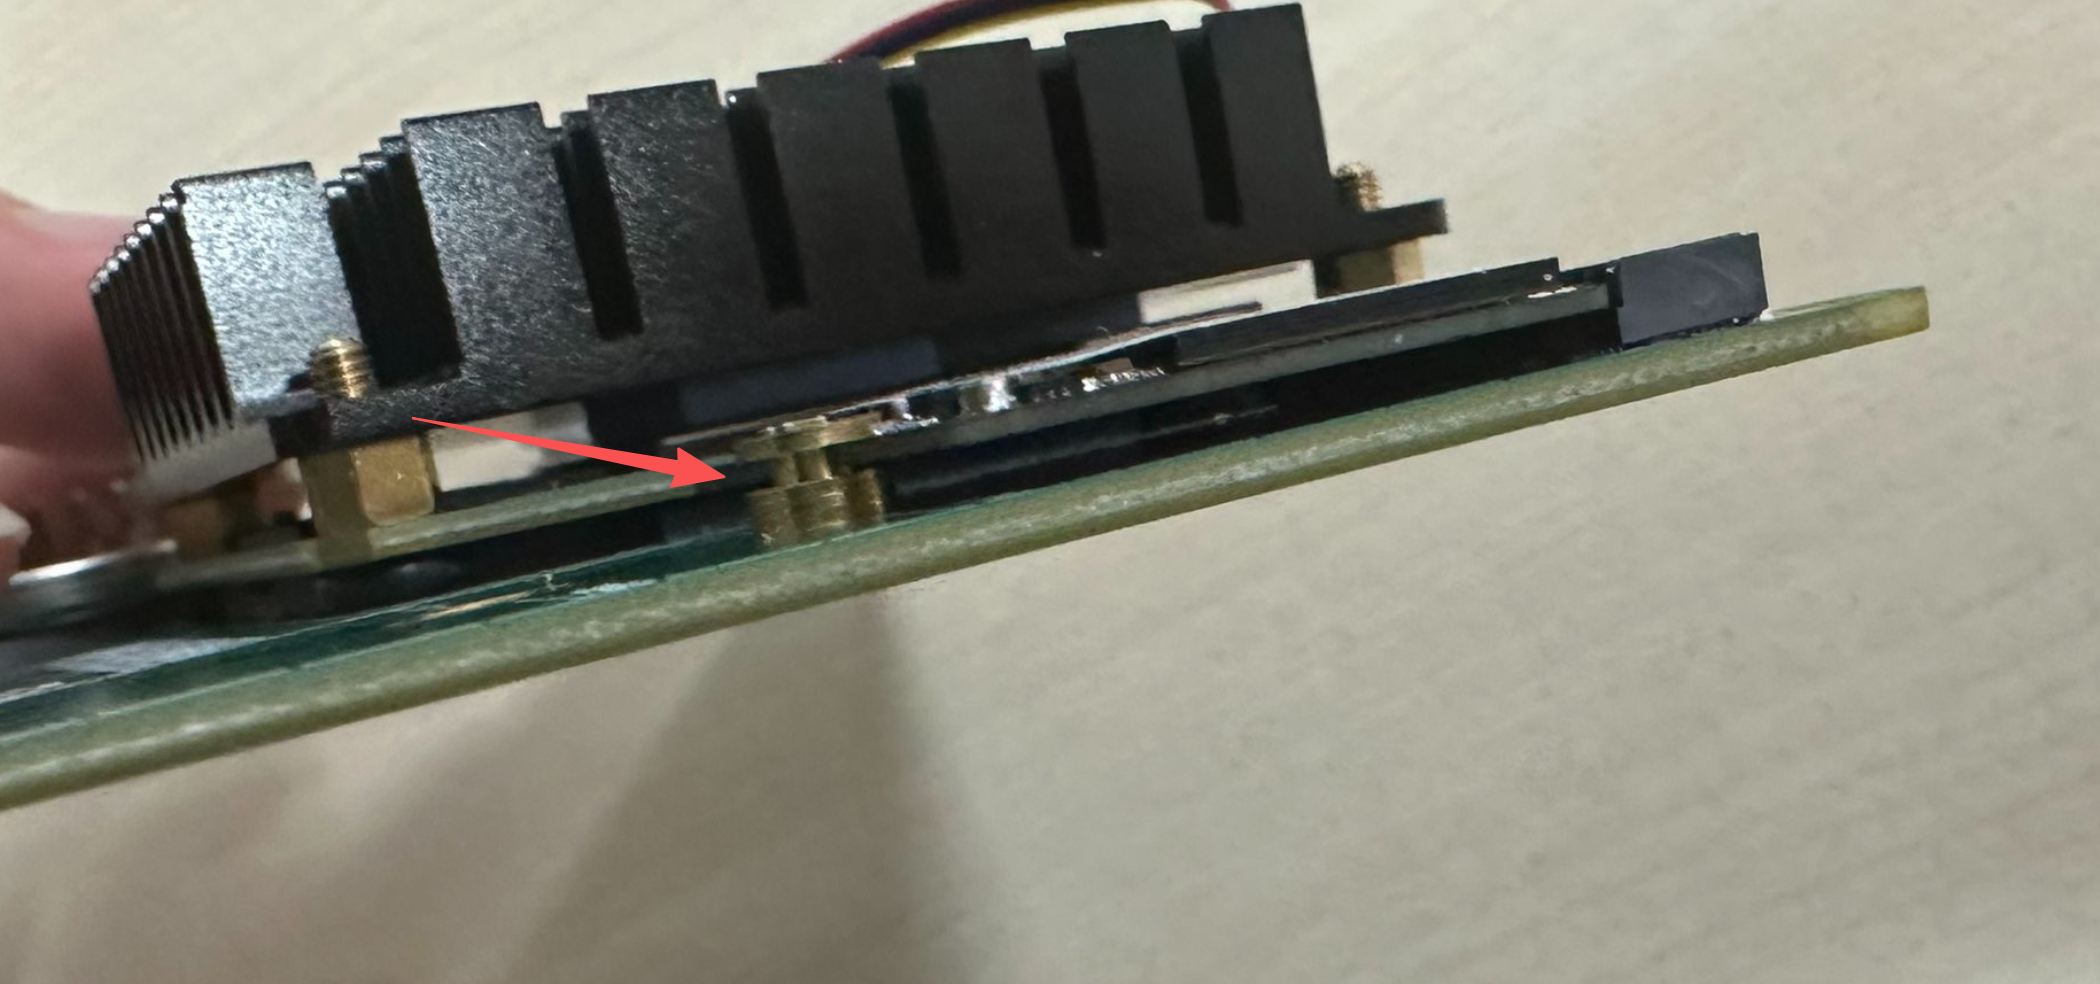
The CM2 IO baseboard supports 4 SSD sizes: 2230/2242/2260/2280. Simply install it using the standoff screws included with the baseboard. NVMe SSD Usage Tutorial >>
Case
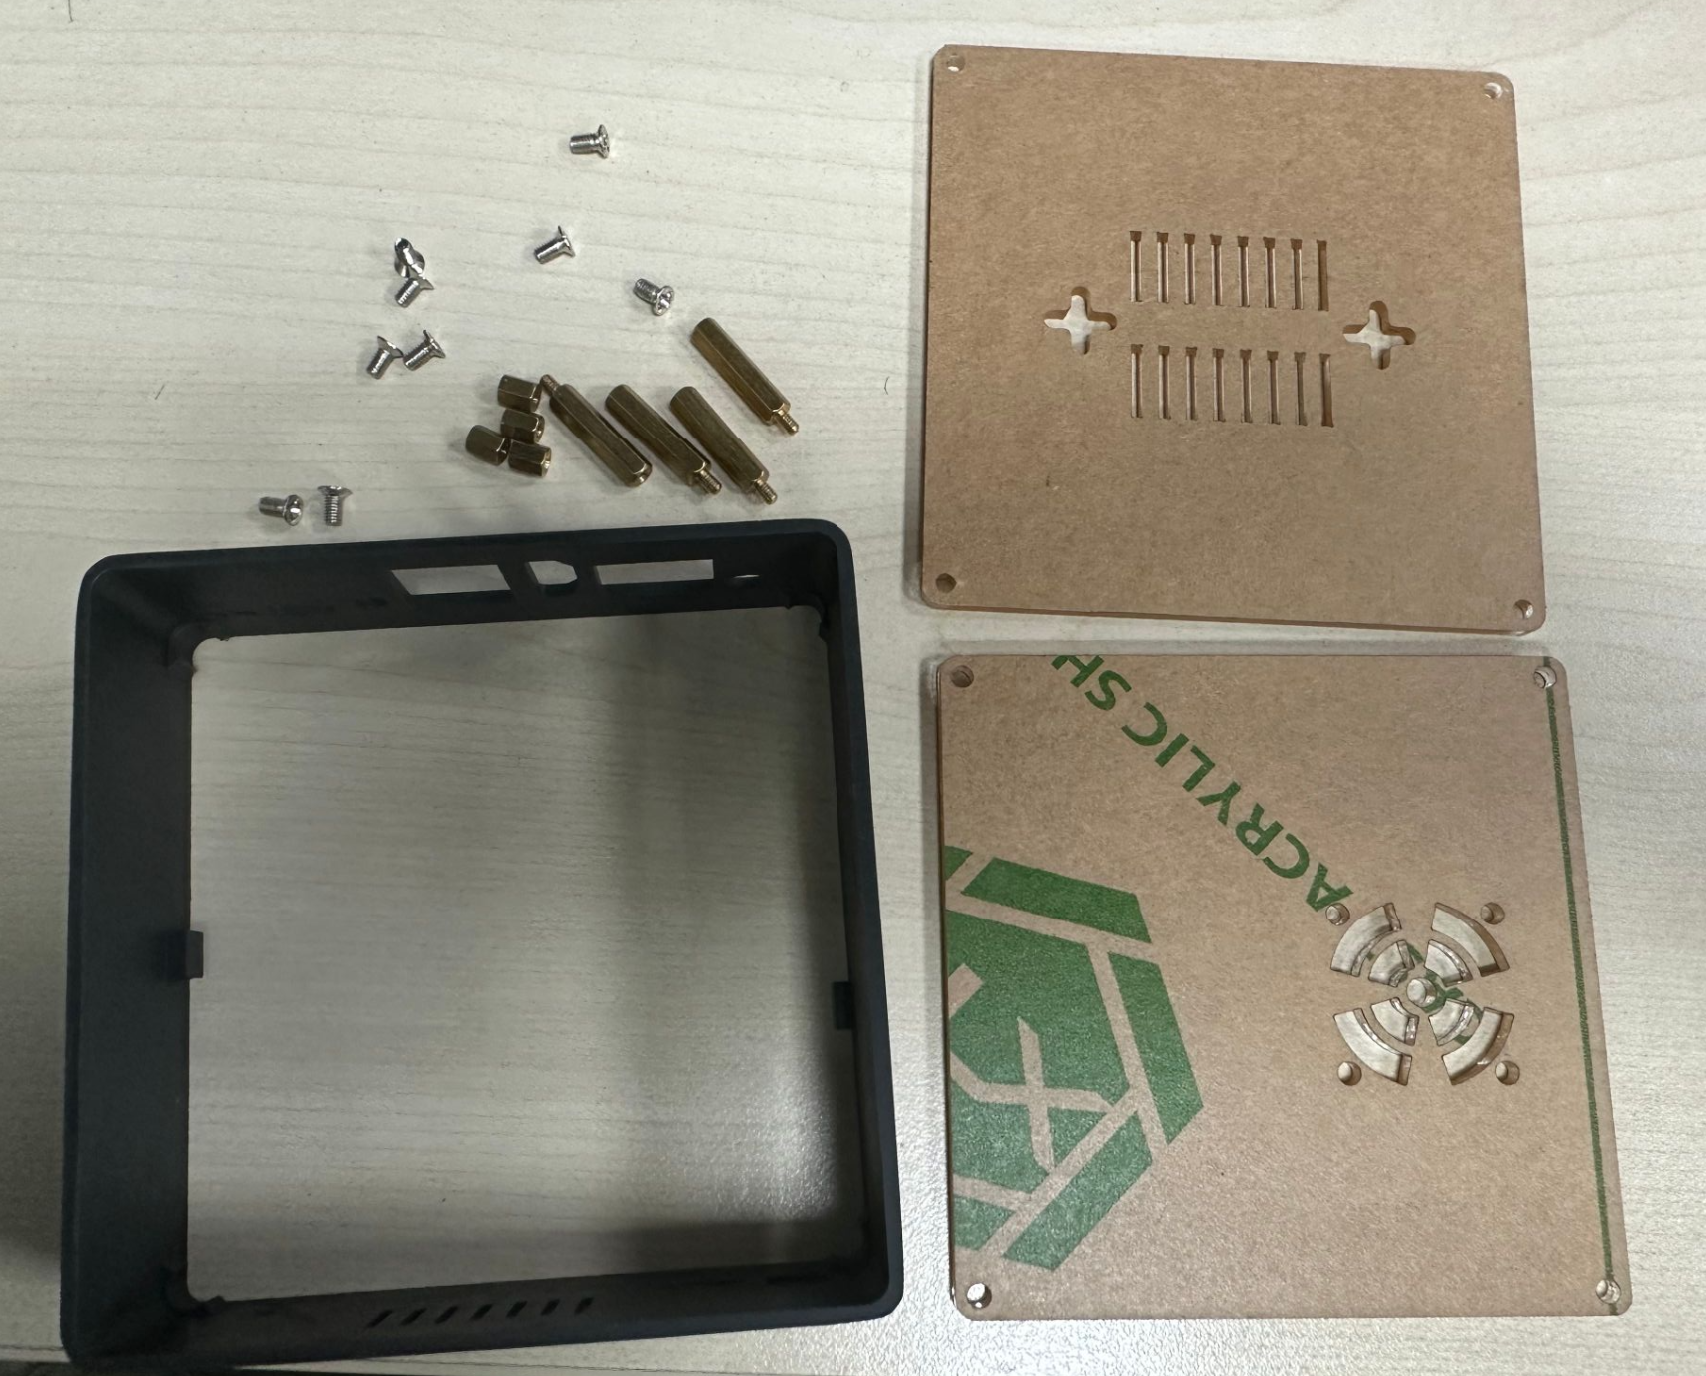
Check the case accessory list, which includes the case, acrylic top cover, acrylic bottom cover, and standoff screws.
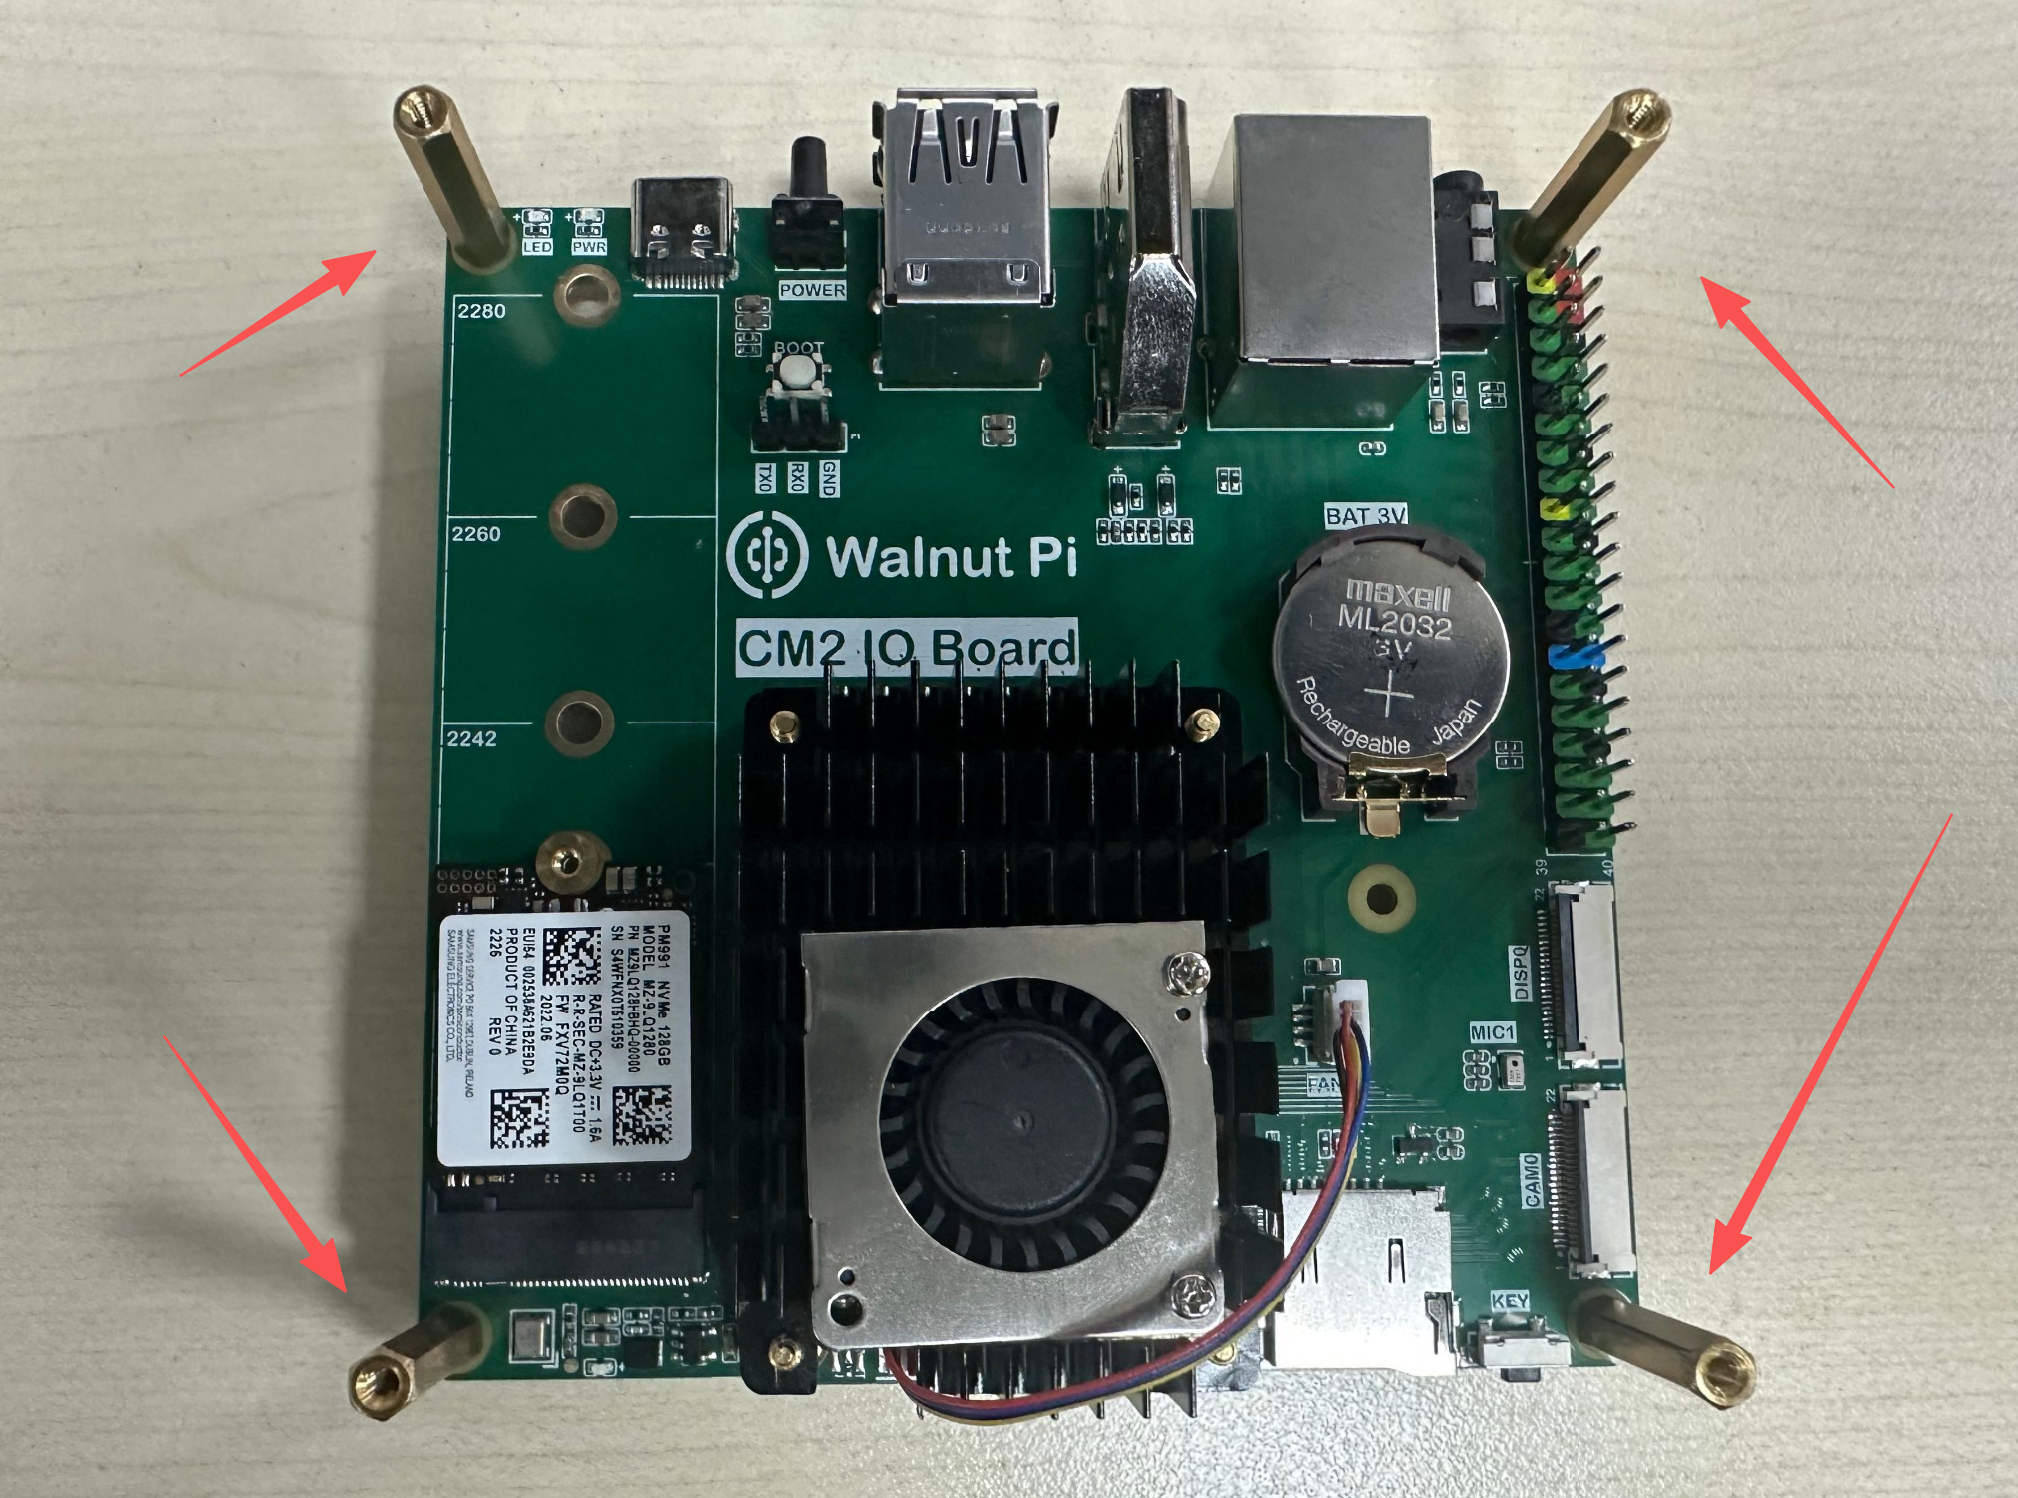
Install the 4 sets of standoffs at the 4 corners of the baseboard as shown below.
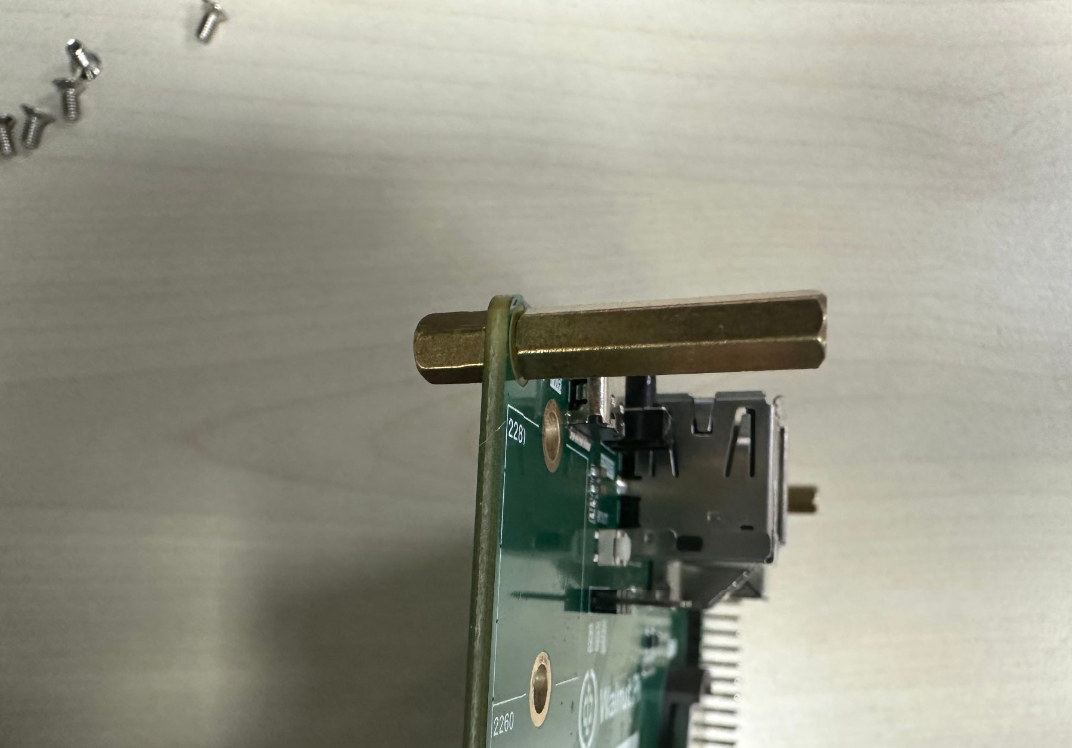
As shown below, insert the board into the case at an angle. Once the ports are aligned, apply a little force at the position indicated by the arrow to push it in. If that does not work, install the board into the case first, then tighten the standoffs.
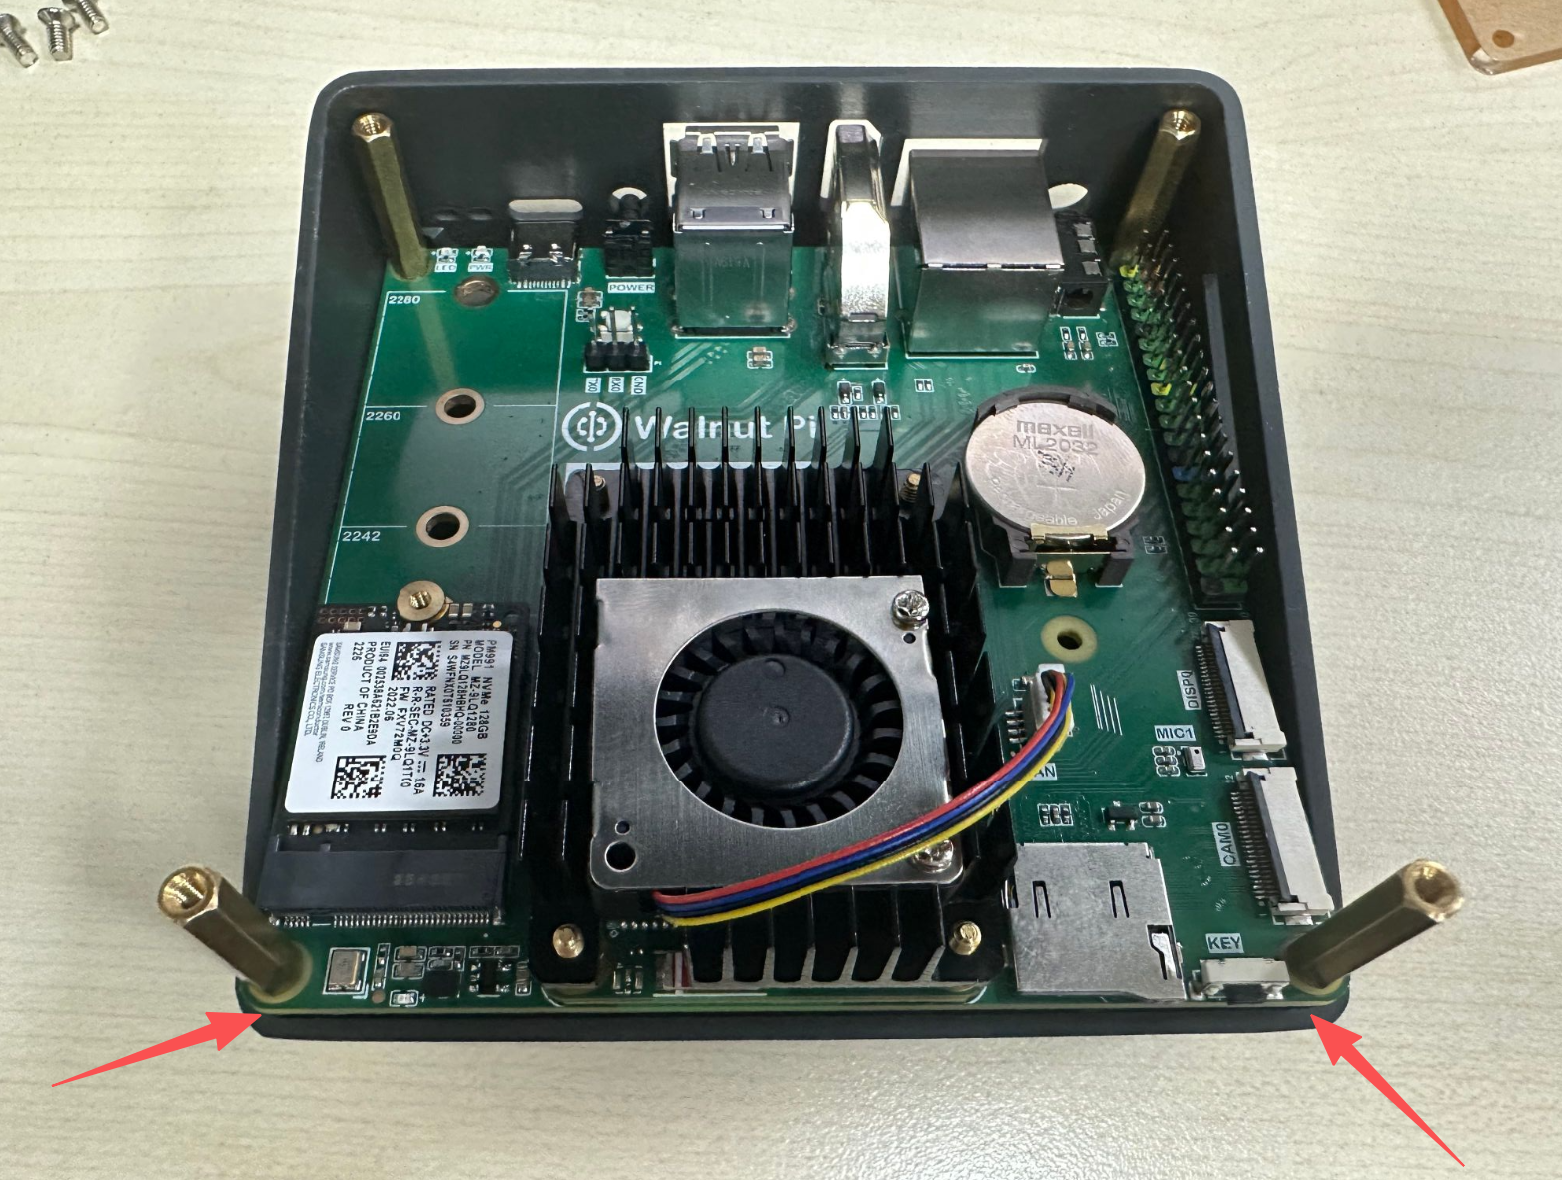
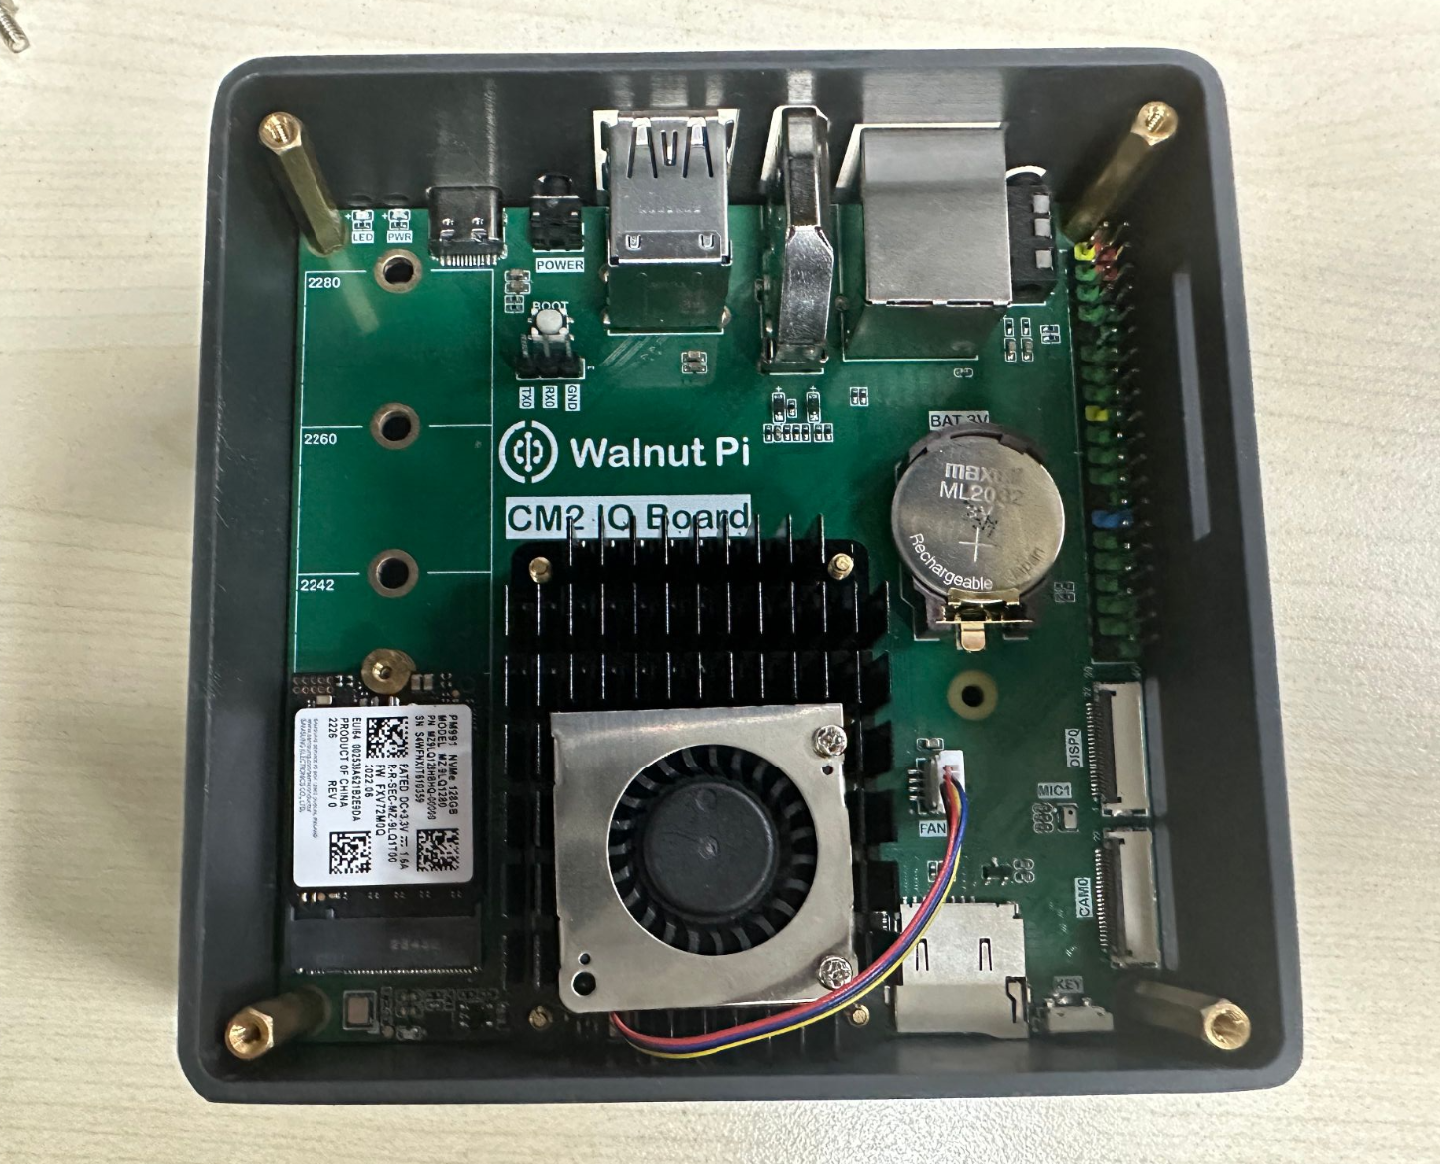
After pushing it in, lay it flat as shown below:
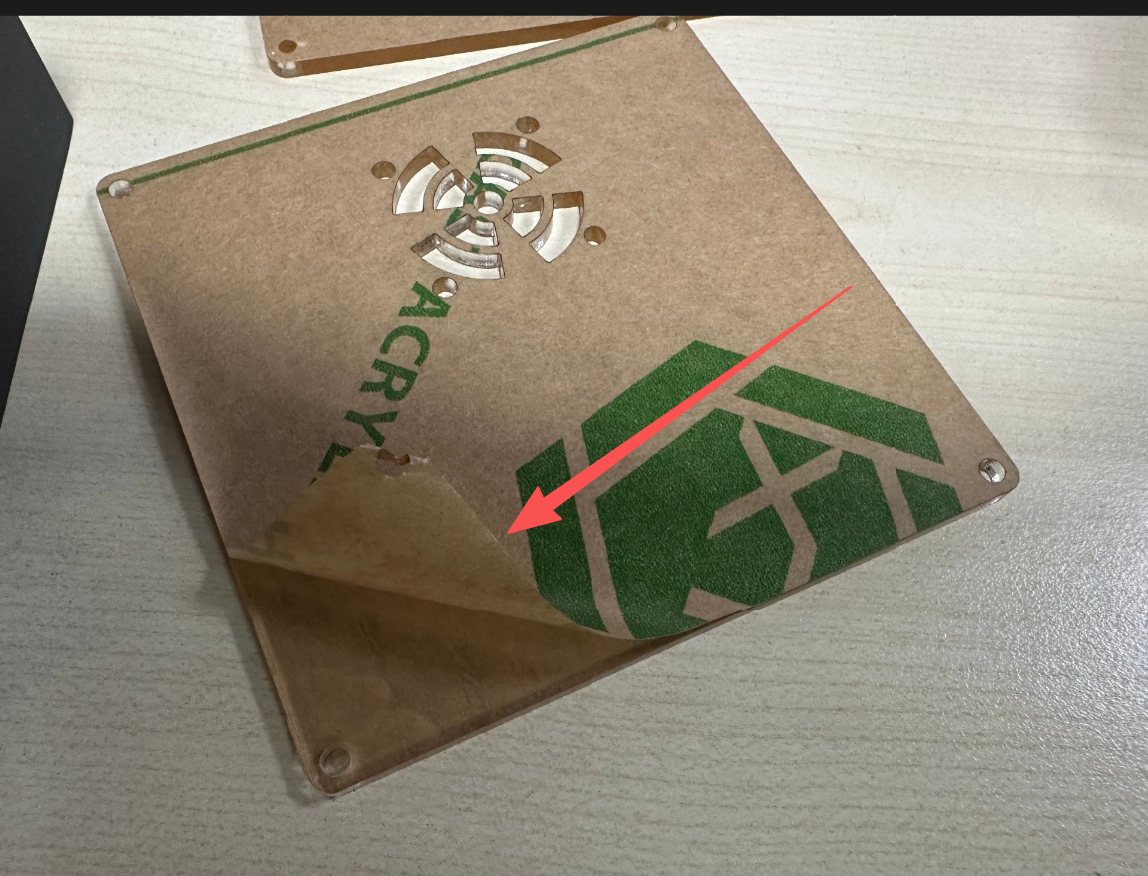
Peel off the protective films from the 2 acrylic panels.
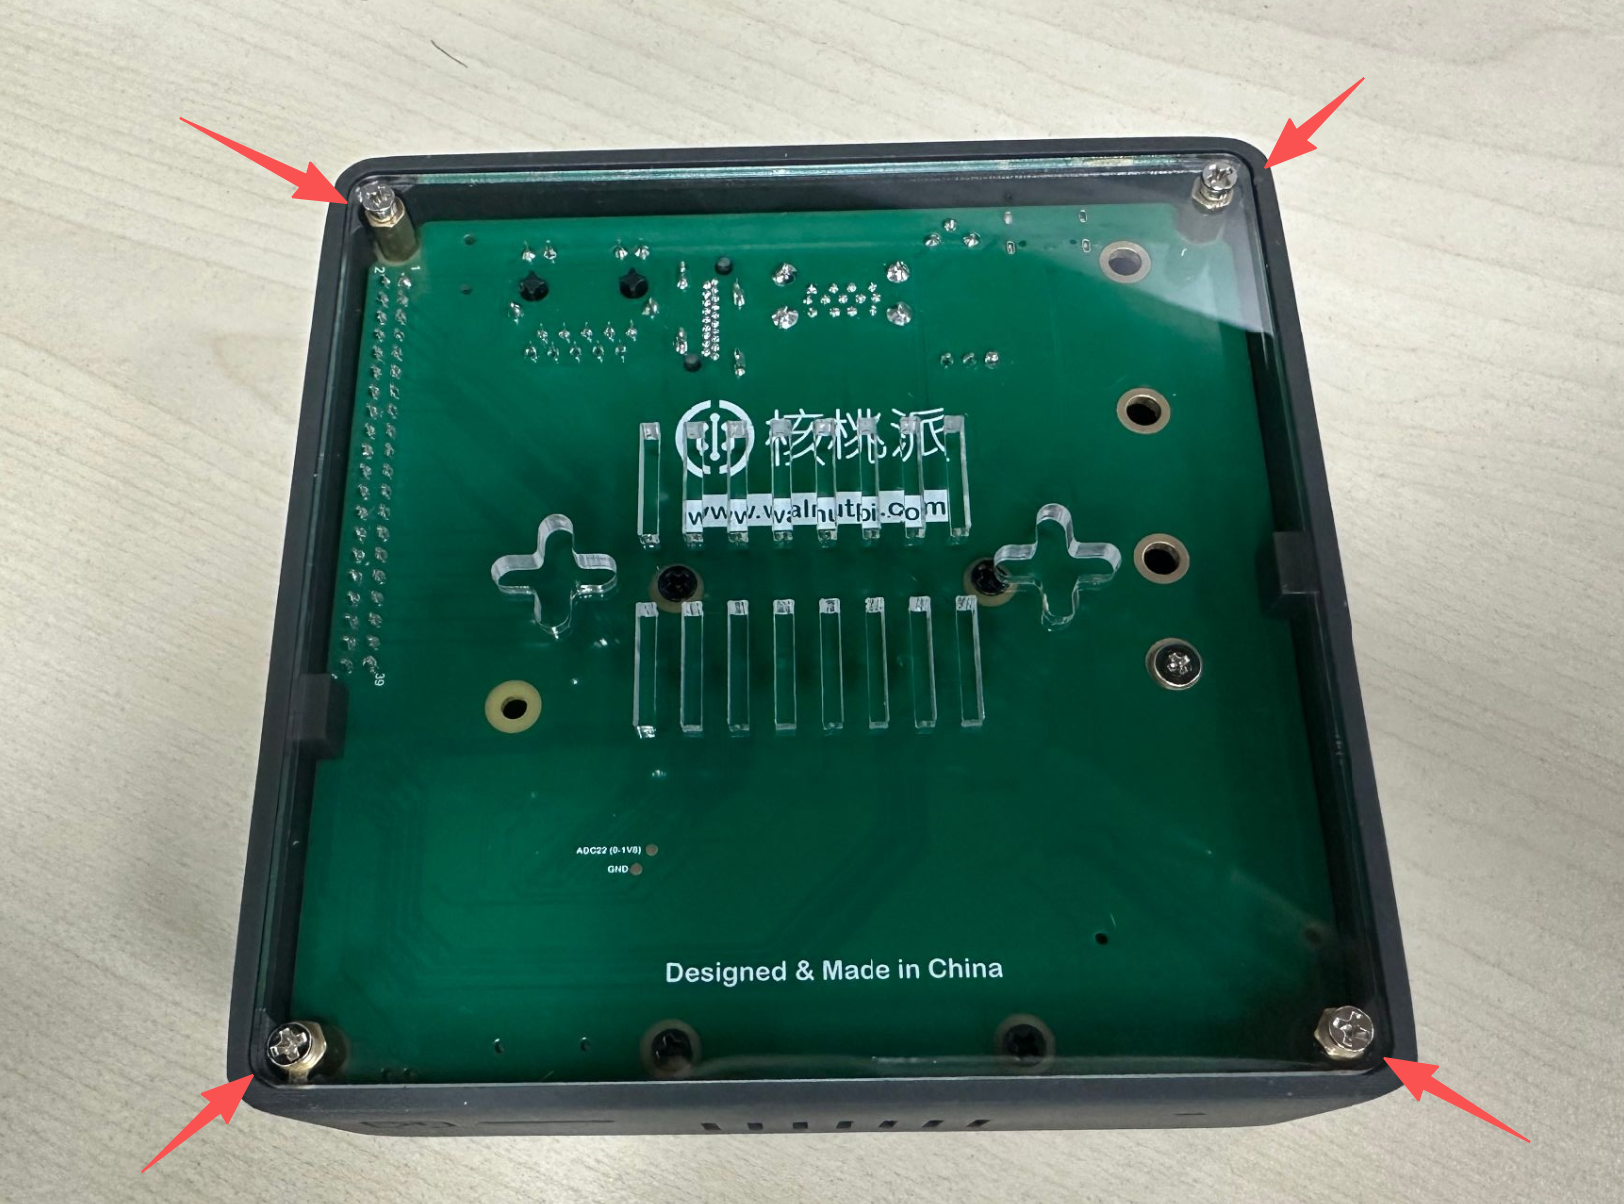
Screw the acrylic bottom cover into place. The bottom cover features wall-mounting holes.
Install the top cover in the same way, making sure the fan hole is positioned above the cooling fan.
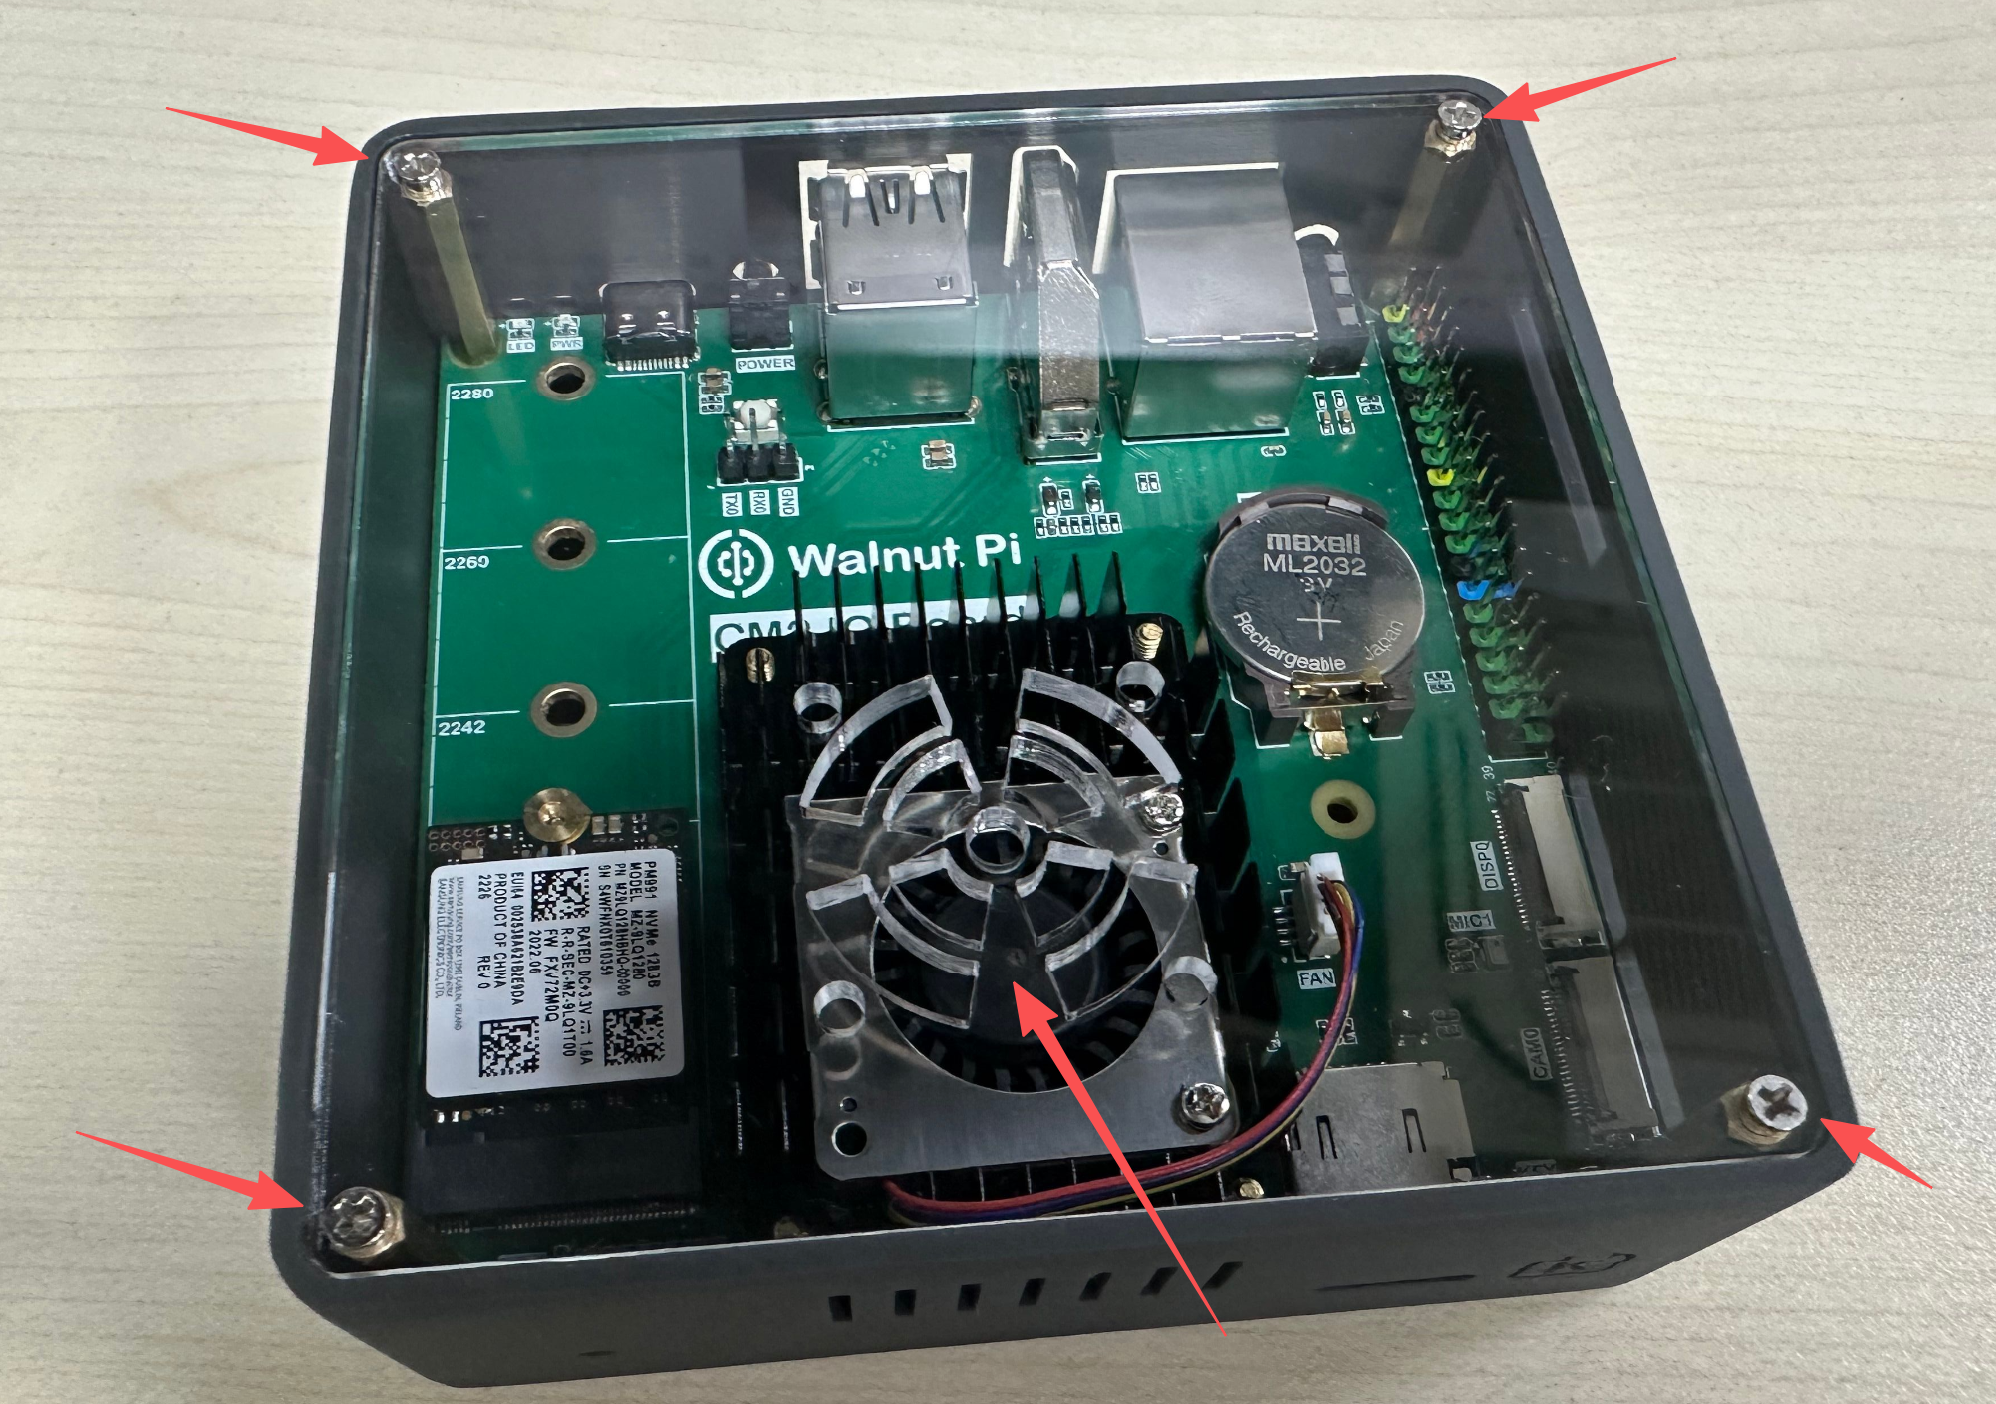
Installation is now complete.