System Image Flashing
- Video Tutorial
WalnutPi OS is a free operating system based on Debian, optimized for WalnutPi hardware, and is the recommended operating system for normal use on WalnutPi.
WalnutPi's operating system is installed on an SD card. Currently, two images are available: a customized Debian desktop version and a server version without a desktop.
-
Desktop Version: WalnutPi's customized Debian has been heavily modified to provide an experience closer to Windows. The system comes pre-installed with rich application software, ready to use out of the box. It includes C and Python programming software, Google Chrome browser, LibreOffice (compatible with Microsoft Office), image viewer, VLC media player, screenshot tool, etc., aiming to lower the entry barrier for everyone.
-
Server Version (no desktop): Uses terminal-based interaction. The advantages are faster boot speed, lower memory usage, and low power consumption, making it especially suitable for users familiar with Linux commands. You can even use it to deploy a small server.
Normal User (default)Username: pi ; Password: piAdministrator AccountUsername: root ; Password: root
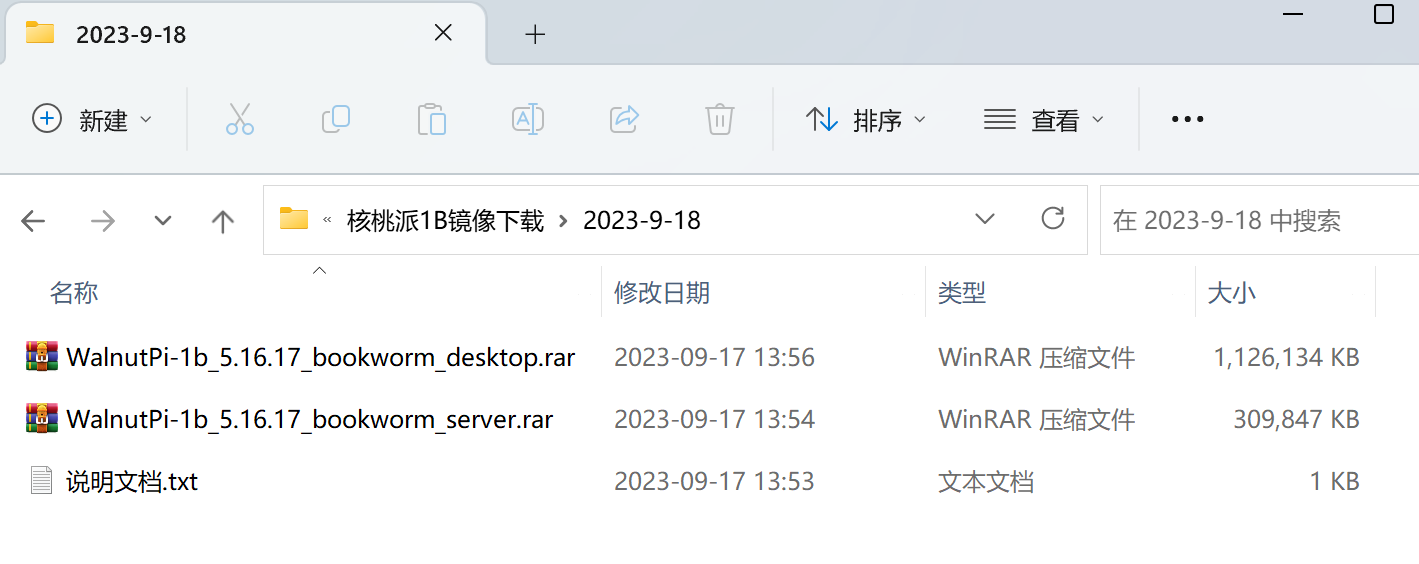
Image Download
- Baidu Netdisk Link: https://pan.baidu.com/s/1-ytTK-KI1RP2KsoZpjFSrA?pwd=WPKJ
- Extraction Code: WPKJ
For update notes, refer to the 说明文档.txt file inside. If Baidu Netdisk downloads are slow, you can download from the QQ group files: 677173708
SD Boot Card Flashing
Using rufus (Recommended)
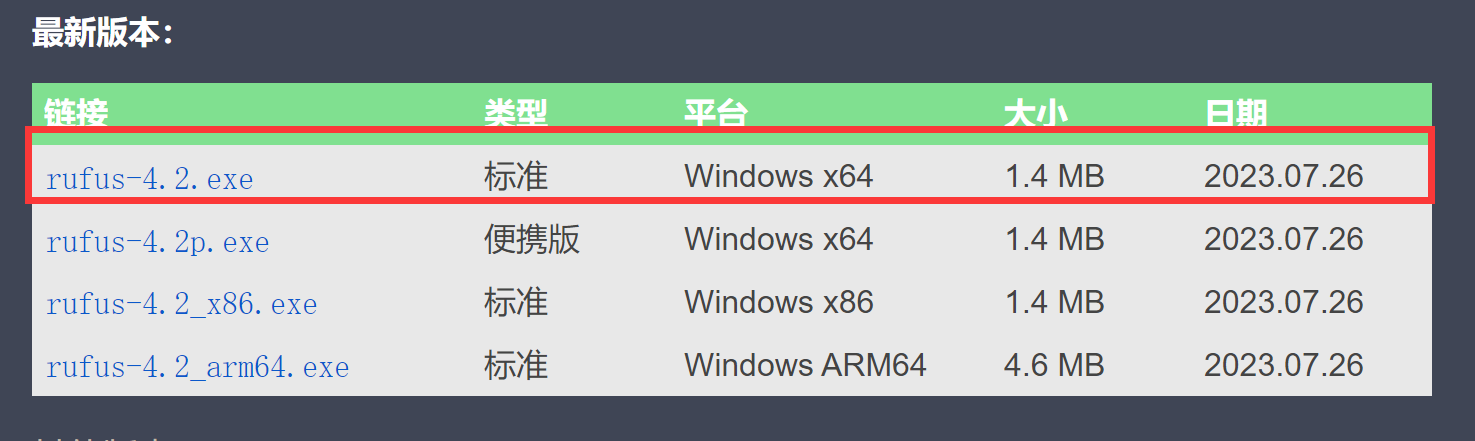
After downloading the image, we also need an image flashing tool. The lightweight tool rufus is recommended. Download link: https://rufus.ie/zh/#google_vignette
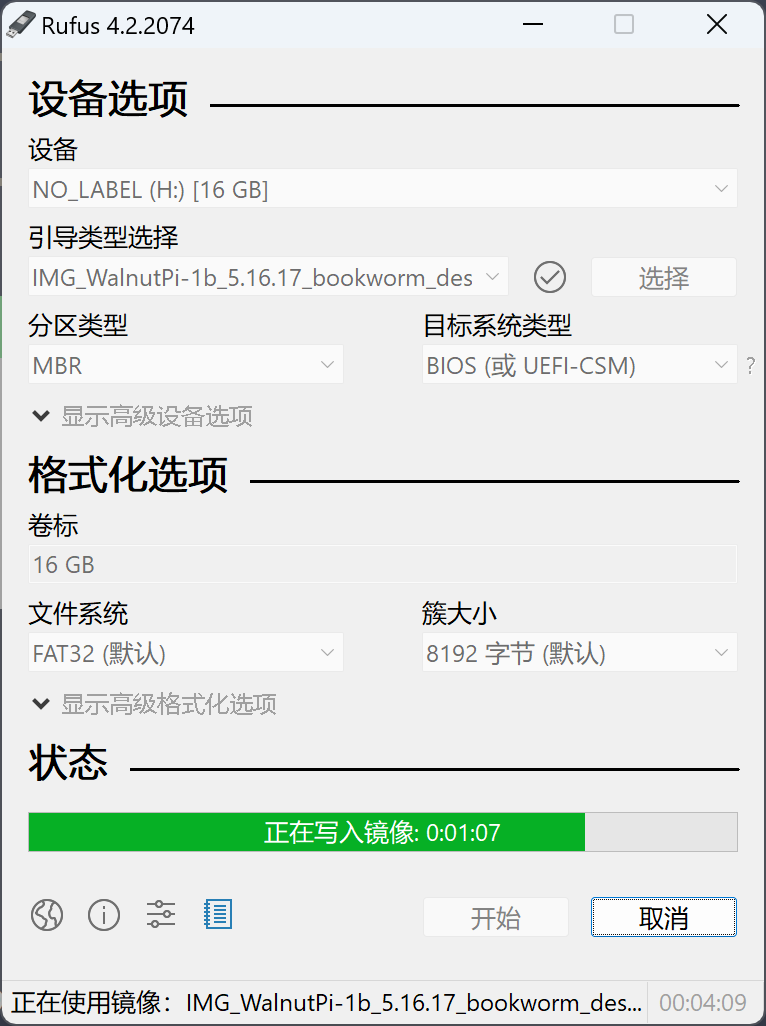
After downloading, open the software directly, select the USB drive letter and the image to flash:
Using balenaEtcher
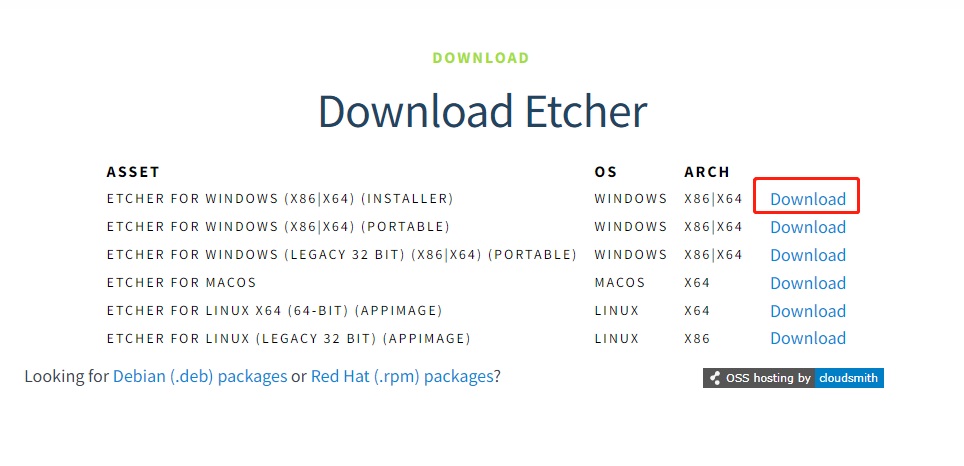
If rufus cannot flash the image, you can try balenaEtcher. balenaEtcher download: https://etcher.balena.io/#download-etcher
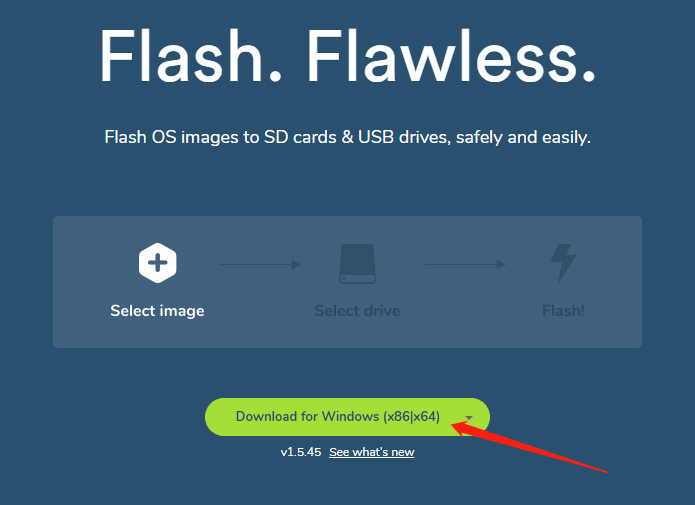
Choose the corresponding software based on your computer's operating system. Windows users should select the first option for download and installation by default.
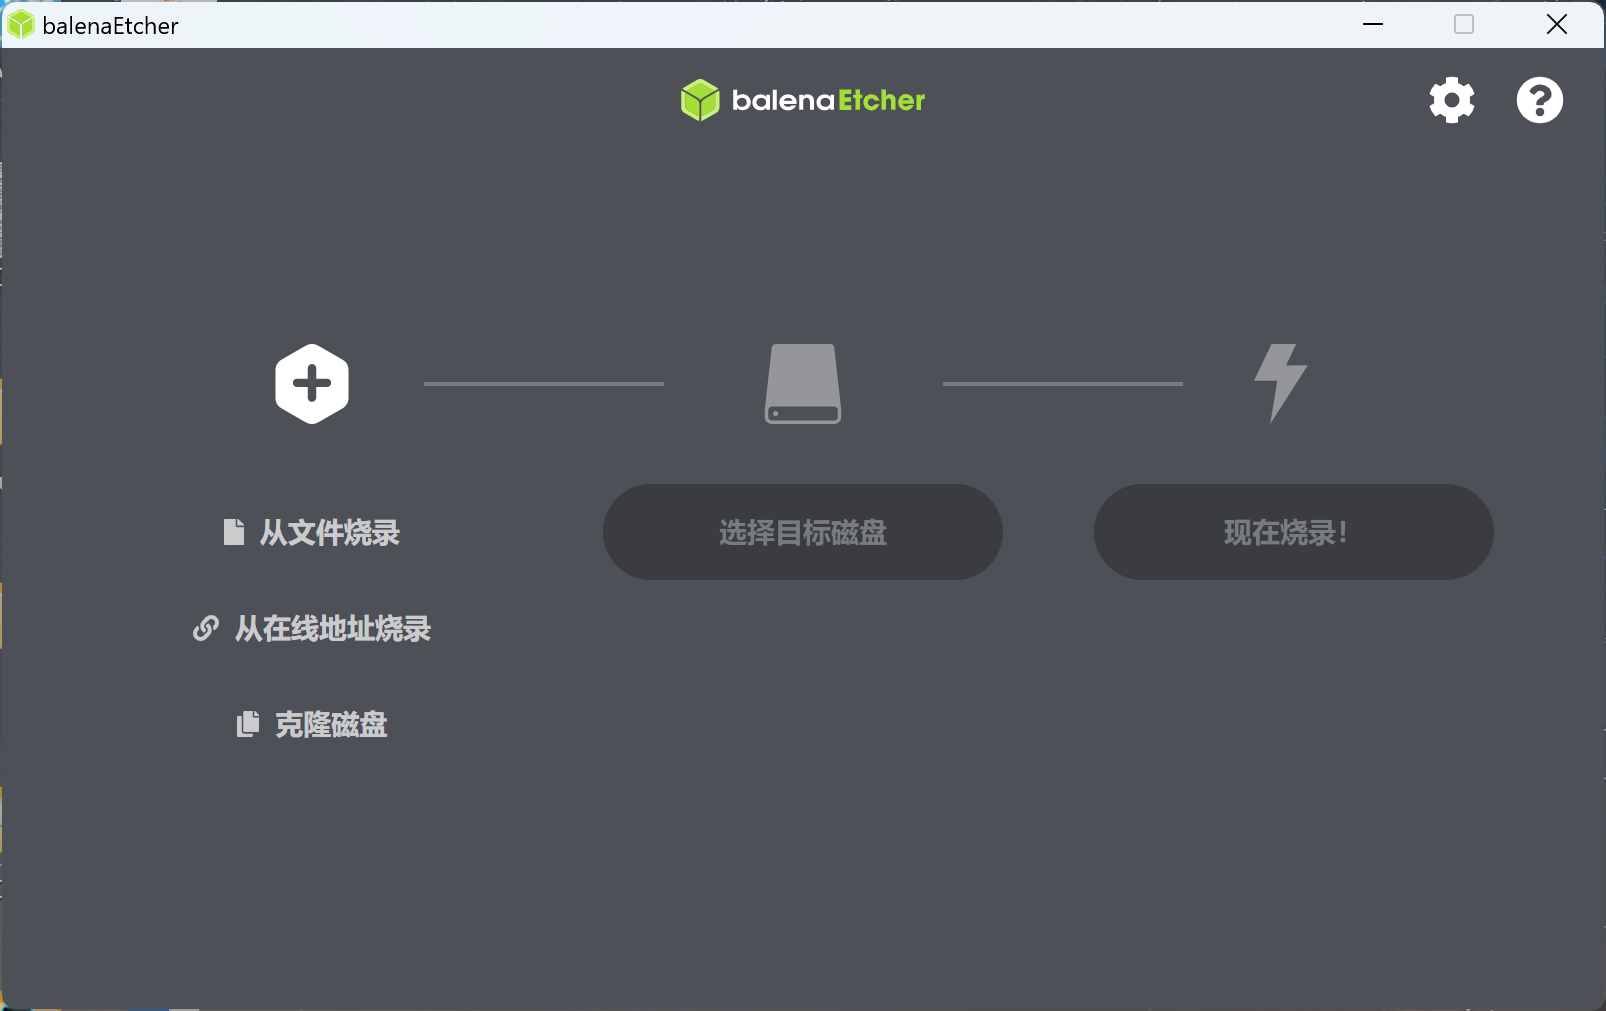
After installation, open the software and the following interface will appear:
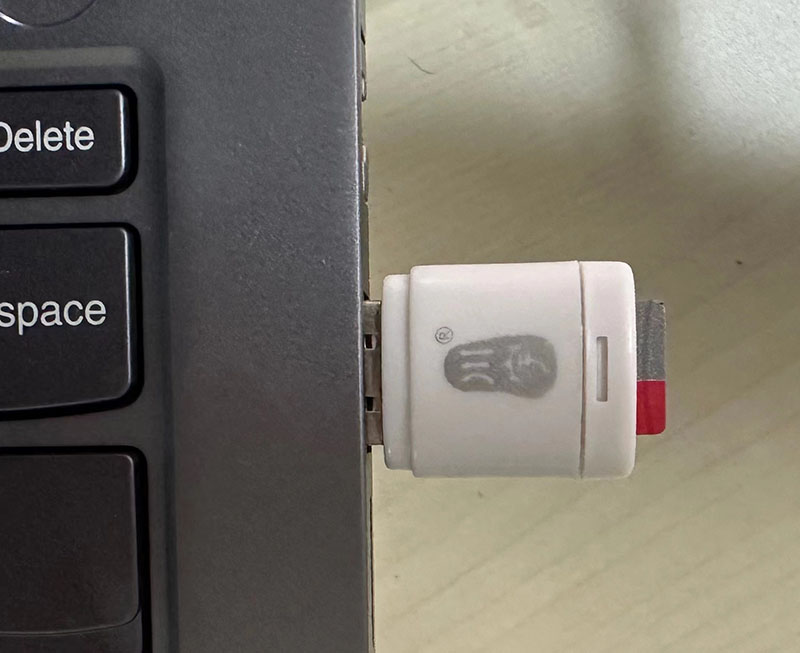
Insert the MicroSD card into the computer via a card reader (capacity of 16GB or above recommended, SanDisk Class 10 brand).
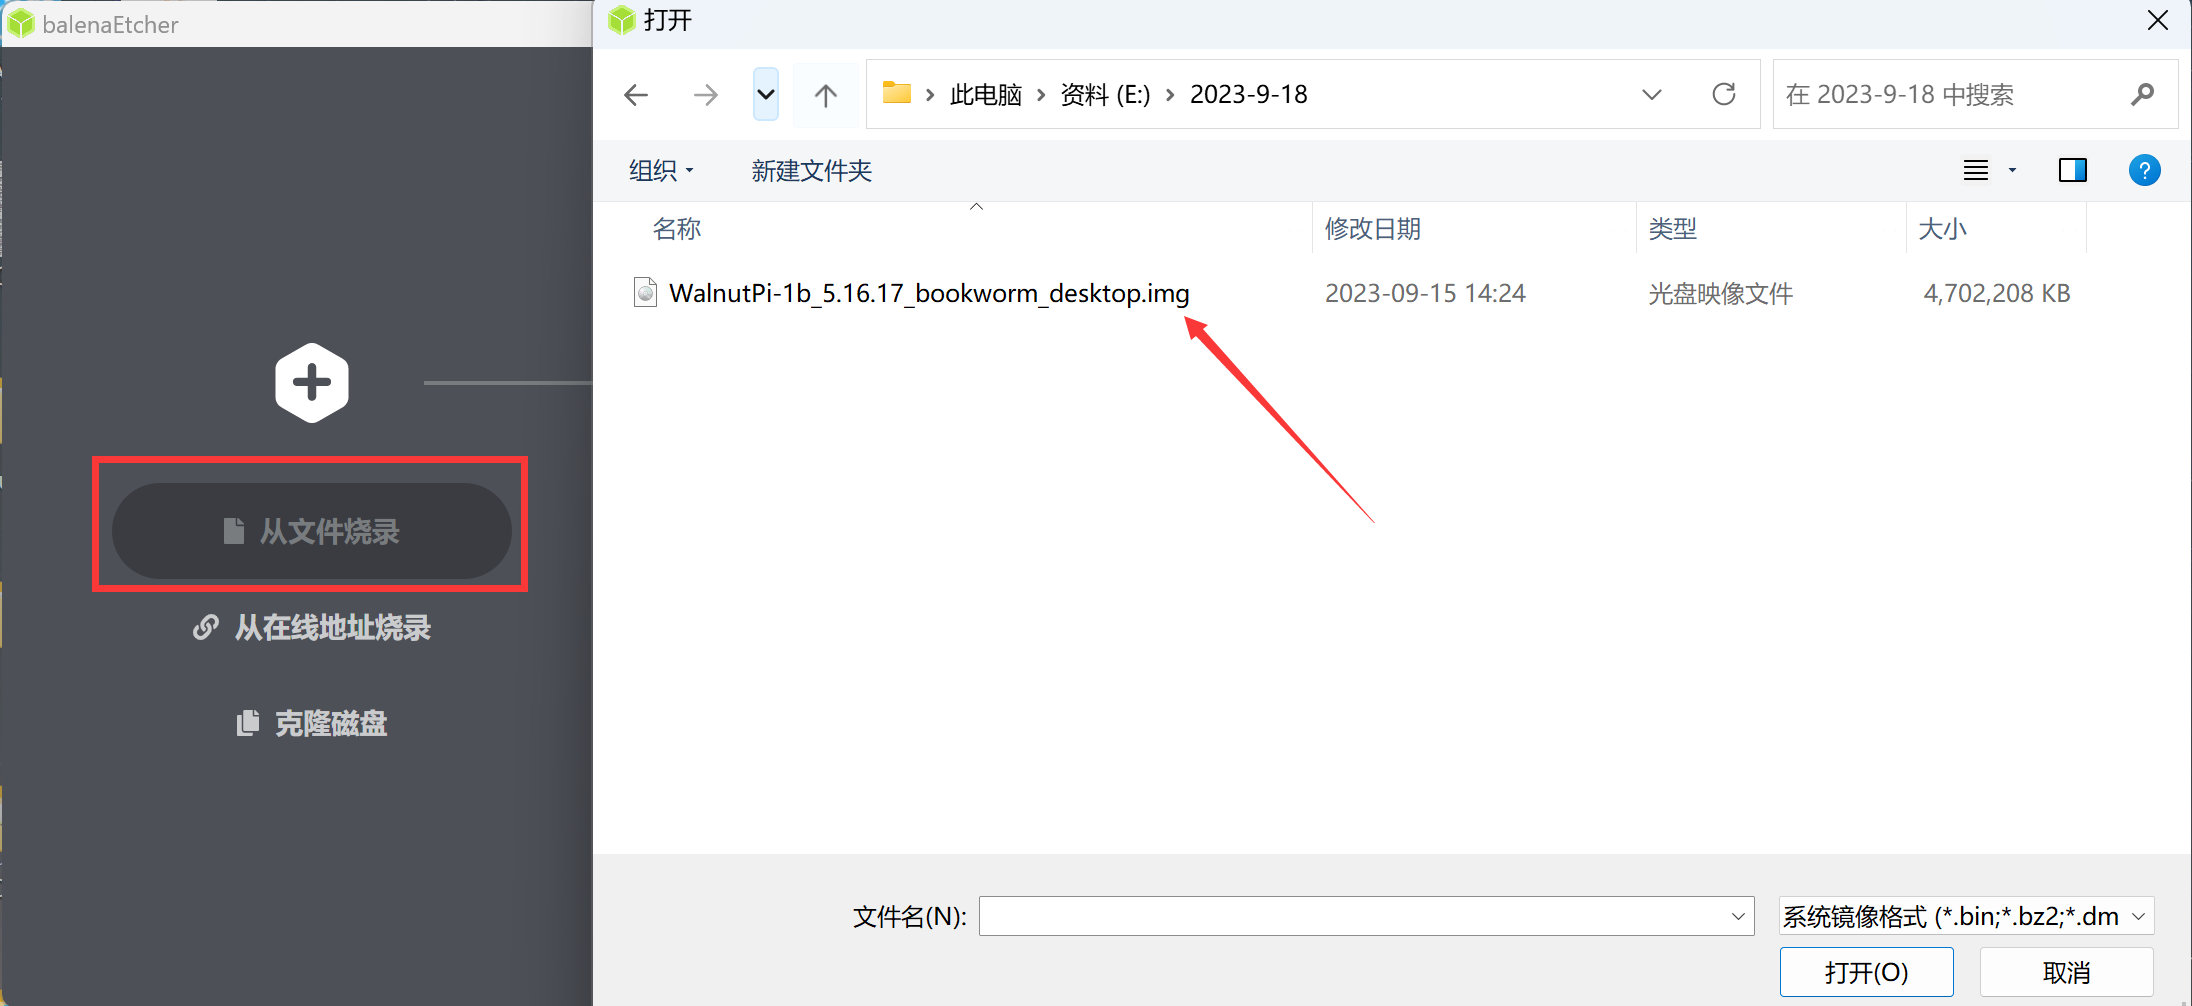
Go back to the flashing software, click "Select image" to choose the previously downloaded system image file. If the file downloaded from Netdisk is compressed, extract it first to get the .img file before selecting.
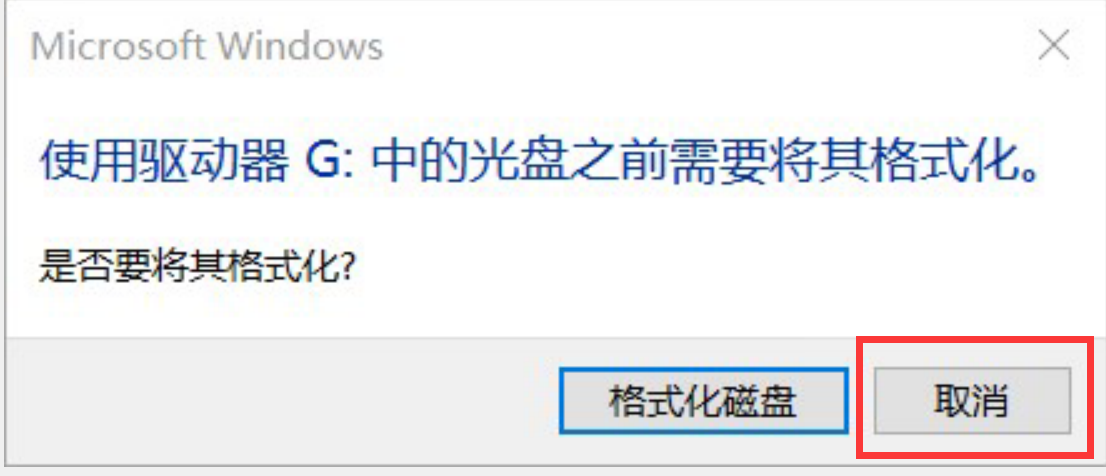
Then in "Select Drive," choose the drive letter corresponding to the SD card / USB drive. If prompted to format the drive, simply click Cancel — the flashing software will format the SD card itself.
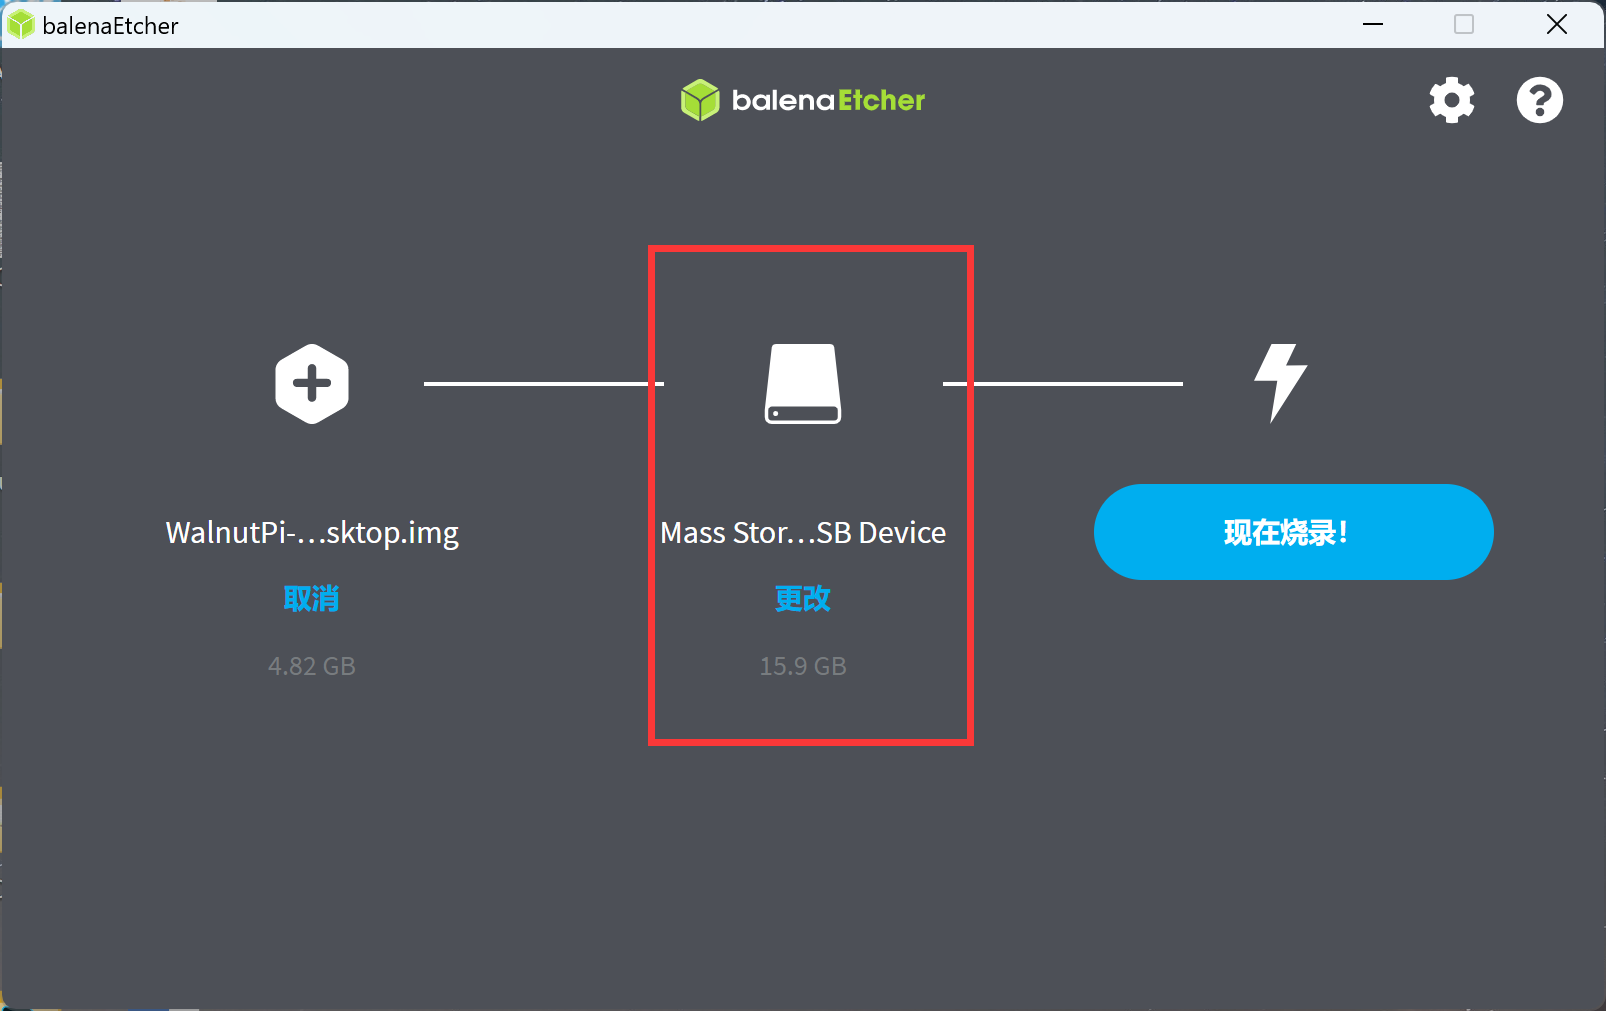
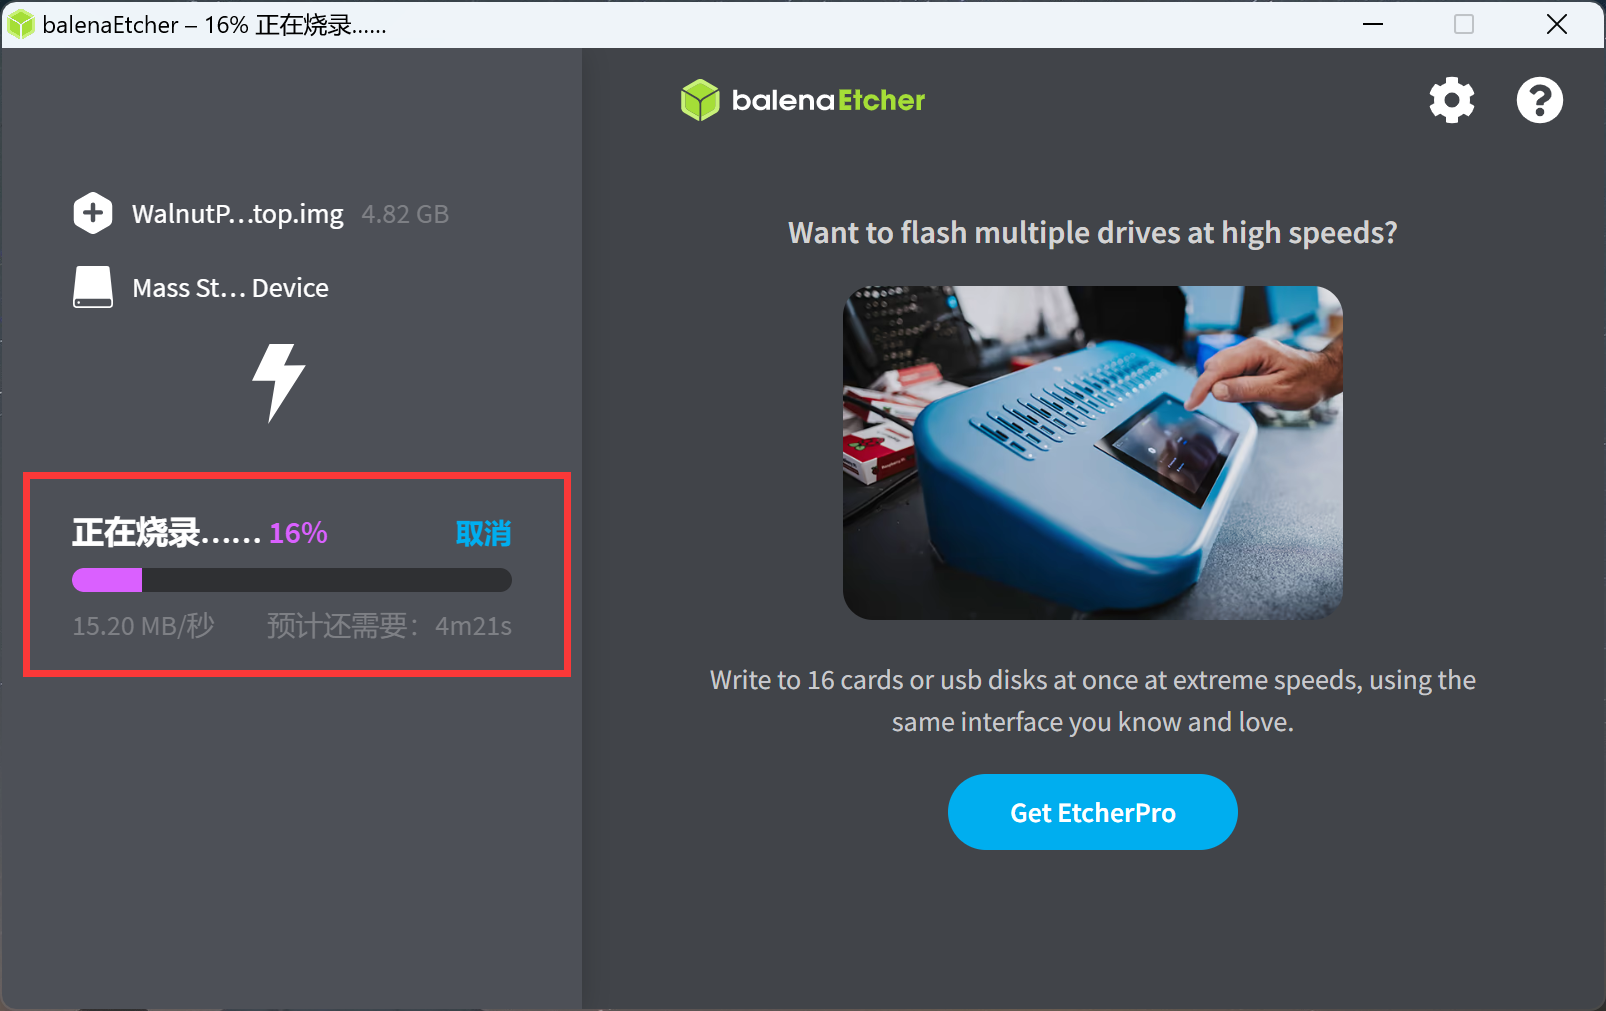
Click "Flash" to start writing the image. The flashing process will show progress:
Once flashing is complete, it will look like this:
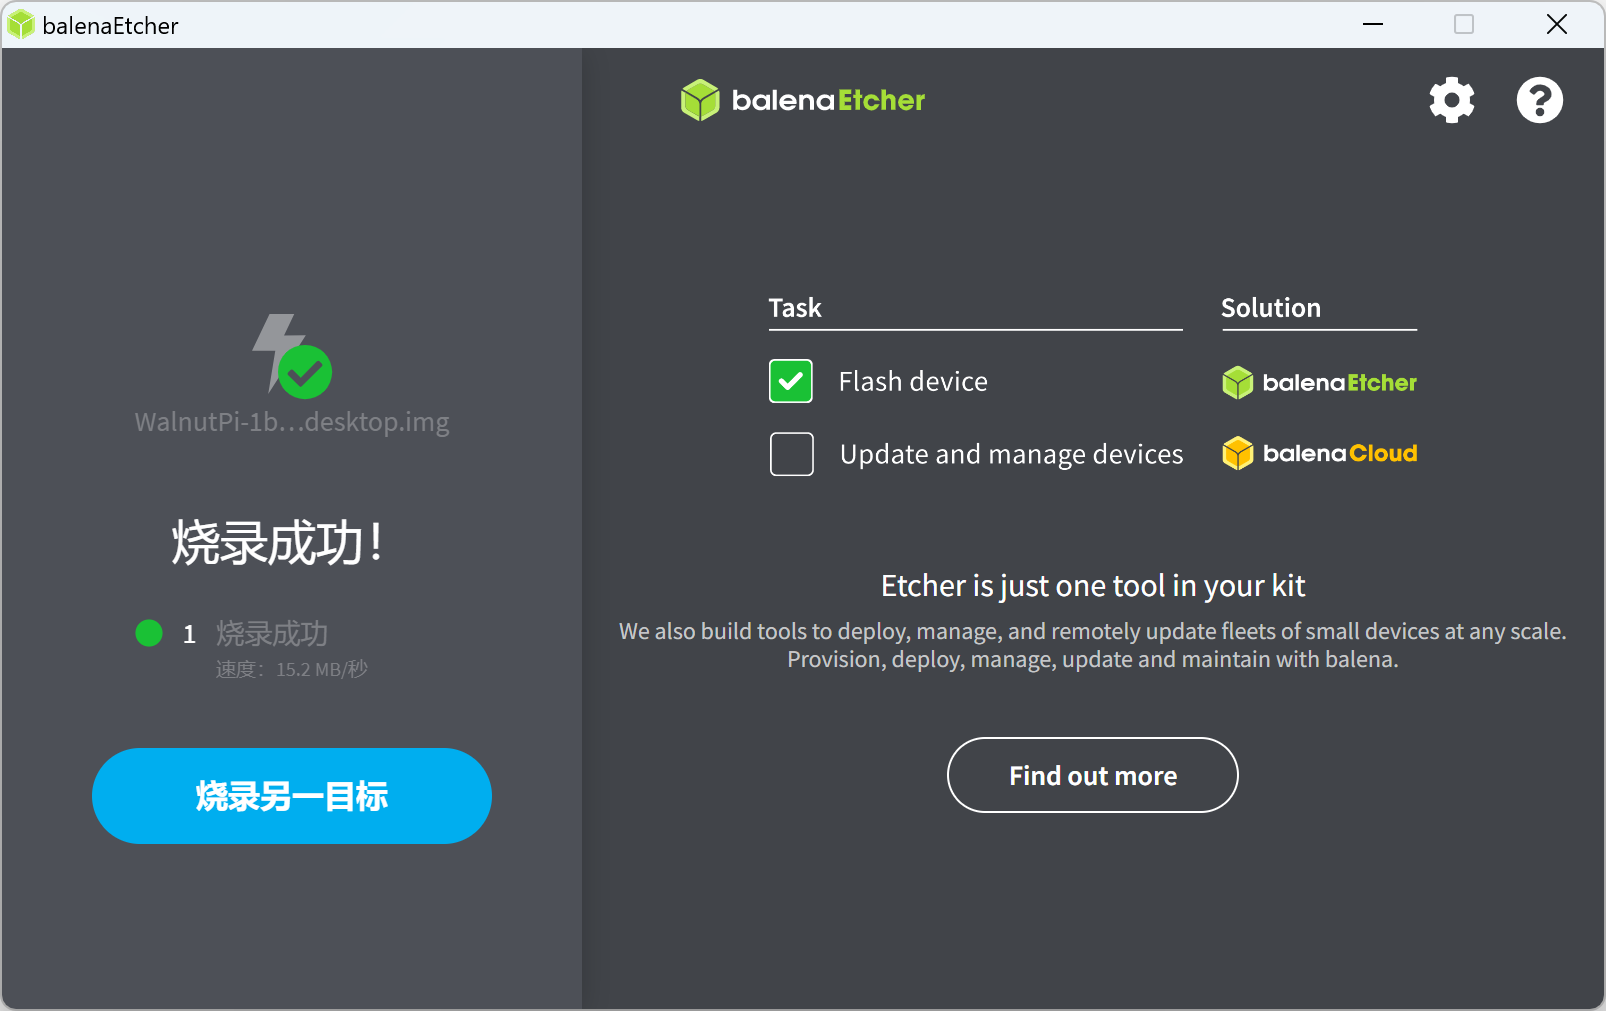
After flashing is complete, Windows will only show a 100MB partition. This is normal; it contains some WalnutPi configuration files.
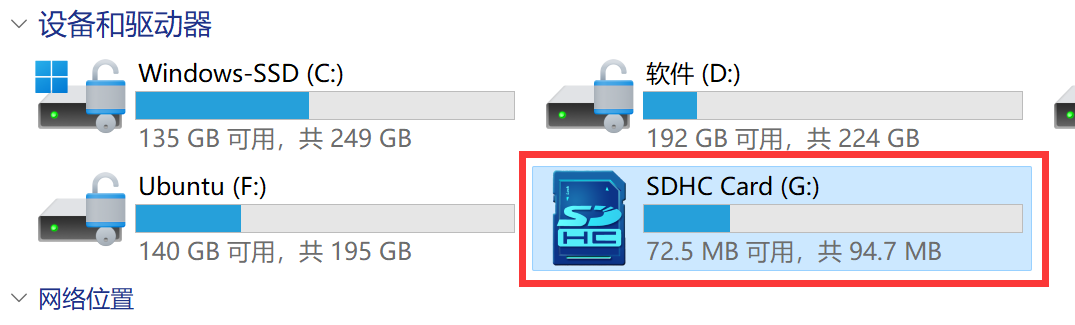
EMMC Flashing
The following tutorial applies to WalnutPi 1st generation hardware with EMMC (CM1 module).
The following features require WalnutPi 1st generation image version 2025-3-4 (V2.5.0) or above. When both the SD card and EMMC have an operating system, the main chip will boot from the SD card.
Automatic SD Card Flashing (Recommended)
WalnutPi 2B provides a ready-made image system that can automatically flash to EMMC. Download link:
- Baidu Netdisk Link: https://pan.baidu.com/s/18GAIaxmyDuodkoGfJS21Hg?pwd=WPKJ
- Extraction Code: WPKJ
It contains the WalnutPi Debian image, including both desktop and server versions.
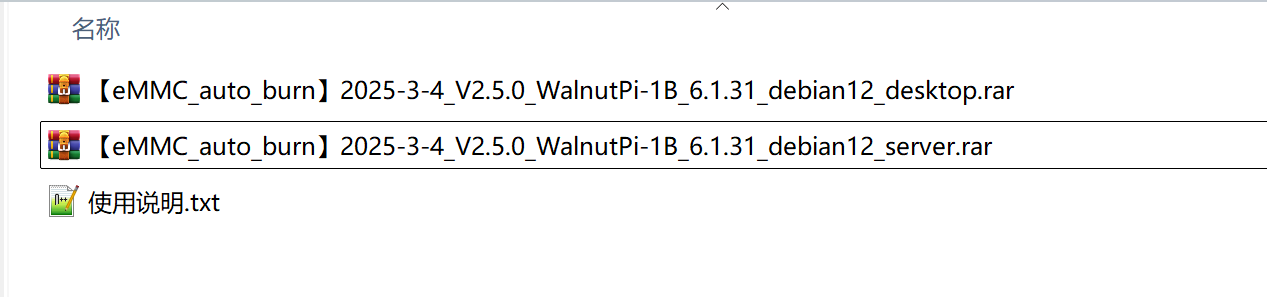
Use the SD Boot Card Flashing method above to flash this image to an SD card. After flashing, insert it into WalnutPi.
You can view the flashing progress in the following 3 ways:
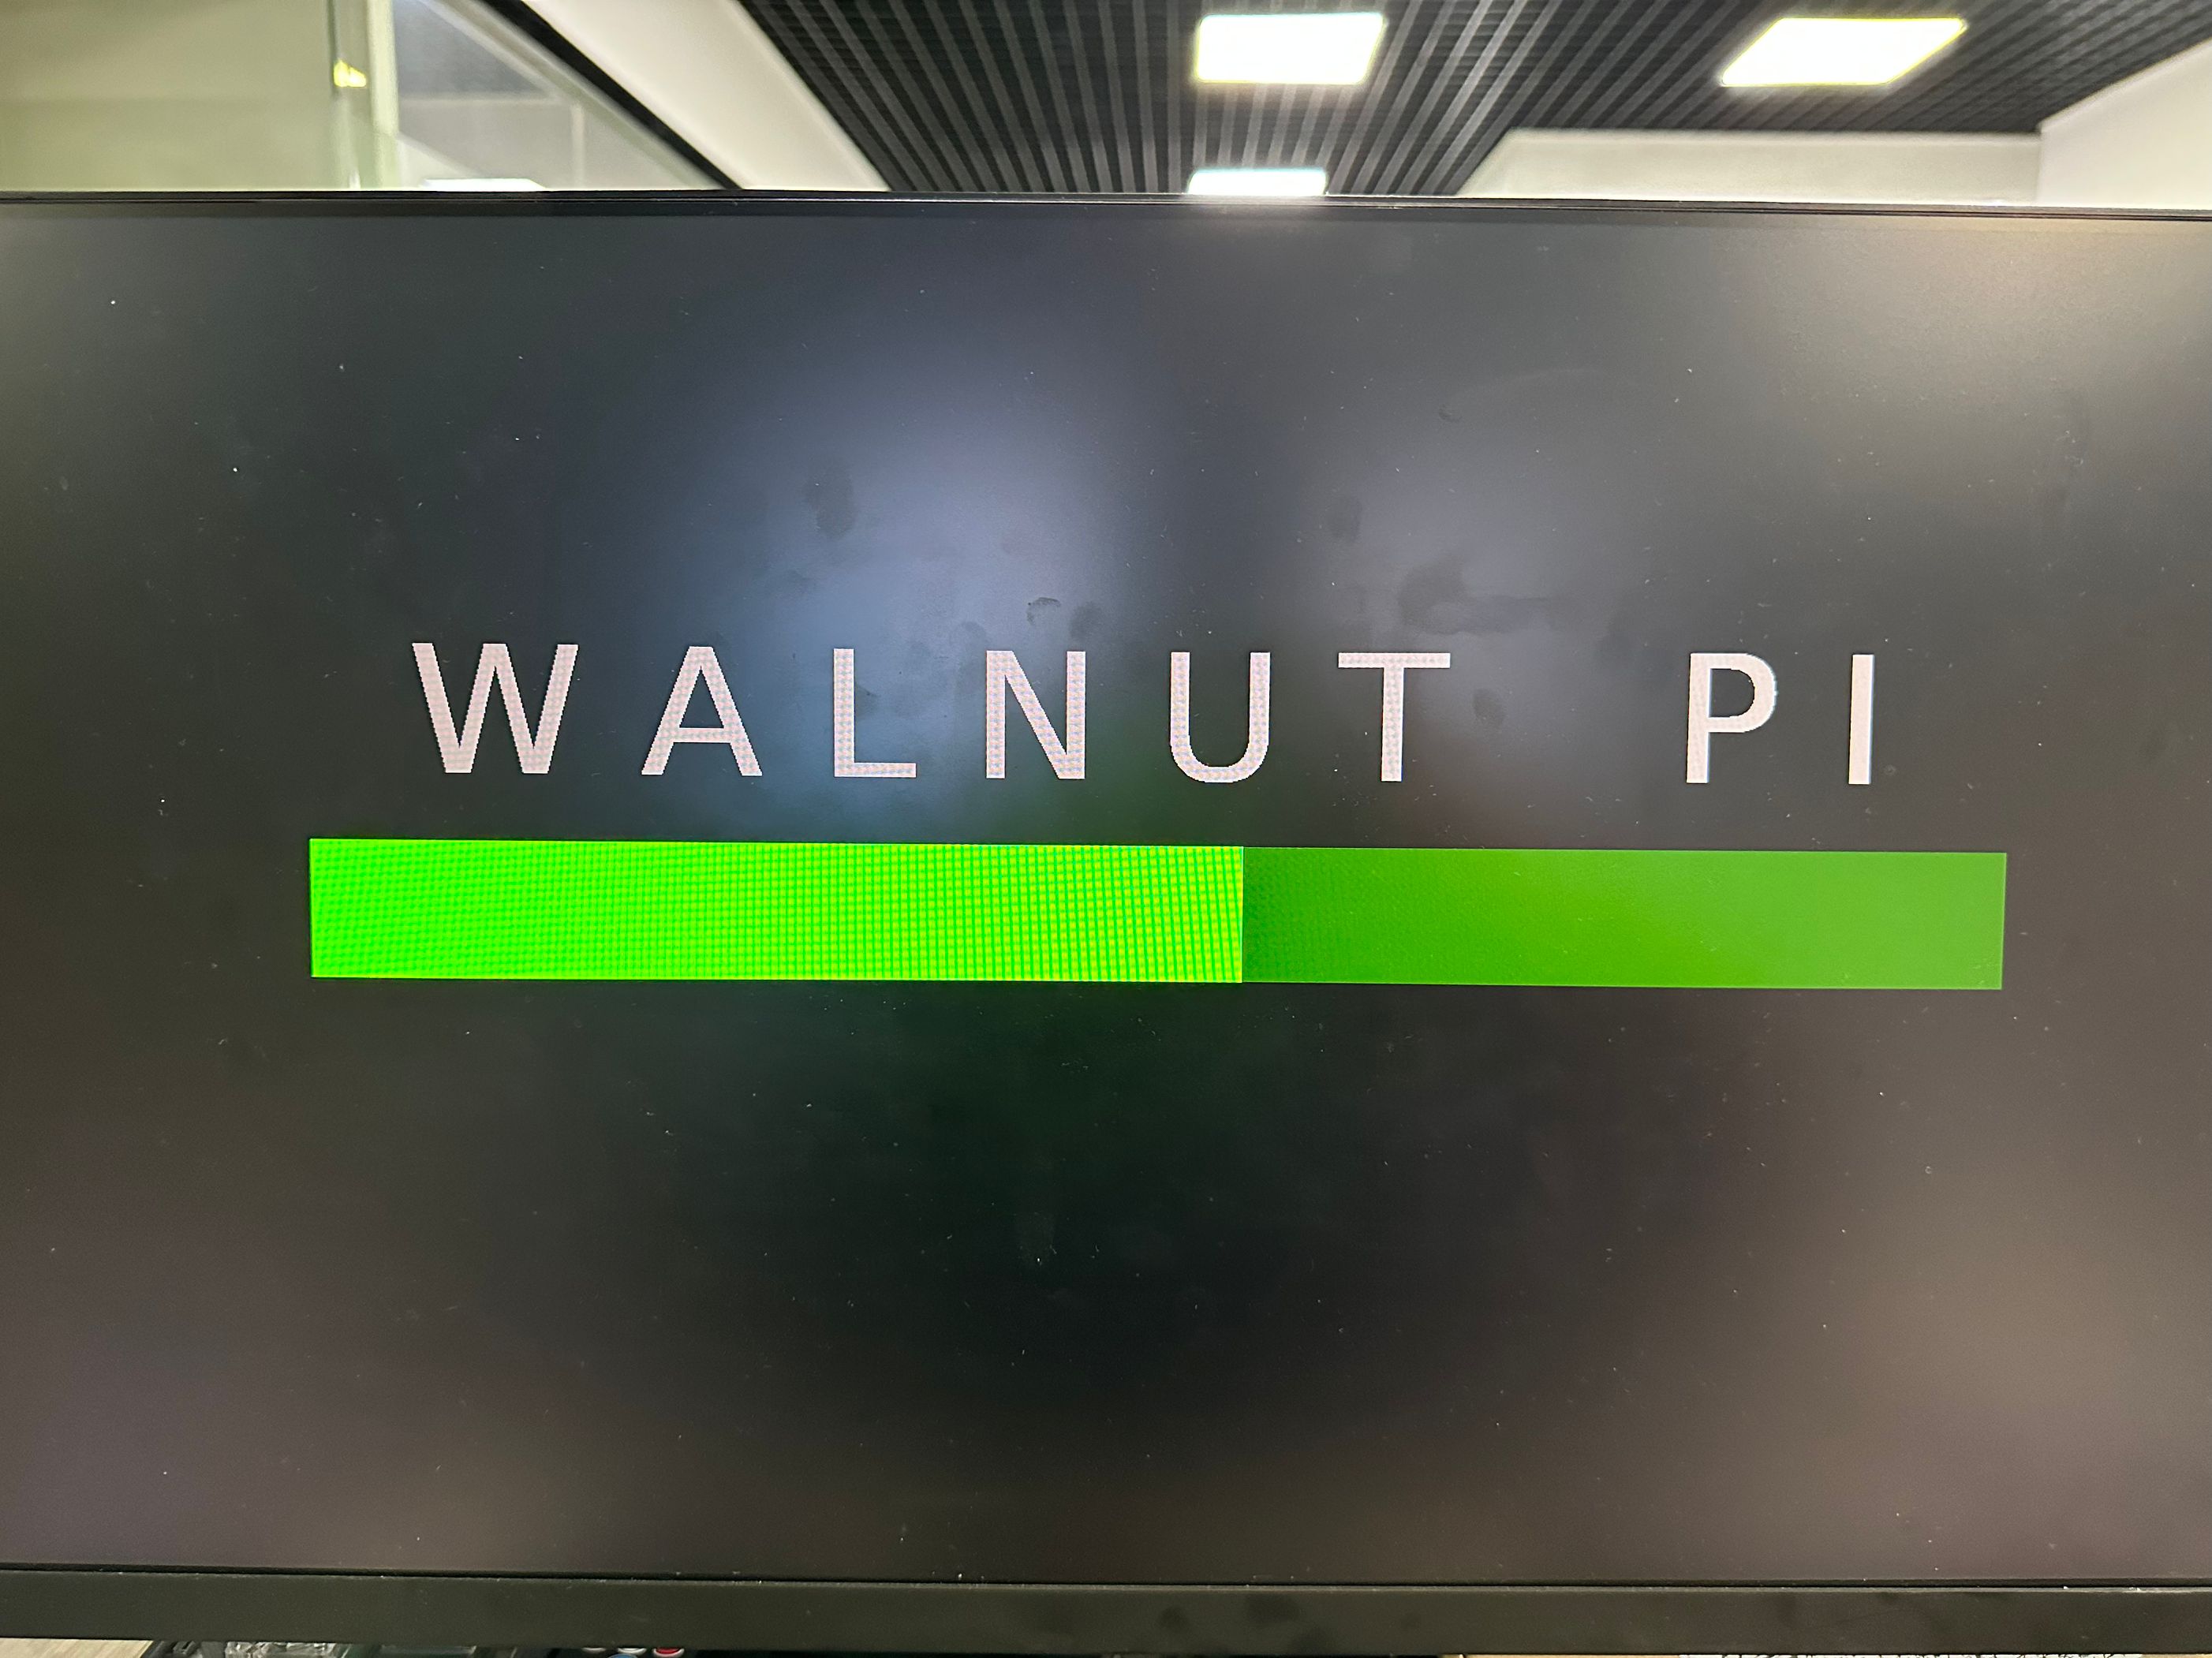
1. Connect an HDMI Display (1080P resolution recommended)
After the system boots, it will automatically display the flashing progress:
After flashing is complete, it will look like this:
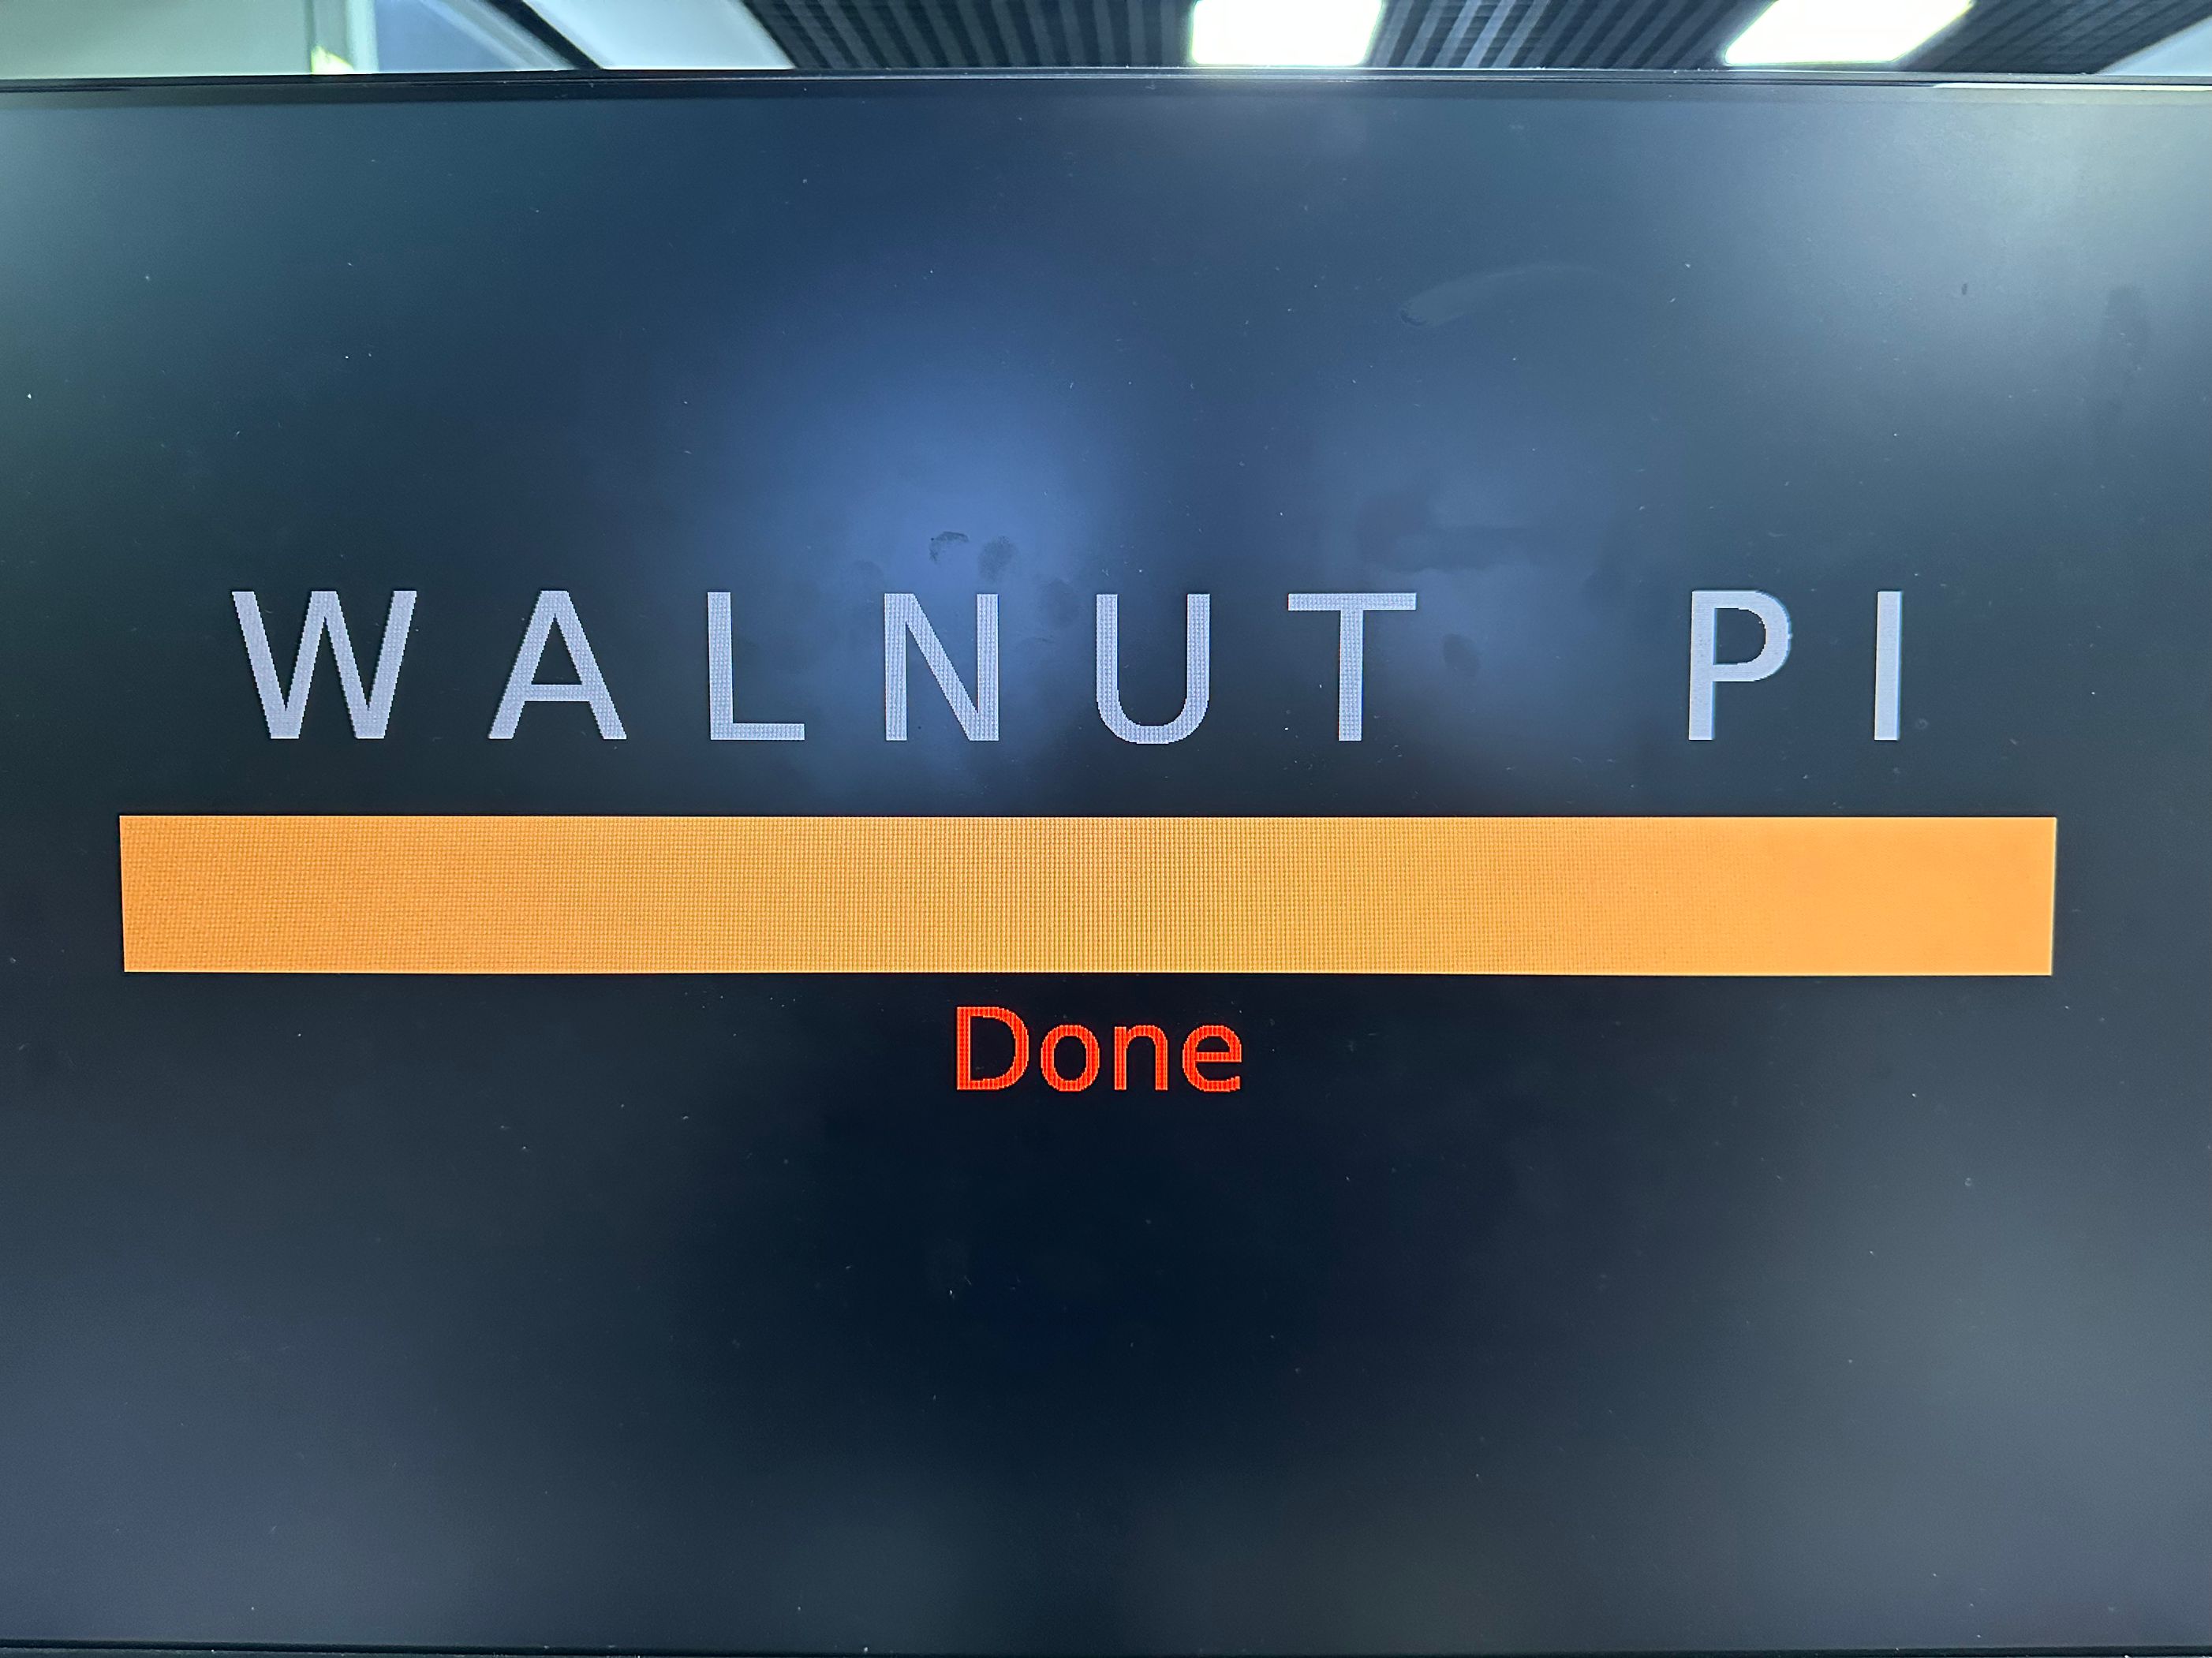
2. Serial Terminal
You can also view the flashing progress via the serial terminal:

3. LED Blue Light
The LED blue light flashes during flashing and turns off when flashing is complete.

After flashing is complete, power off, remove the SD card, and power on again to boot the system from EMMC.
Manual Flashing in WalnutPi Debian System
In addition to the above method, you can also boot a WalnutPi Debian system from an SD card, then mount the WalnutPi image via USB drive or network for manual flashing.
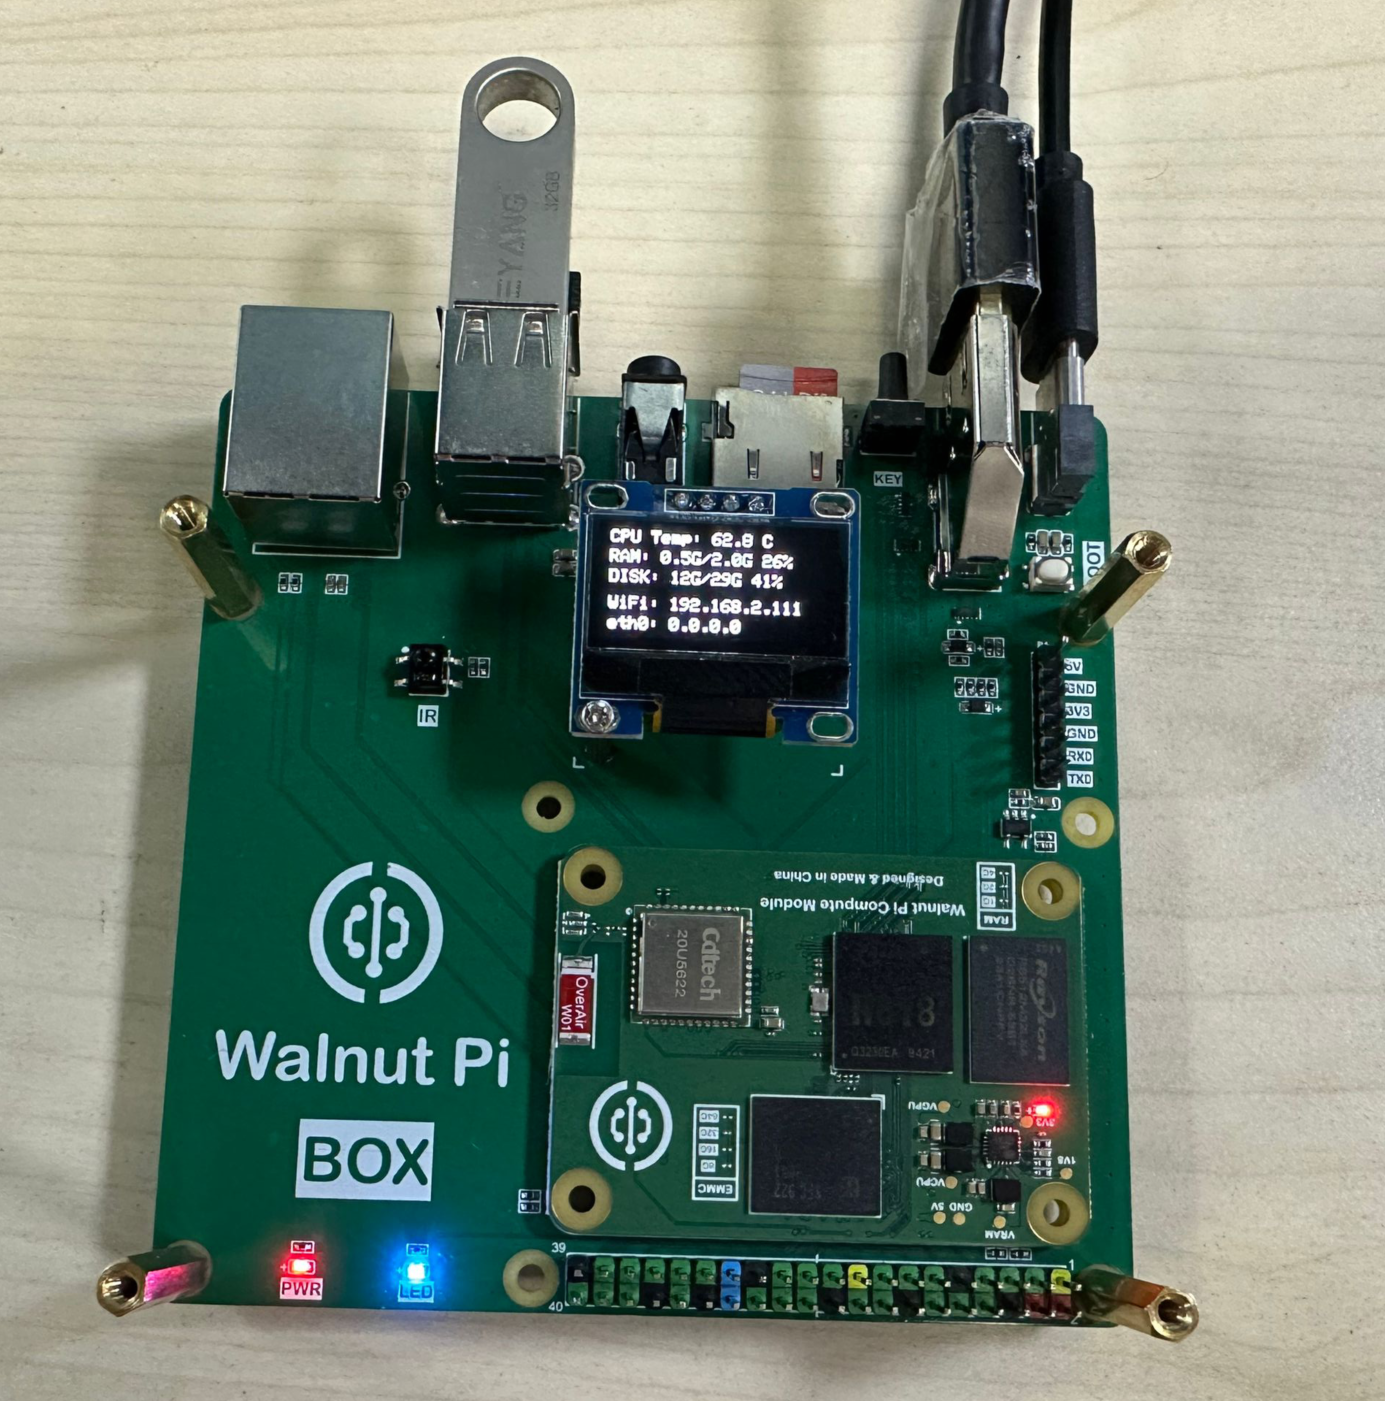
You can also compress the image into zip format, connect it to WalnutPi via USB drive, and then decompress the image using the unzip command to save copying time.
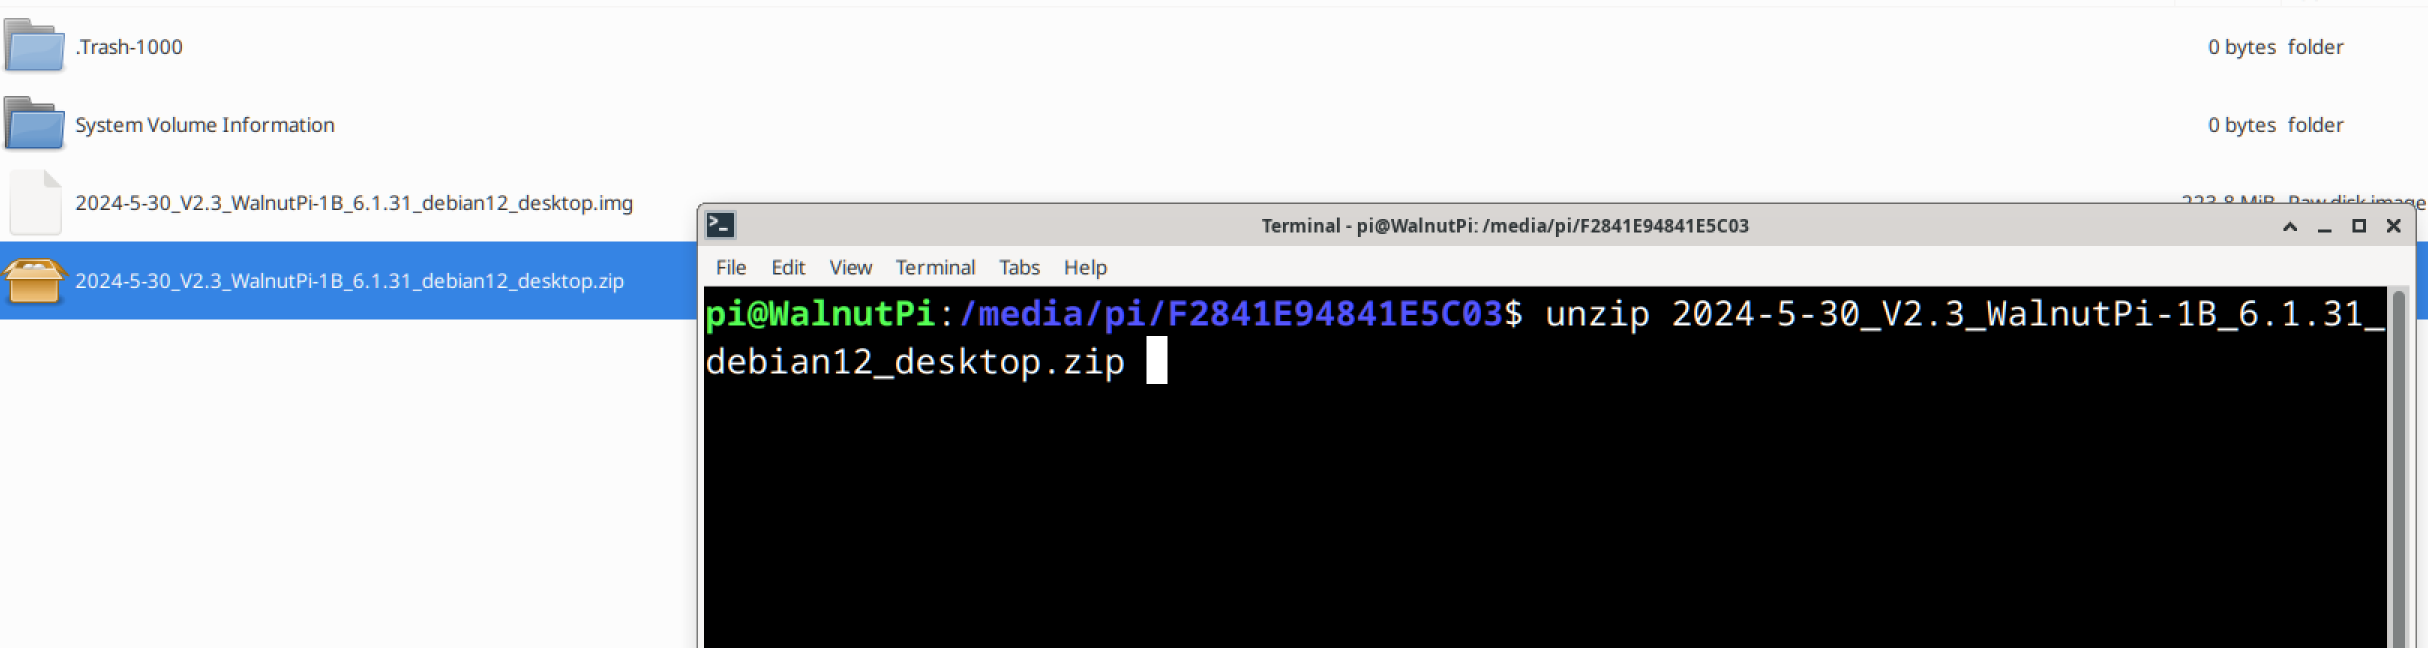
Extract to current directory:
unzip xxx.zip
You can also extract to a specified directory. The following command extracts the zip file to the /home/pi directory:
unzip xxx.zip -d /home/pi
Then use the following command to flash the img image file to WalnutPi EMMC:
sudo set-emmc burn xxx.img
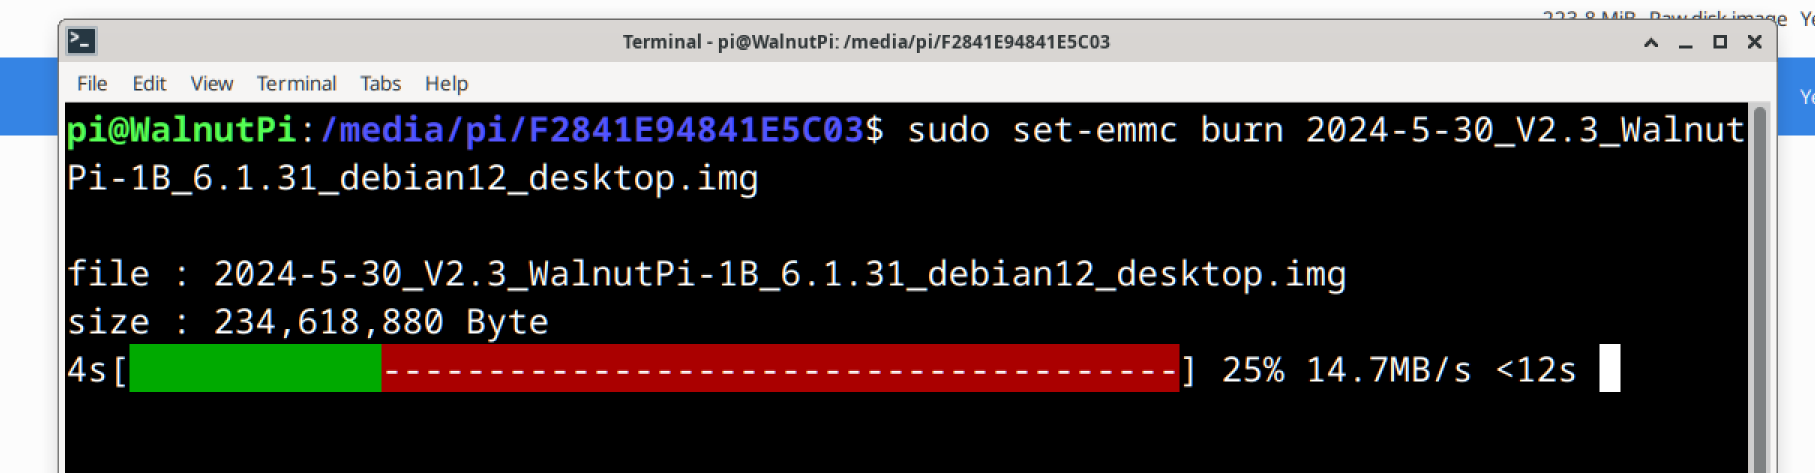
After flashing is complete, power off, remove the SD card, and if the system boots normally when powered on, it means the system has been flashed to EMMC and is working correctly.
USB Flashing (Requires a Blank SD Card)
This method takes longer for flashing.
Use the rufus tool to flash the USB image from the flashing package to an SD card.
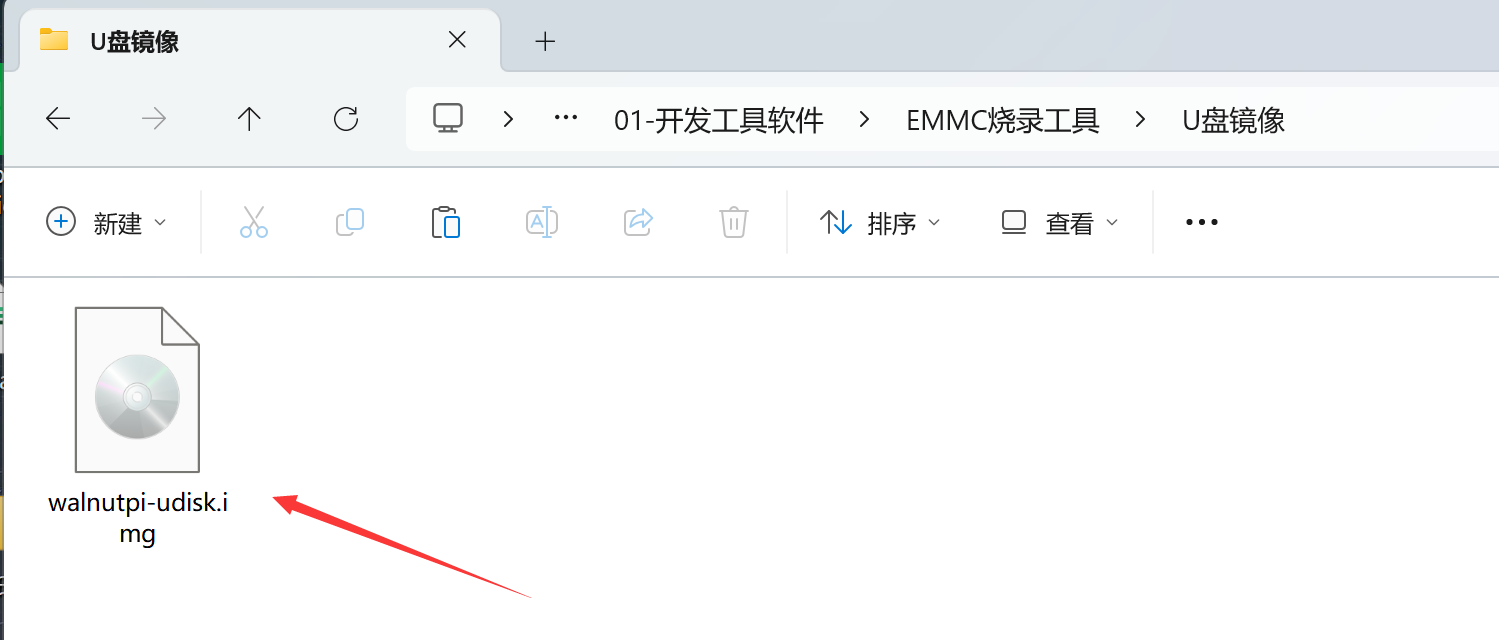
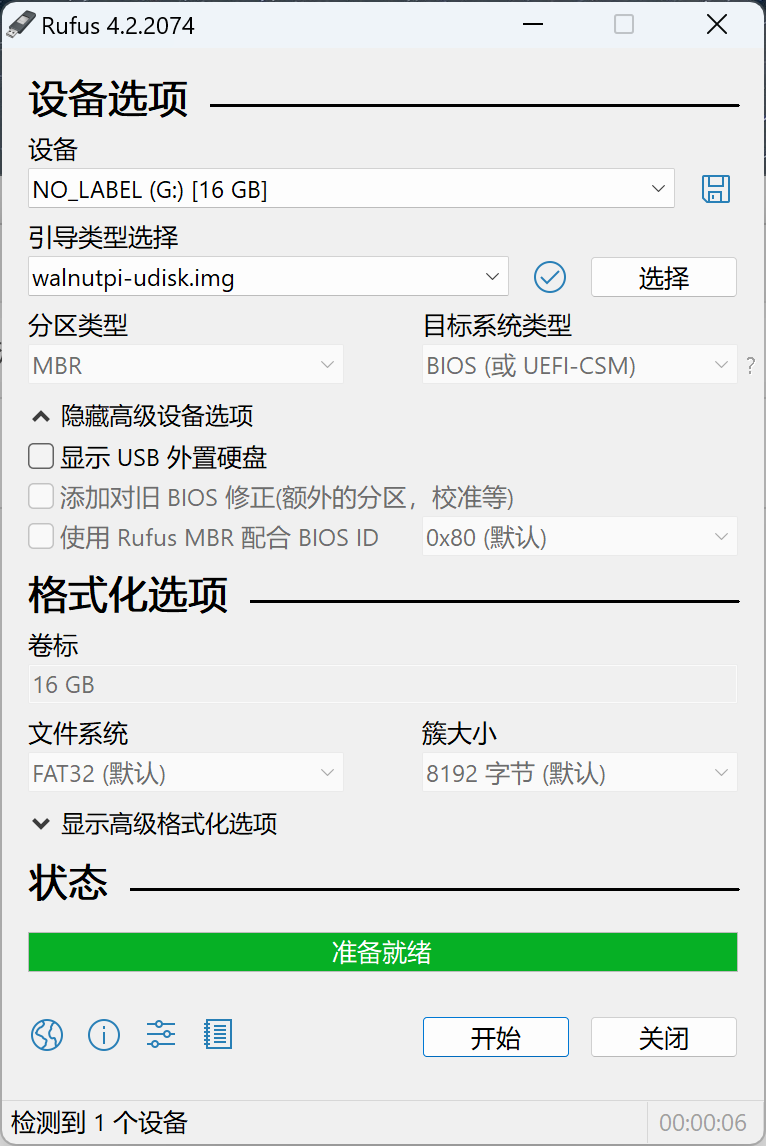
Insert the SD card into WalnutPi, and connect to the computer via the USB port using a Type-C cable.
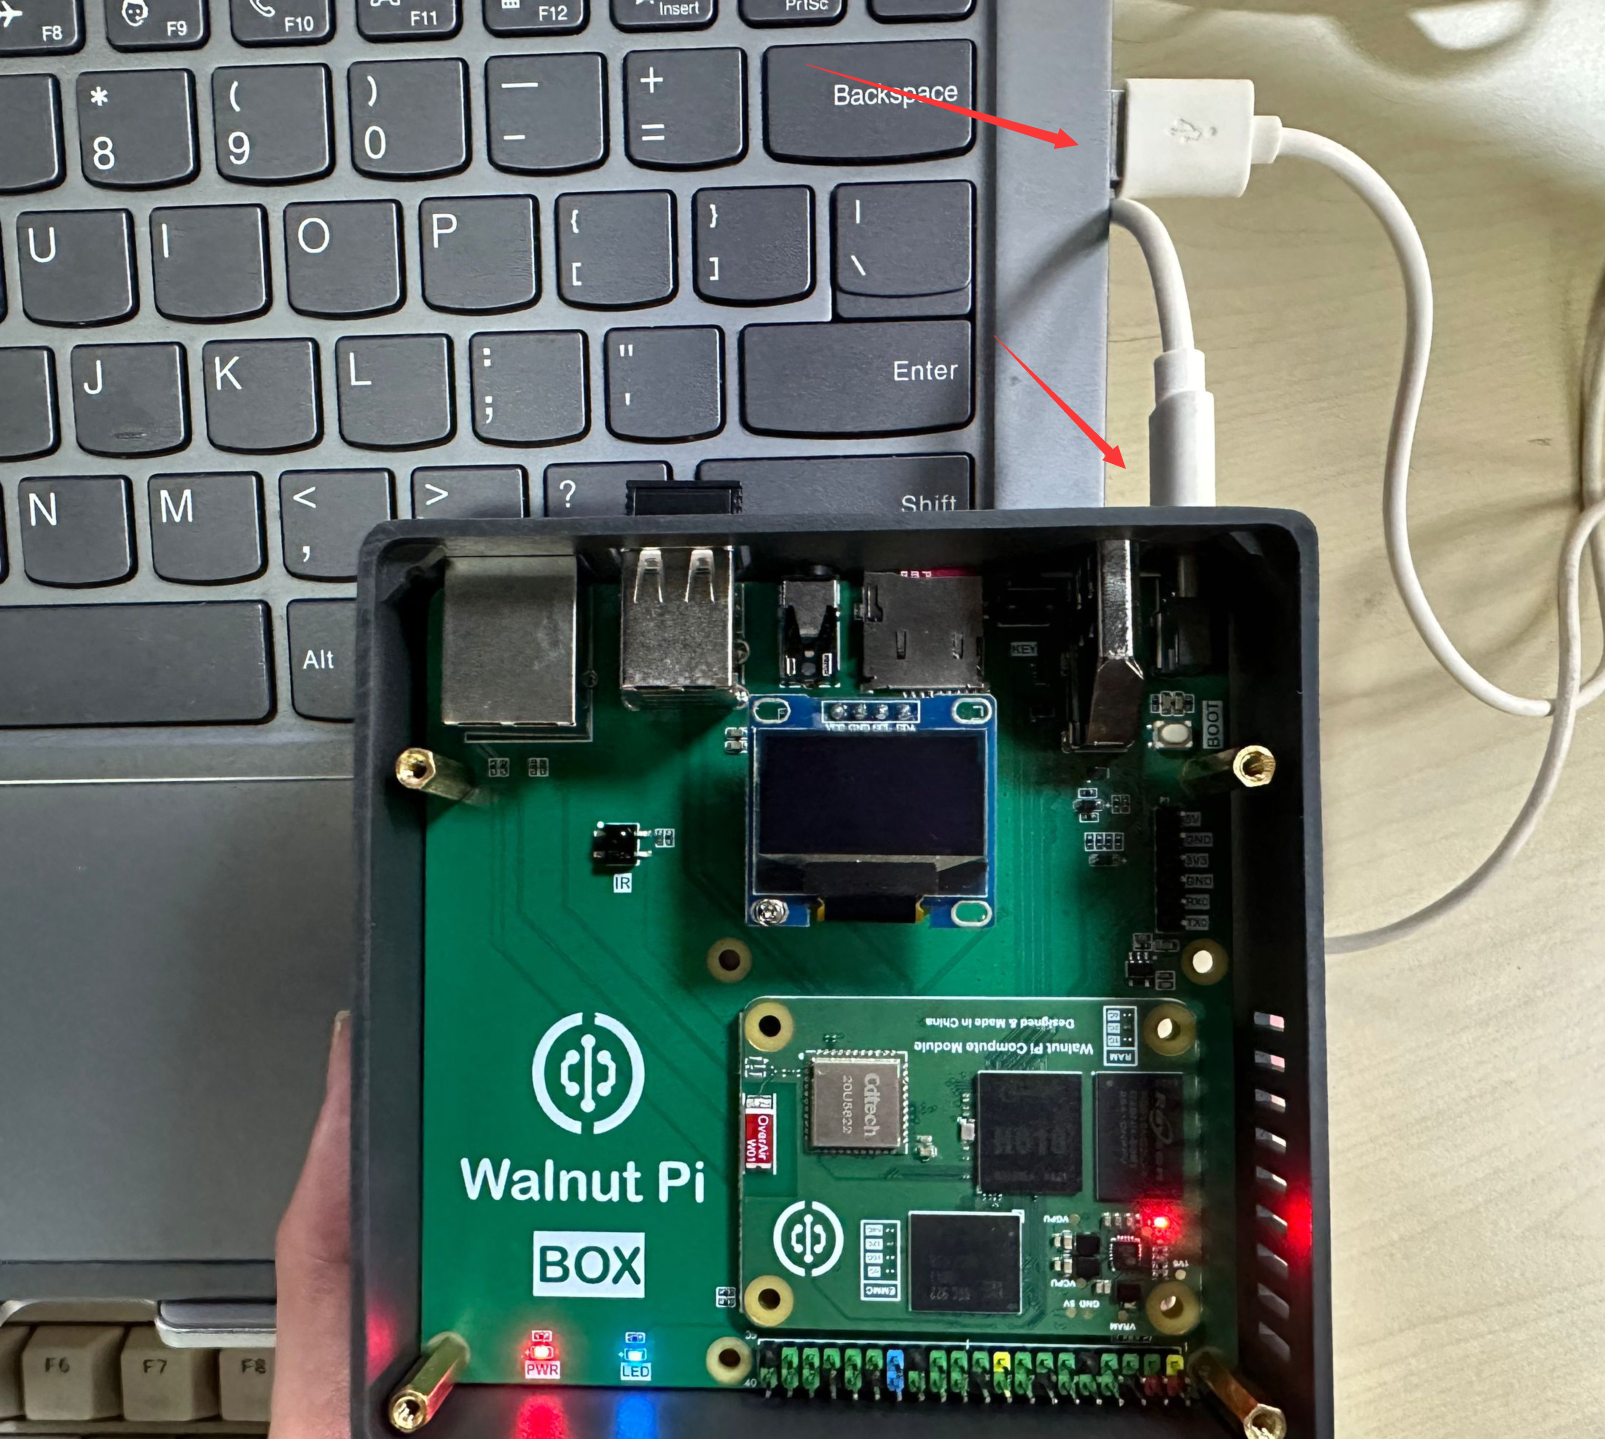
At this point, the computer will show a USB drive of about 150MB capacity (a partition of the EMMC).

Then use the rufus tool to flash the WalnutPi system image to this USB drive. This flashing method is somewhat slow — please be patient.
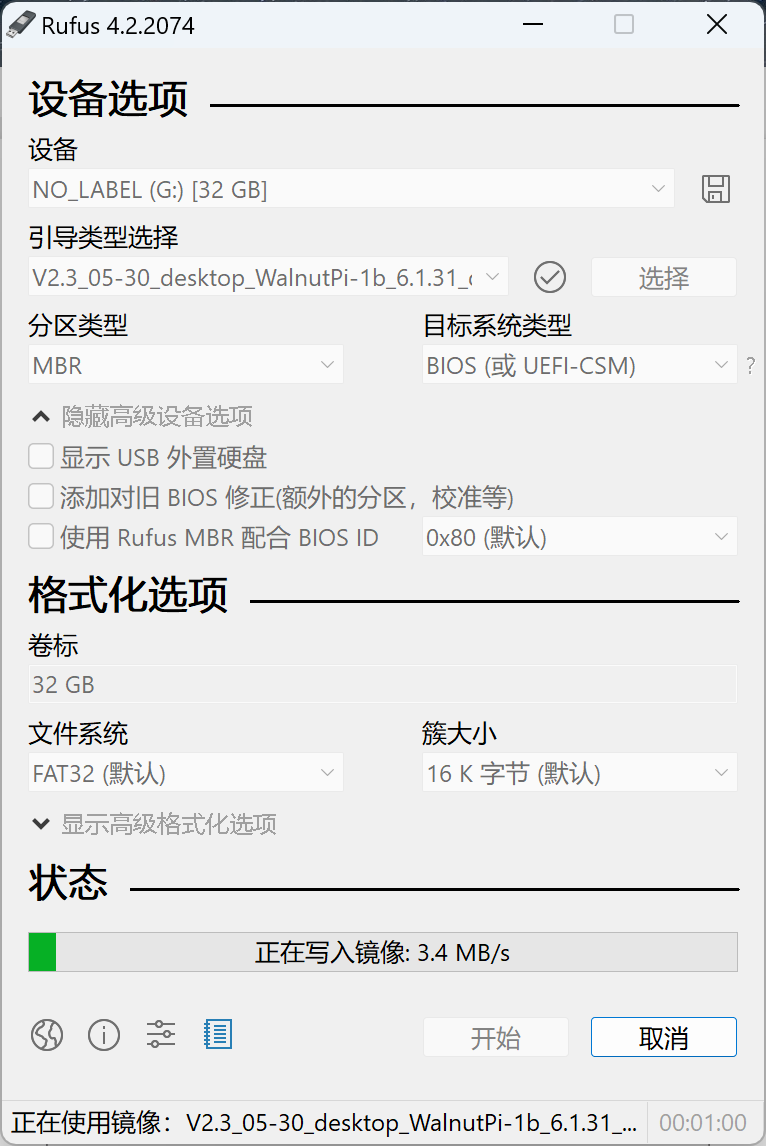
After flashing is complete, power off, remove the SD card, and if the system boots normally when powered on, it means the system has been flashed to EMMC and is working correctly.
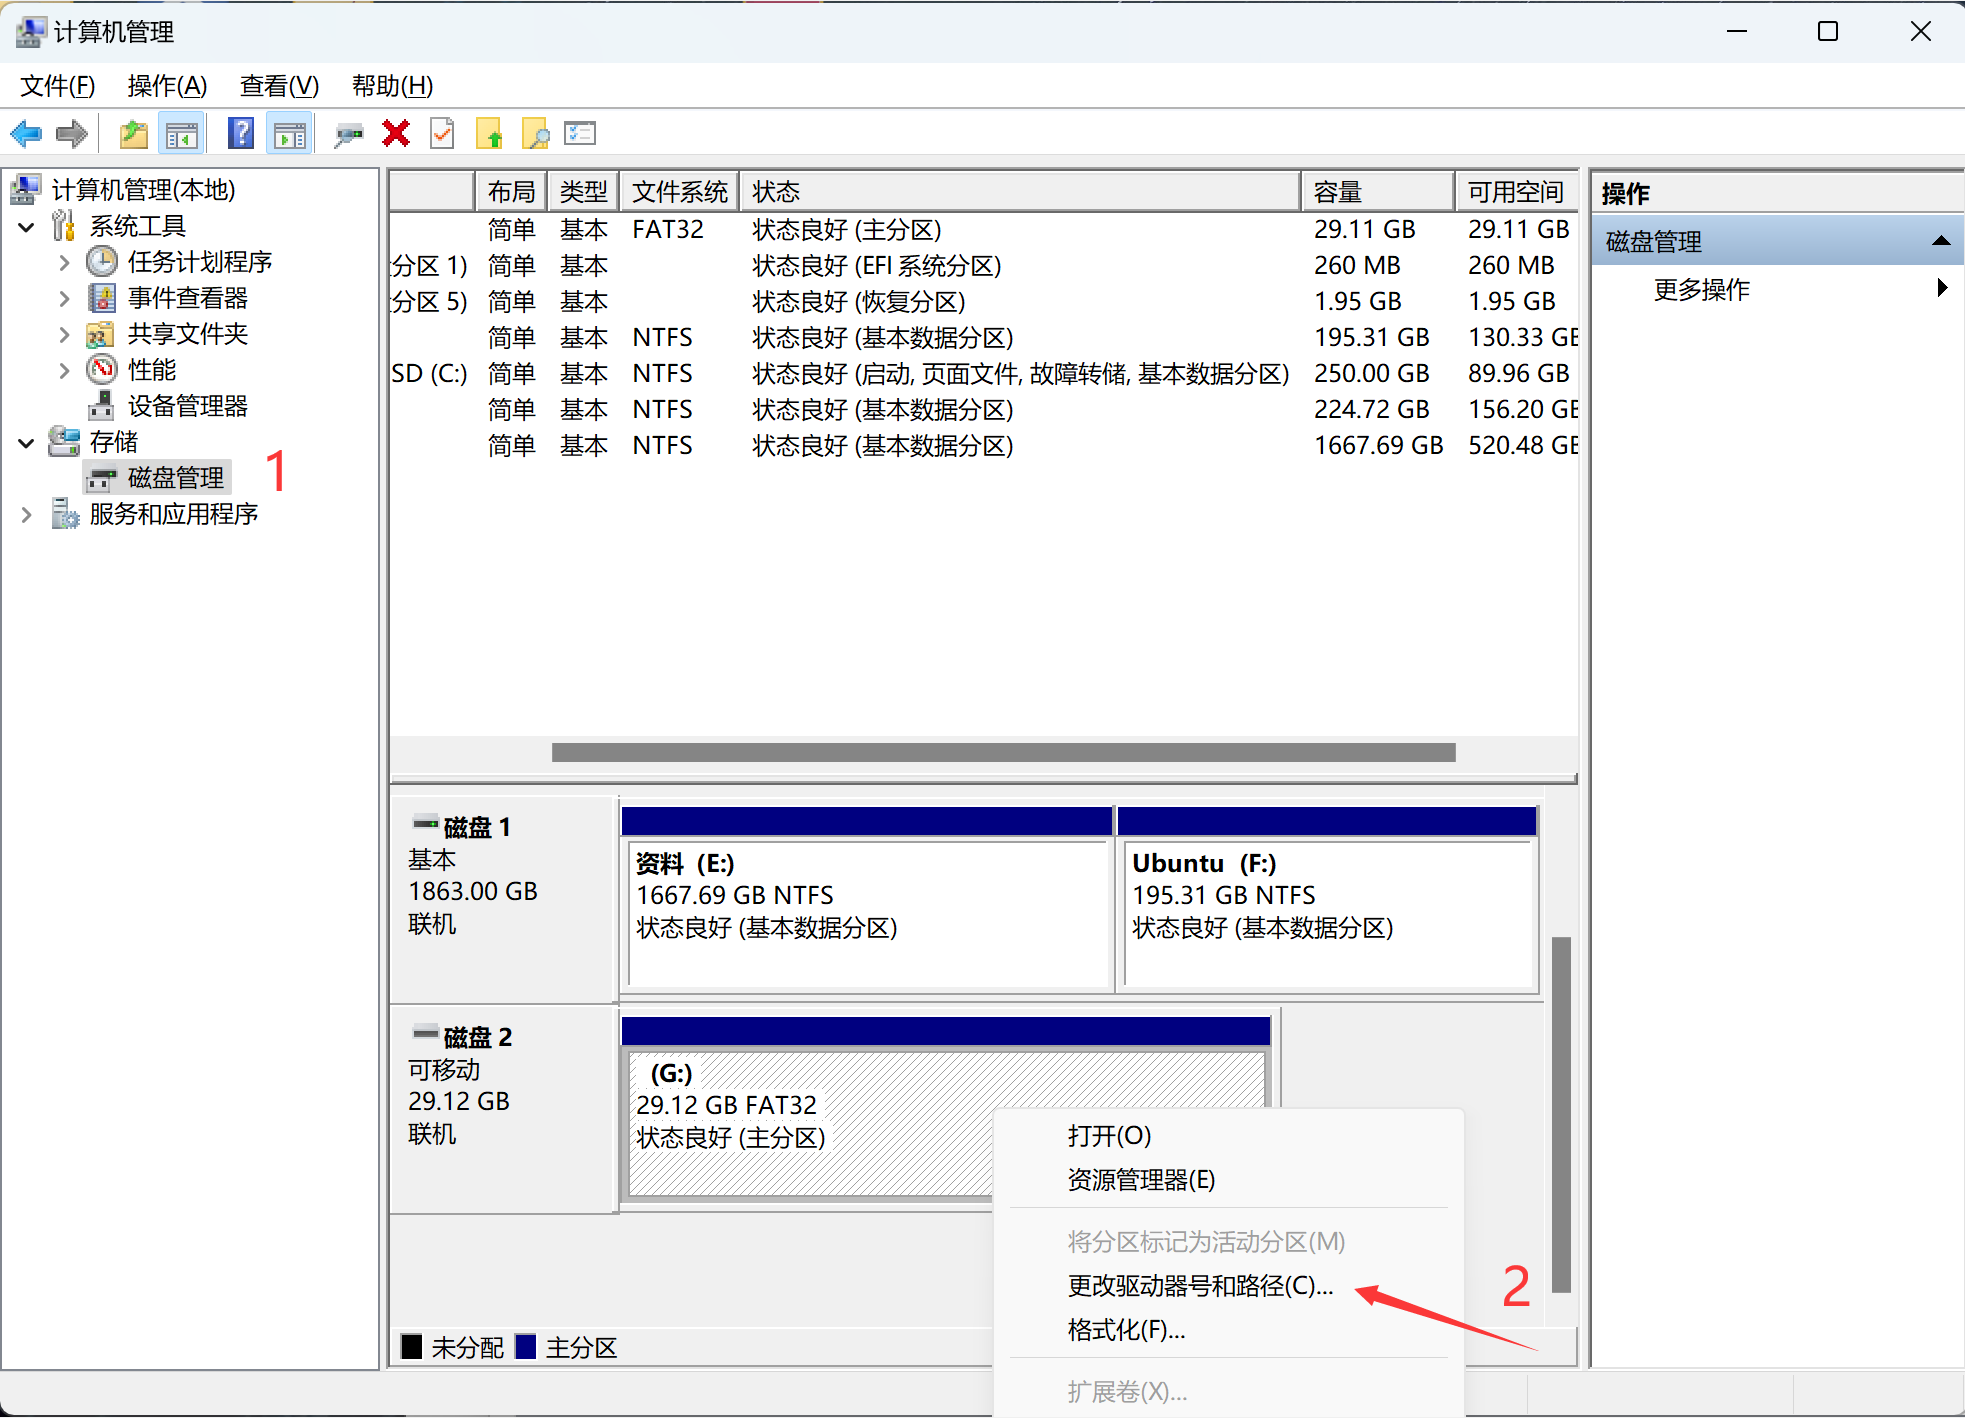
An SD card that has been used as a boot card may not be recognized when reinserted into a computer. In this case, open Computer Management → Disk Management, find the partition matching the SD card capacity, right-click and select Change Drive Letter and Paths, and reassign a drive letter as prompted.
USB Flashing (No SD Card Required)
This method is suitable for users without an SD card. Flashing takes quite a long time.
Install Driver
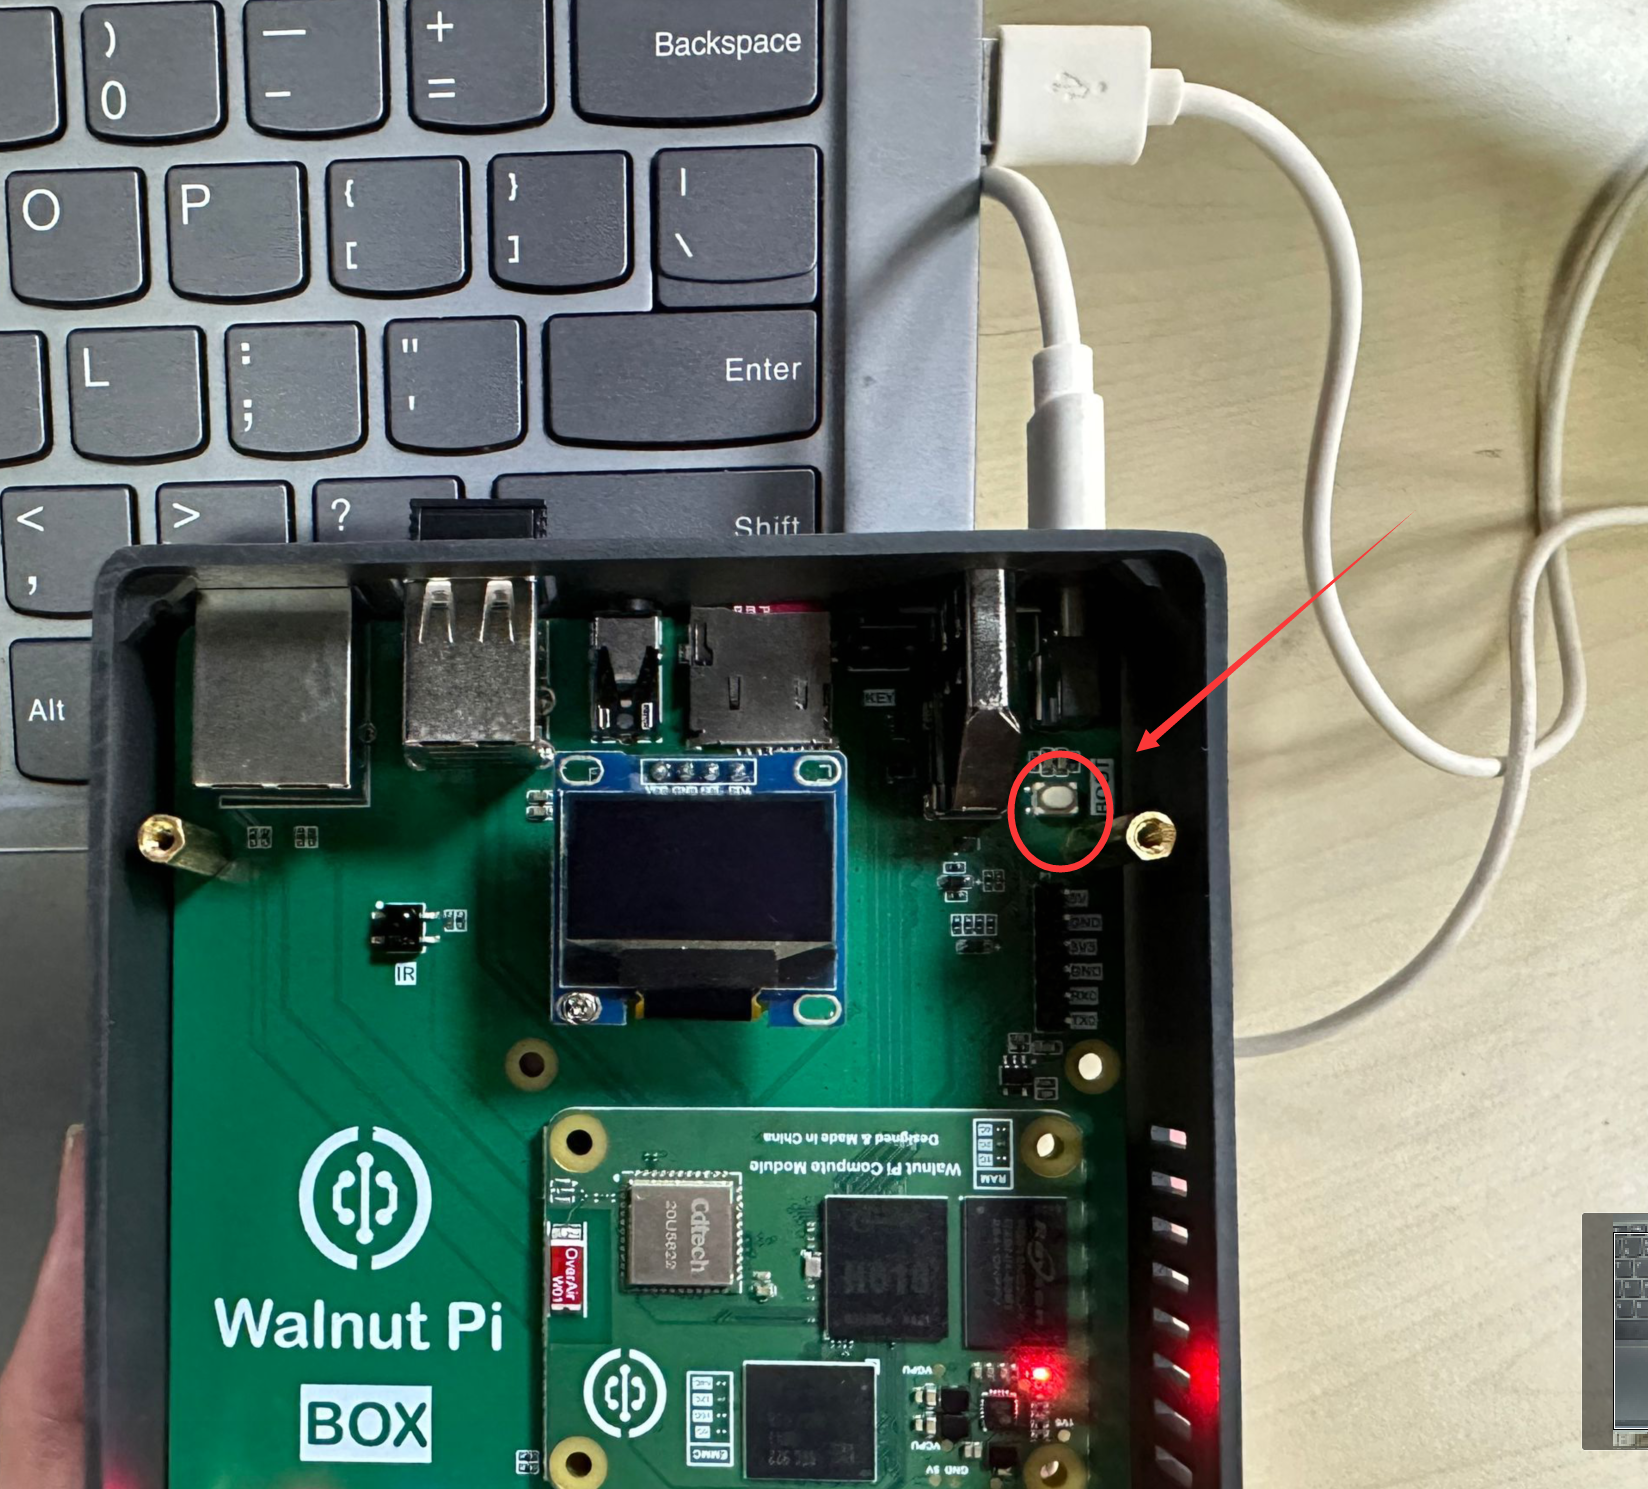
Press and hold the BOOT button on the CM1 EMMC version module's IO expansion board, then connect USB to the computer.
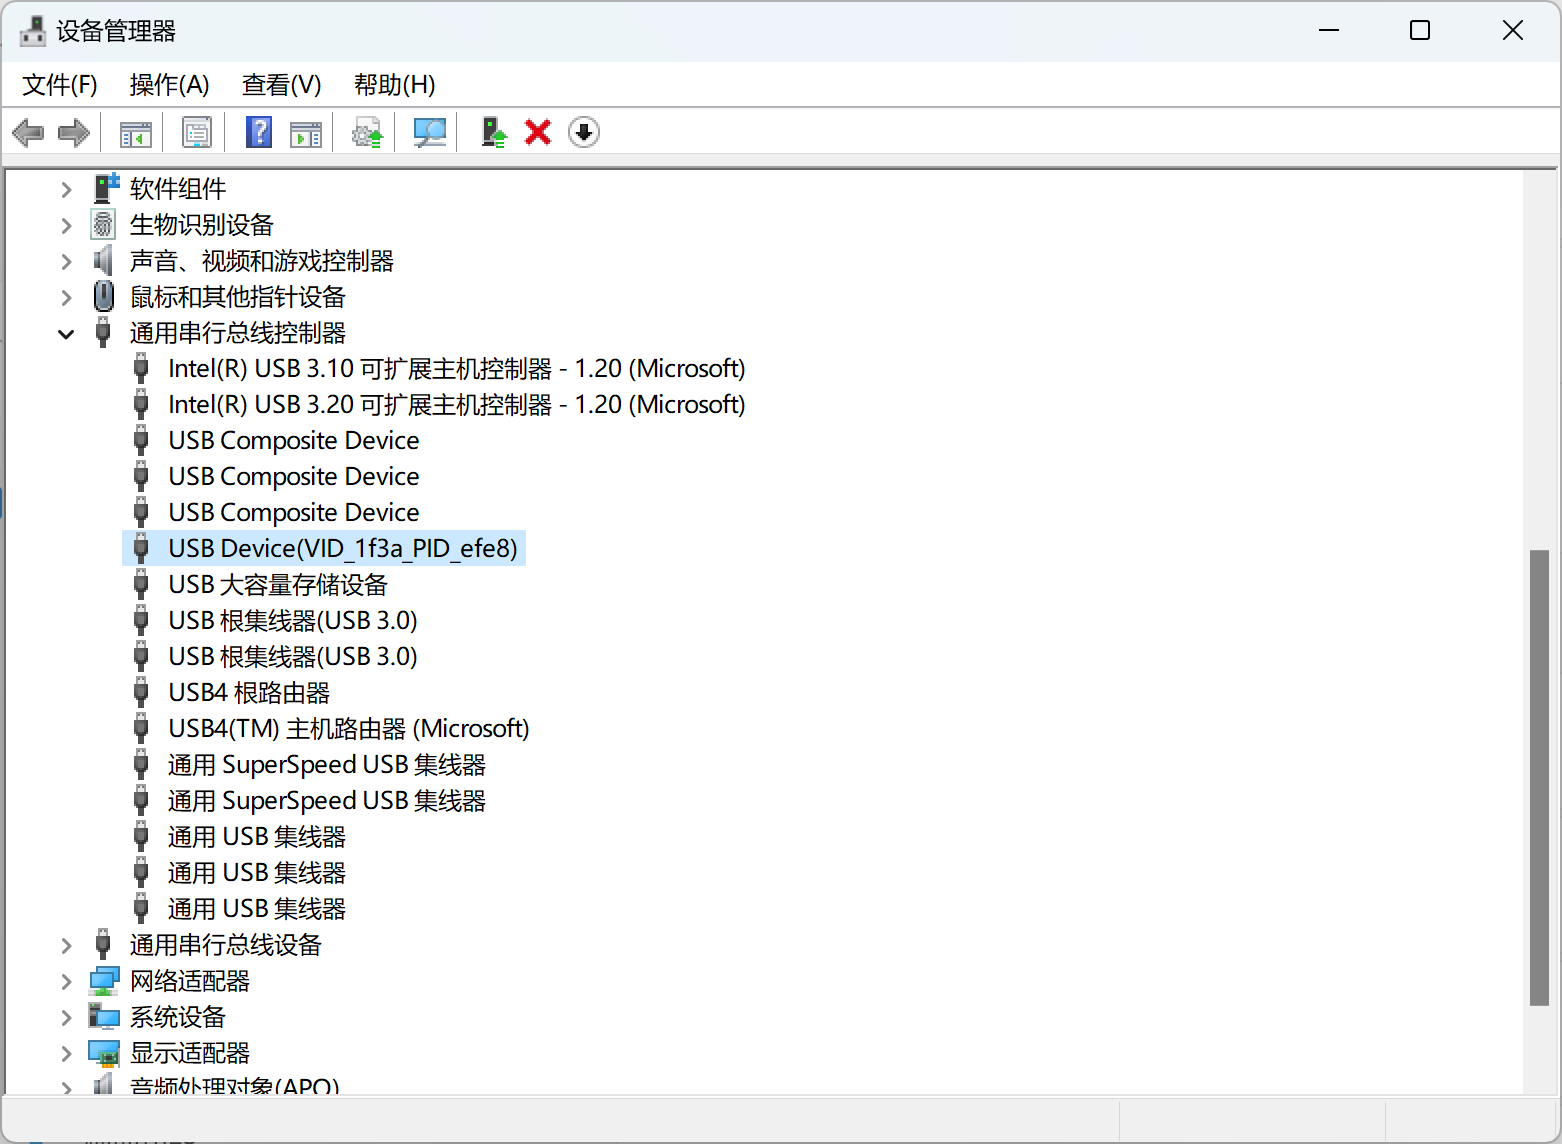
The following device will appear in Device Manager.
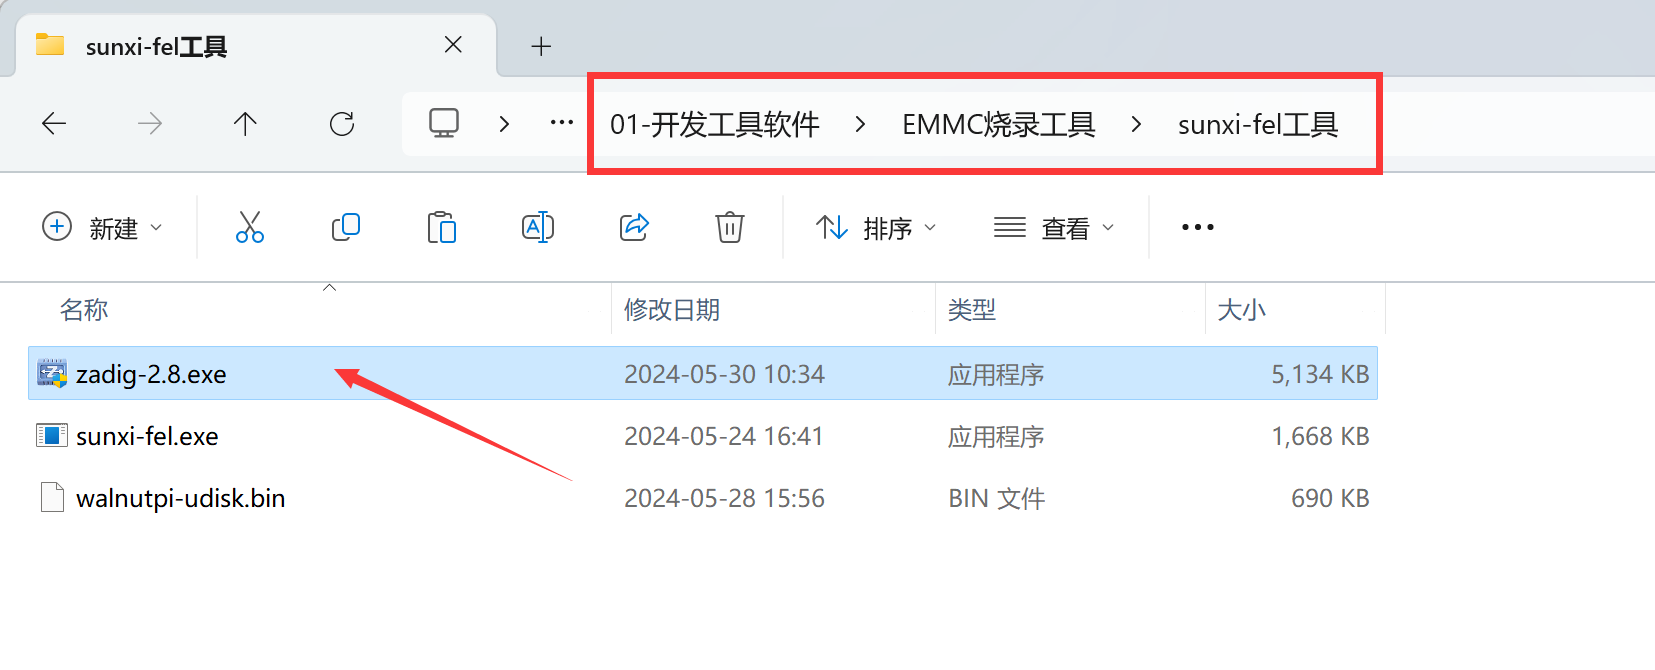
Open the zadig software from the package:
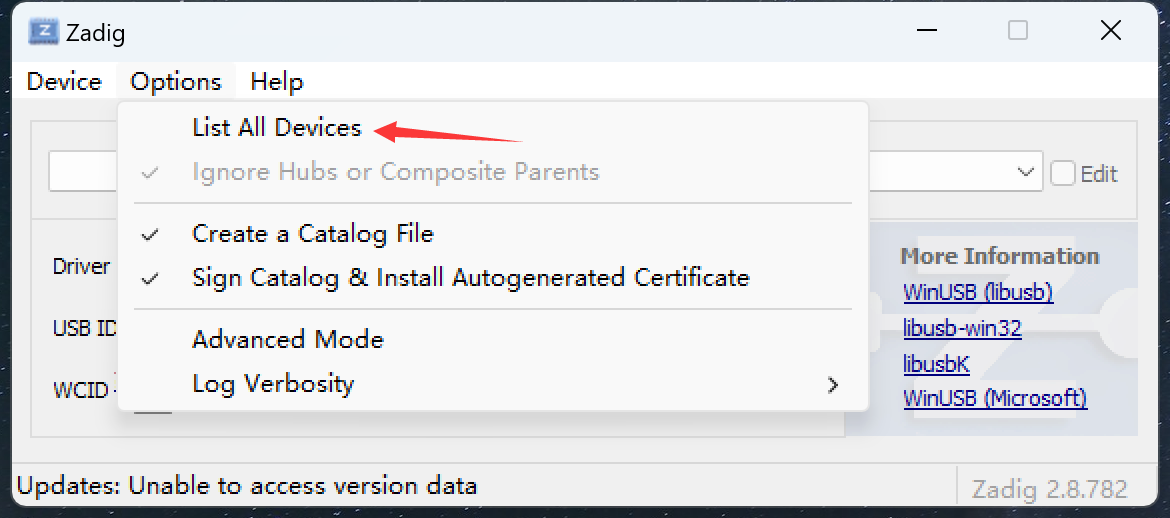
Check the option OPTIONS → list all devices to show all USB devices.
In the dropdown list, find the device with ID 1f3a efe8 and select it:
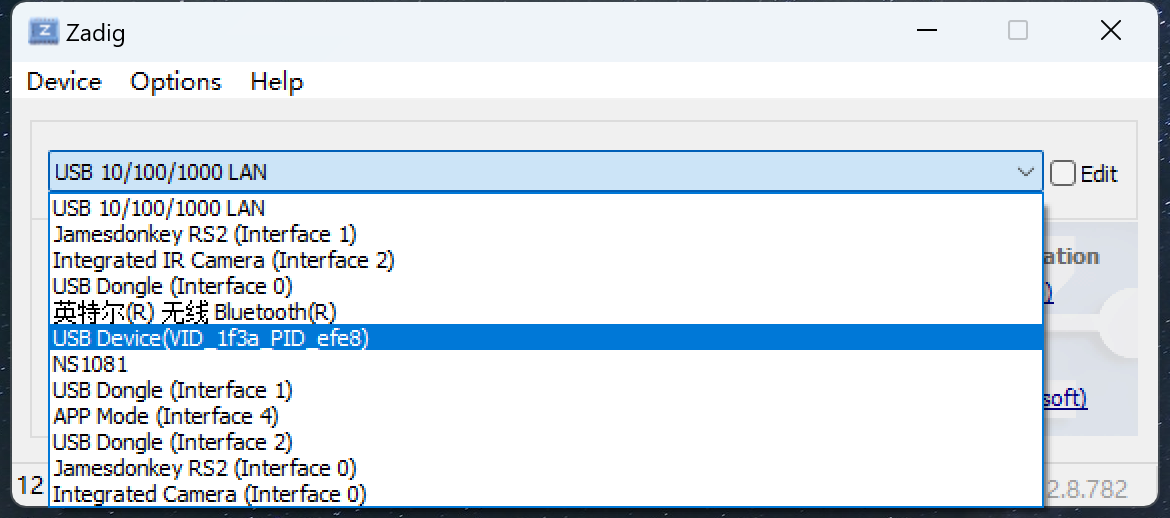
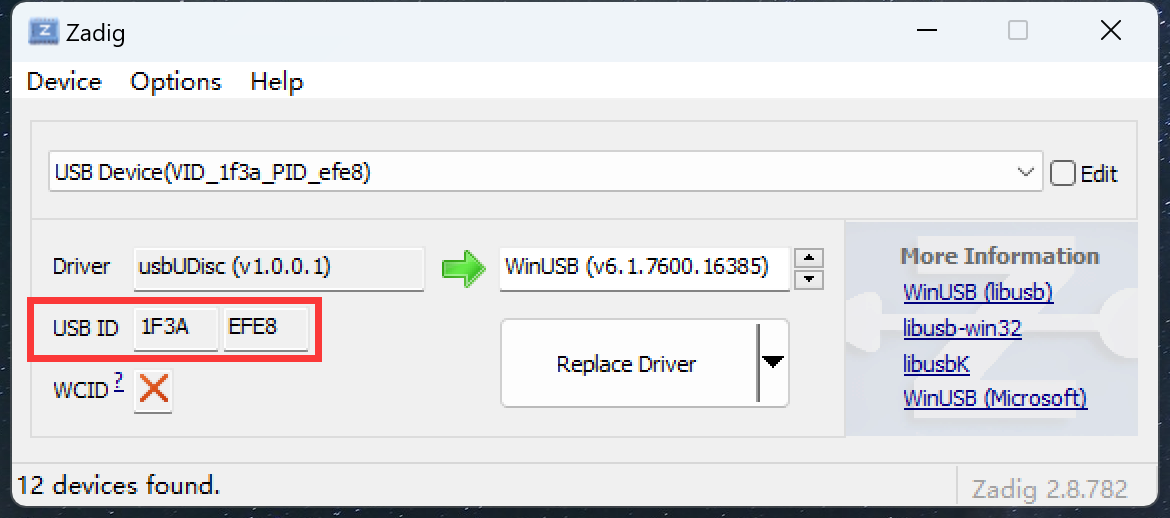
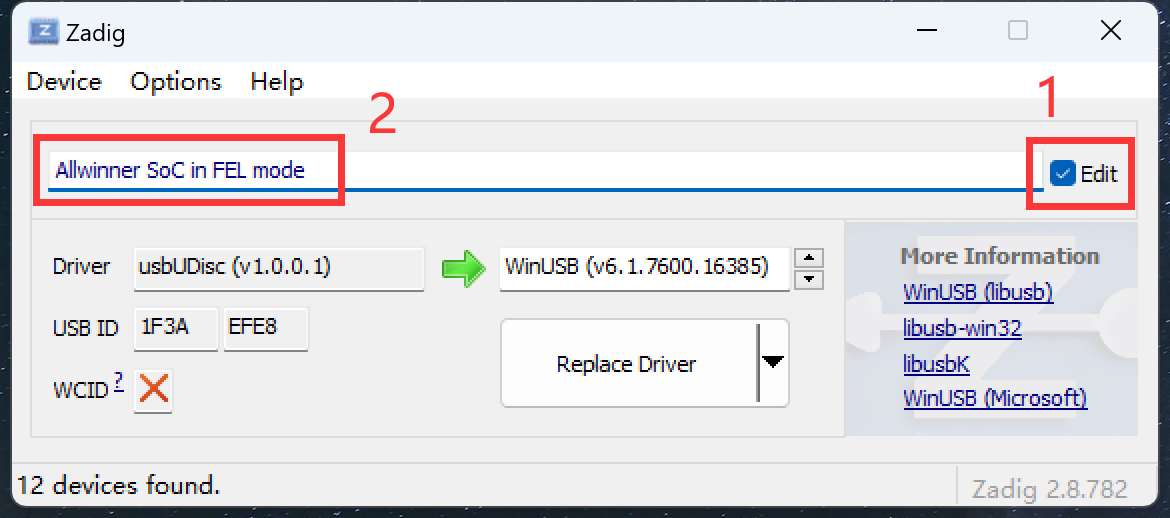
Then check "Edit" on the right (to edit the name), and change the name on the left to the following. Make sure to enter it correctly, otherwise the flashing software will not recognize it later.
Allwinner SoC in FEL mode
After editing, you can uncheck "Edit."
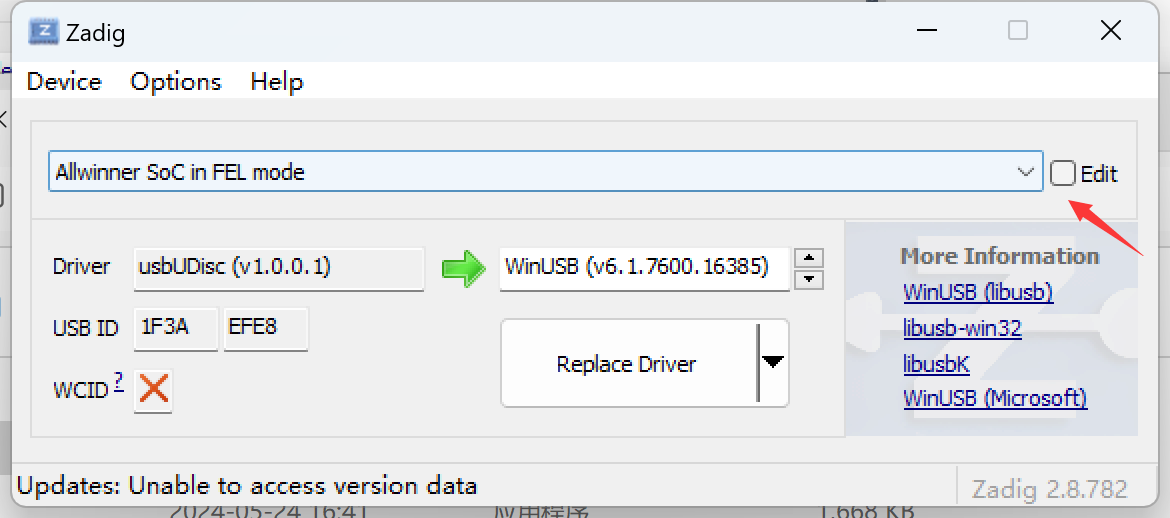
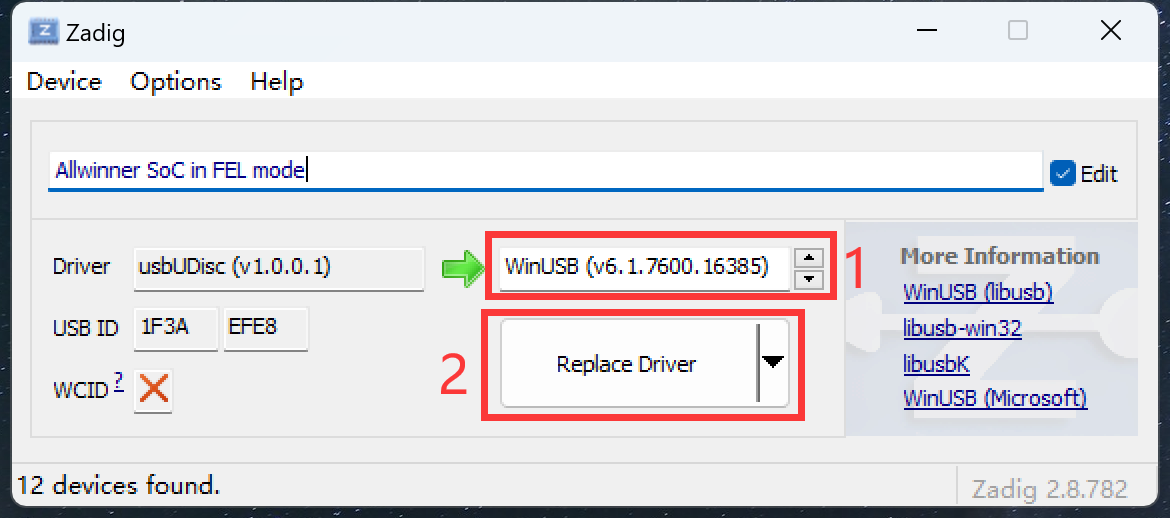
Modify the device driver, ensure this box shows WinUSB, then click the Replace Driver button to install the driver:
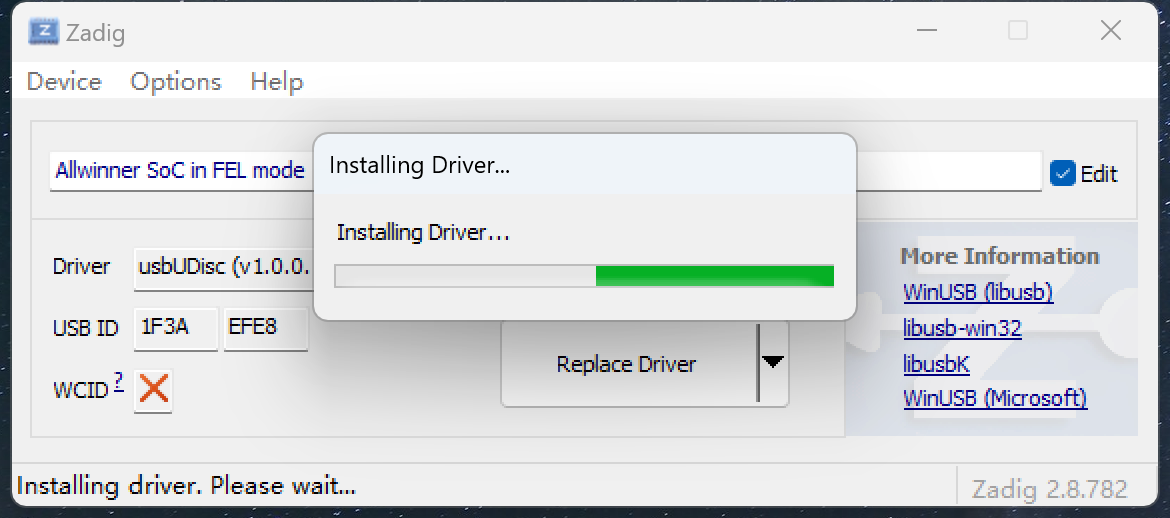
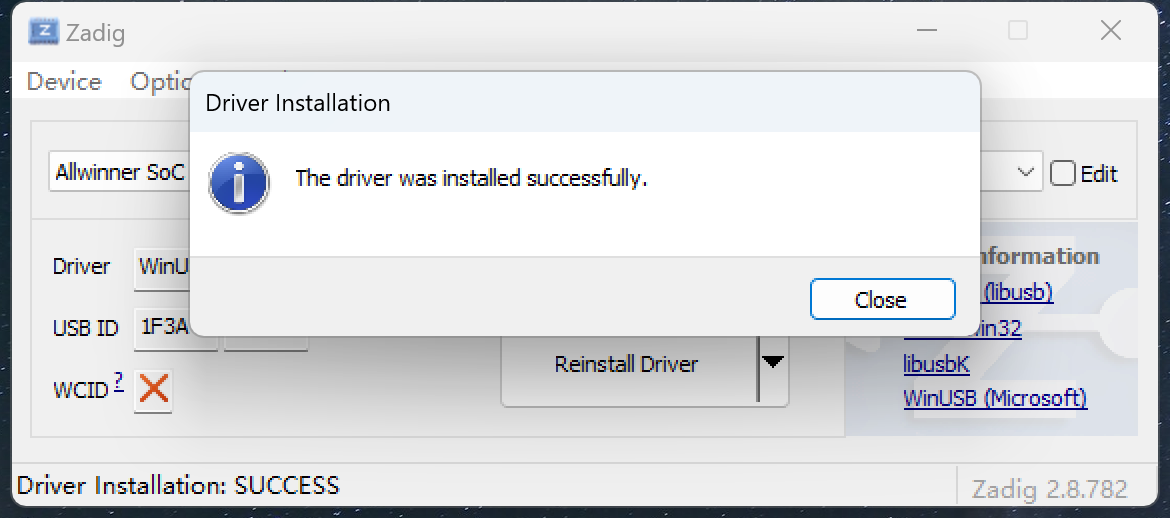
Wait a moment, and a prompt will appear indicating installation is complete:
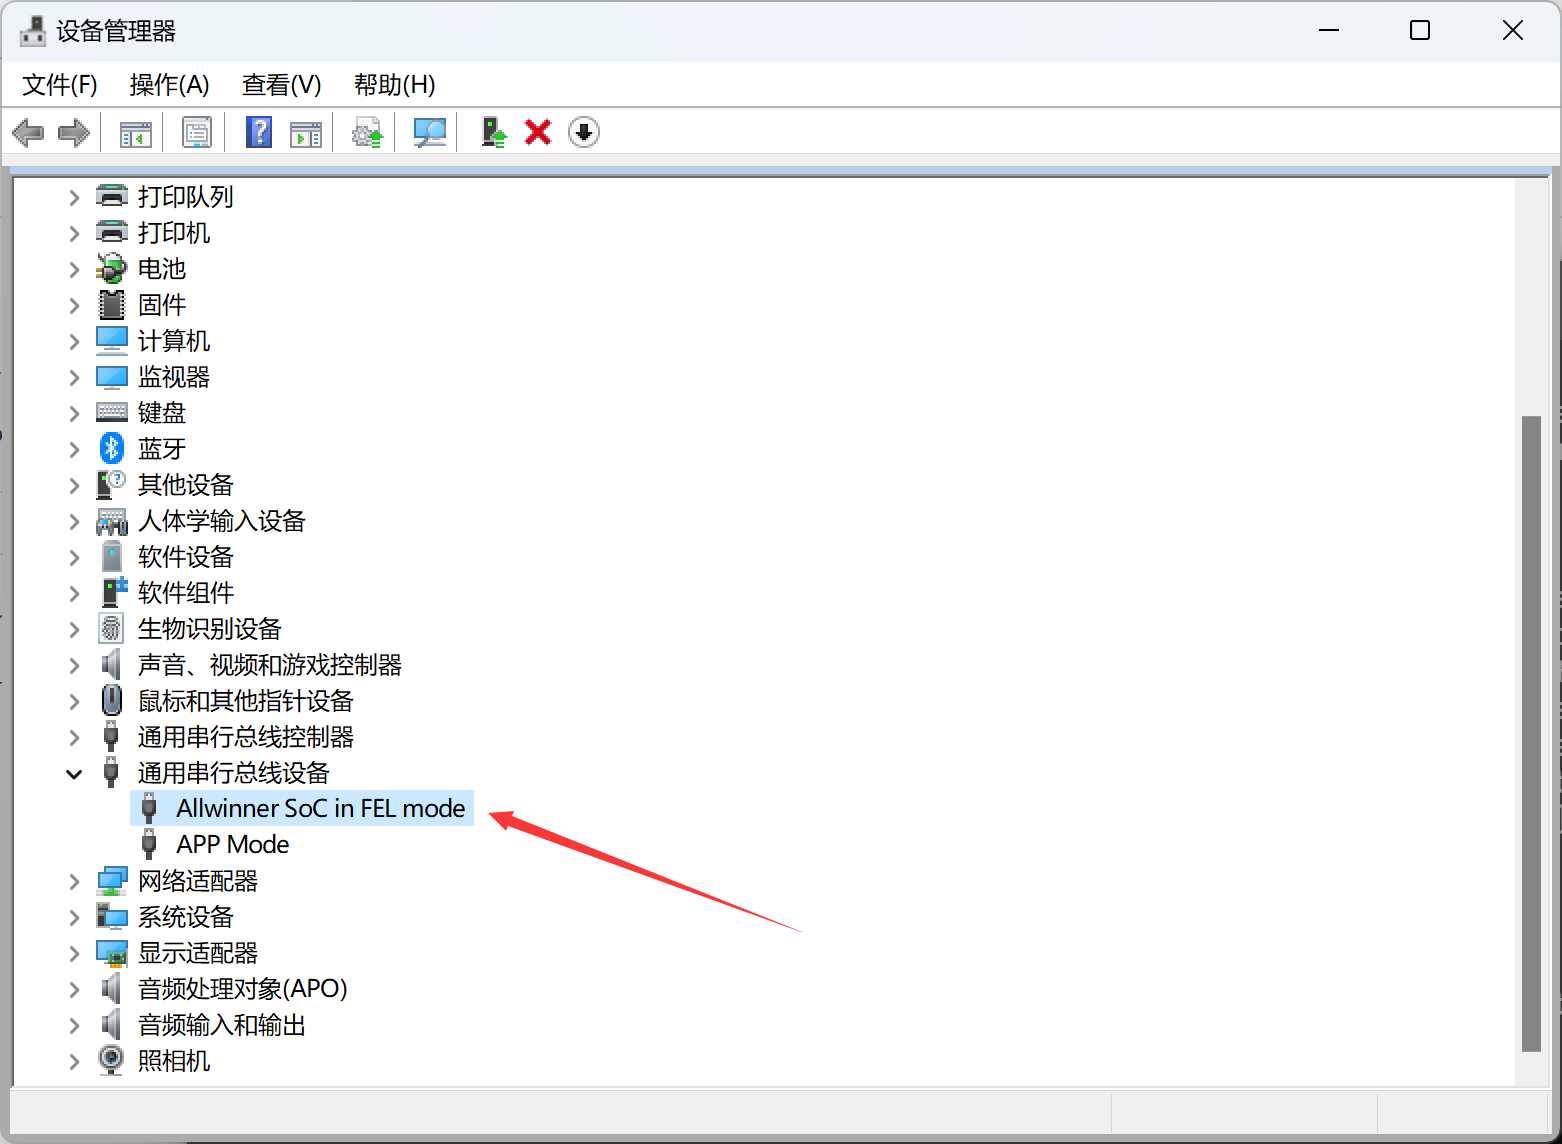
You can see the driver change in Device Manager:
Flashing
For flashing, use the sunxi-fel.exe tool. Note that this is a command-line tool and must be run in a cmd or powershell window on Windows.
Right-click in the current window of the software and select "Open in Terminal":
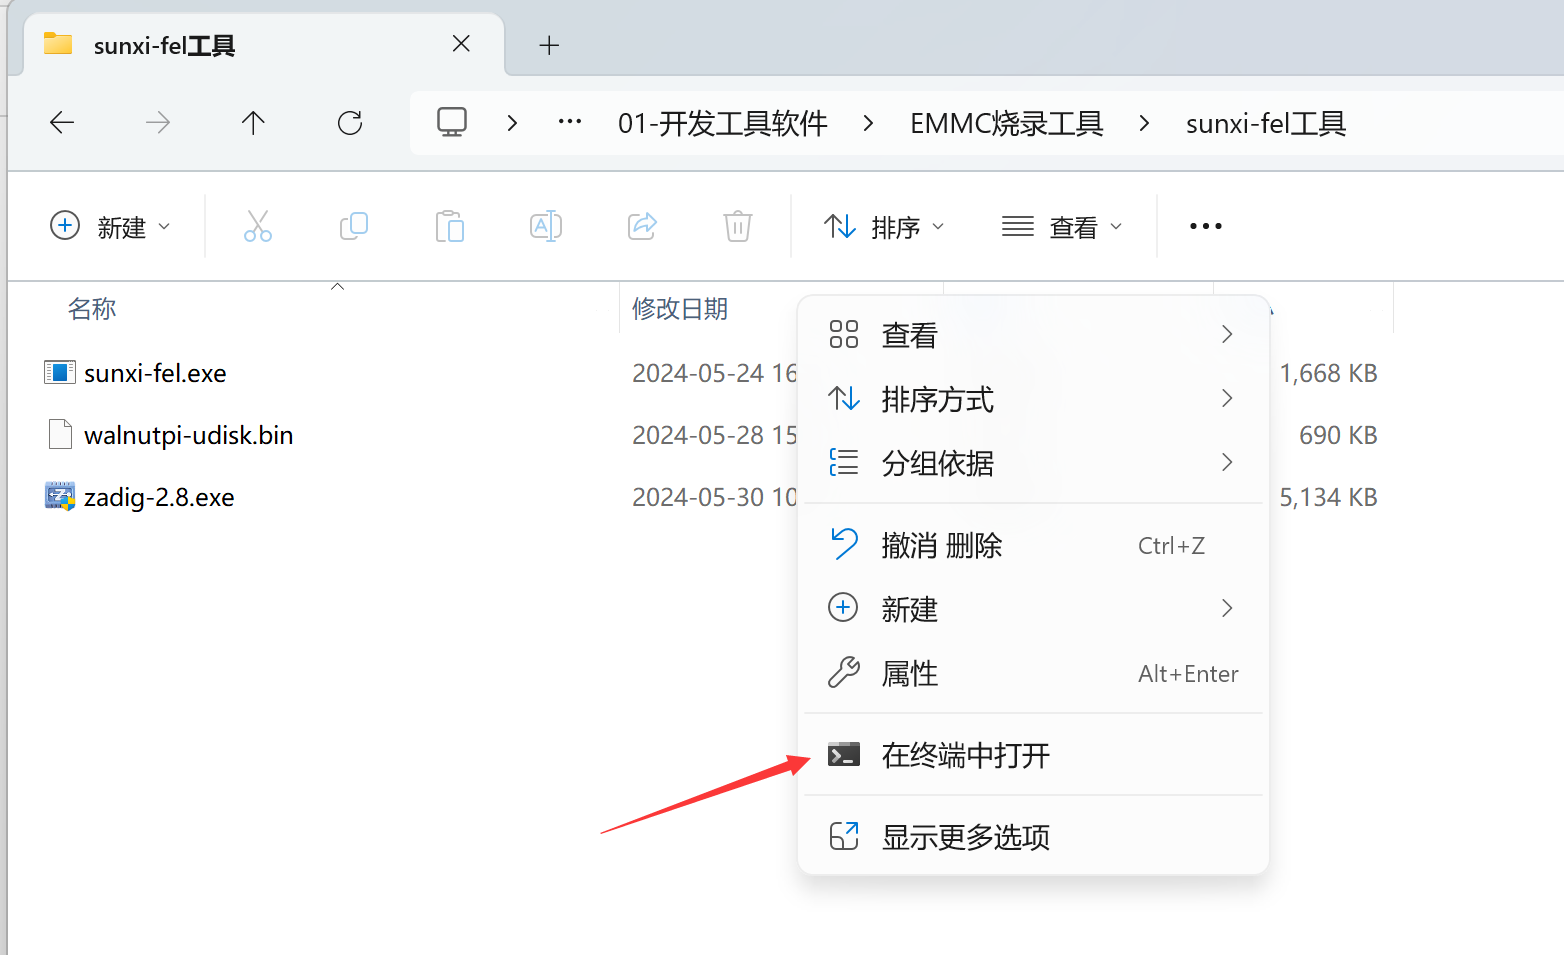
Enter the following command in the opened terminal:
.\sunxi-fel.exe uboot walnutpi-udisk.bin
After execution, the computer will show a USB drive of about 150MB capacity (a partition of the EMMC).
Then use the rufus tool to flash the WalnutPi system image to this USB drive. This flashing method is somewhat slow — please be patient.
After flashing is complete, power off, then power on again. If the system boots normally, it means the system has been flashed to EMMC and is working correctly.