Image Burning
WalnutPi 2B Android uses the standard Android system. We have adapted the WalnutPi 2B hardware so that users can install various Android apps after burning this system image.
Image Download Links
- Baidu Netdisk: https://pan.baidu.com/s/14Vi3VoKkUBPWZf2TvYiPaw?pwd=WPKJ
- Extraction Code: WPKJ
Open the Android folder; for image update notes, refer to the 说明文档.txt (Release Notes) inside. If Baidu Netdisk is too slow, you can also download from the QQ group files: 677173708
(After downloading, extract the compressed package to get the .img image file for later use)
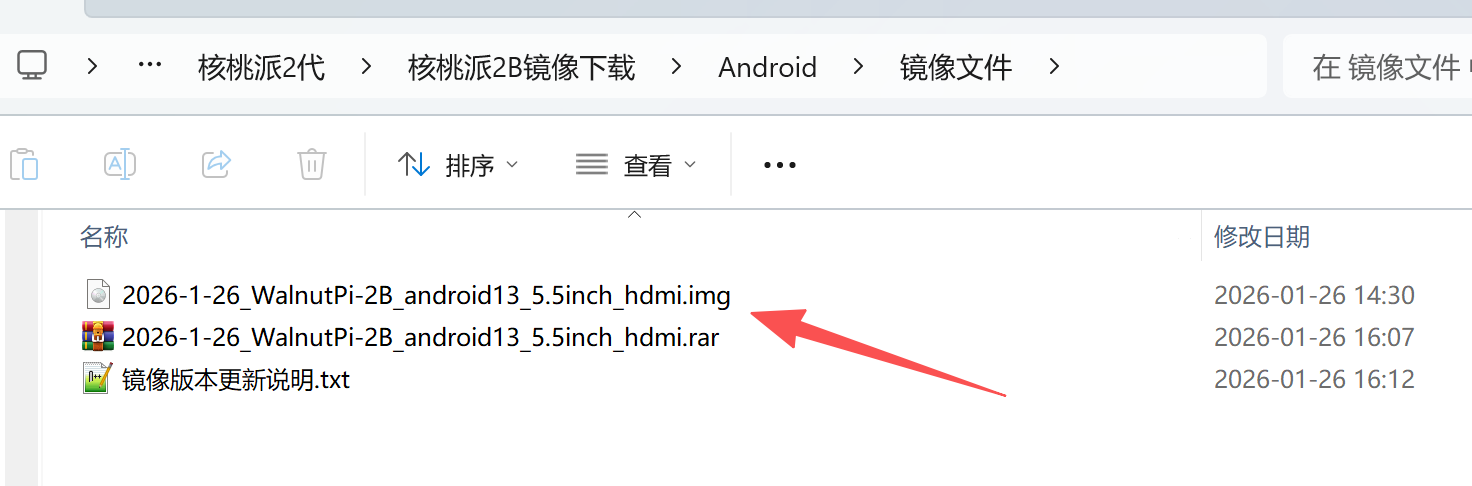
-
Image name: 2026-1-26_WalnutPi-2B_android13_5.5inch_hdmi.img — Defaults to the official WalnutPi 5.5-inch display (1920x1080) as the primary screen.
-
Image name: 2026-1-30_WalnutPi-2B_android13_10.1inch_hdmi.img — Defaults to the official WalnutPi 10.1-inch display (1280x800) as the primary screen.
Burning to SD Boot Card
Using PhoenixCard
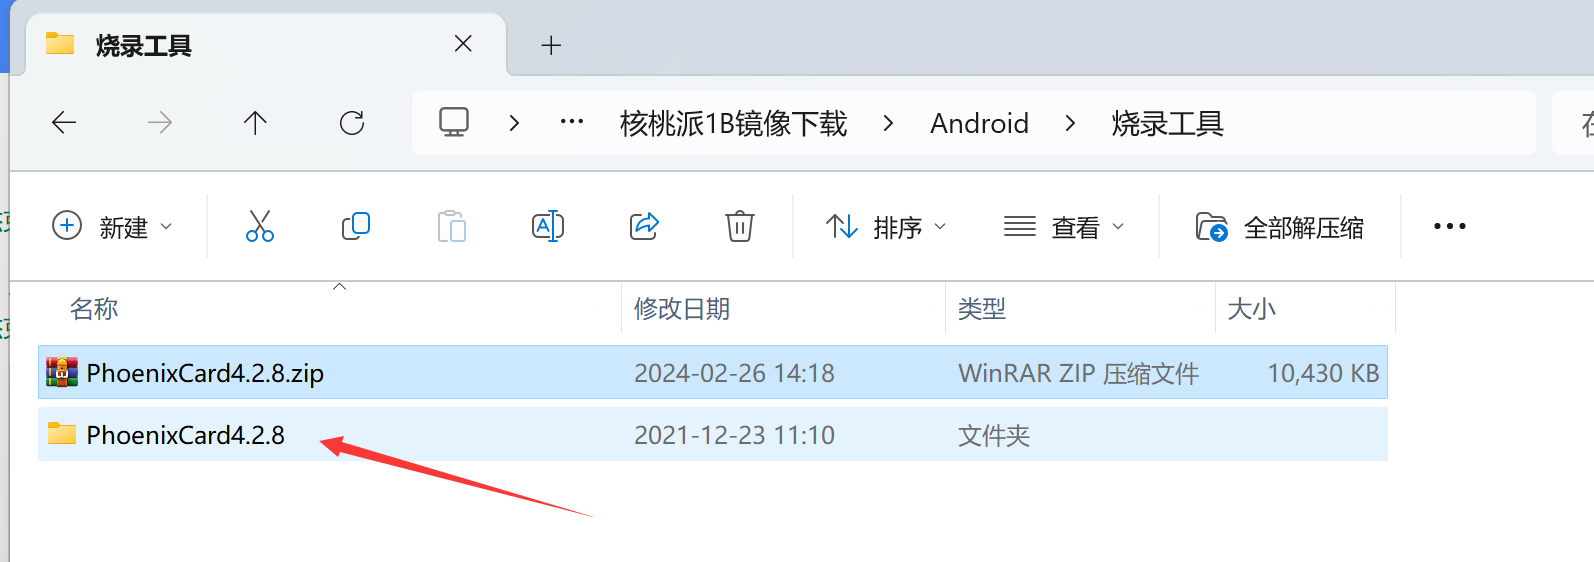
After downloading the image, you will also need a burning tool — PhoenixCard. The software is located in the 烧录工具 (Burning Tool) folder within the WalnutPi Android image package:
(Extract the downloaded archive to get the folder)
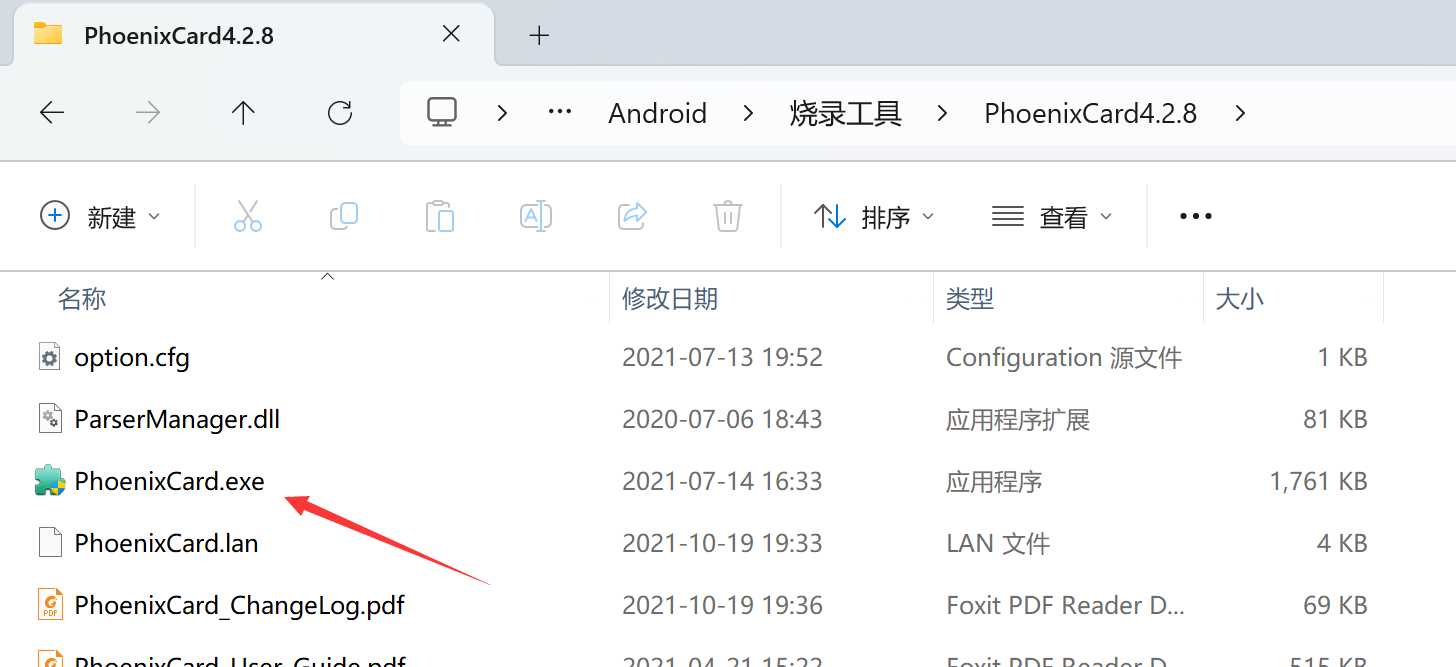
Enter the folder and open the software shown below:
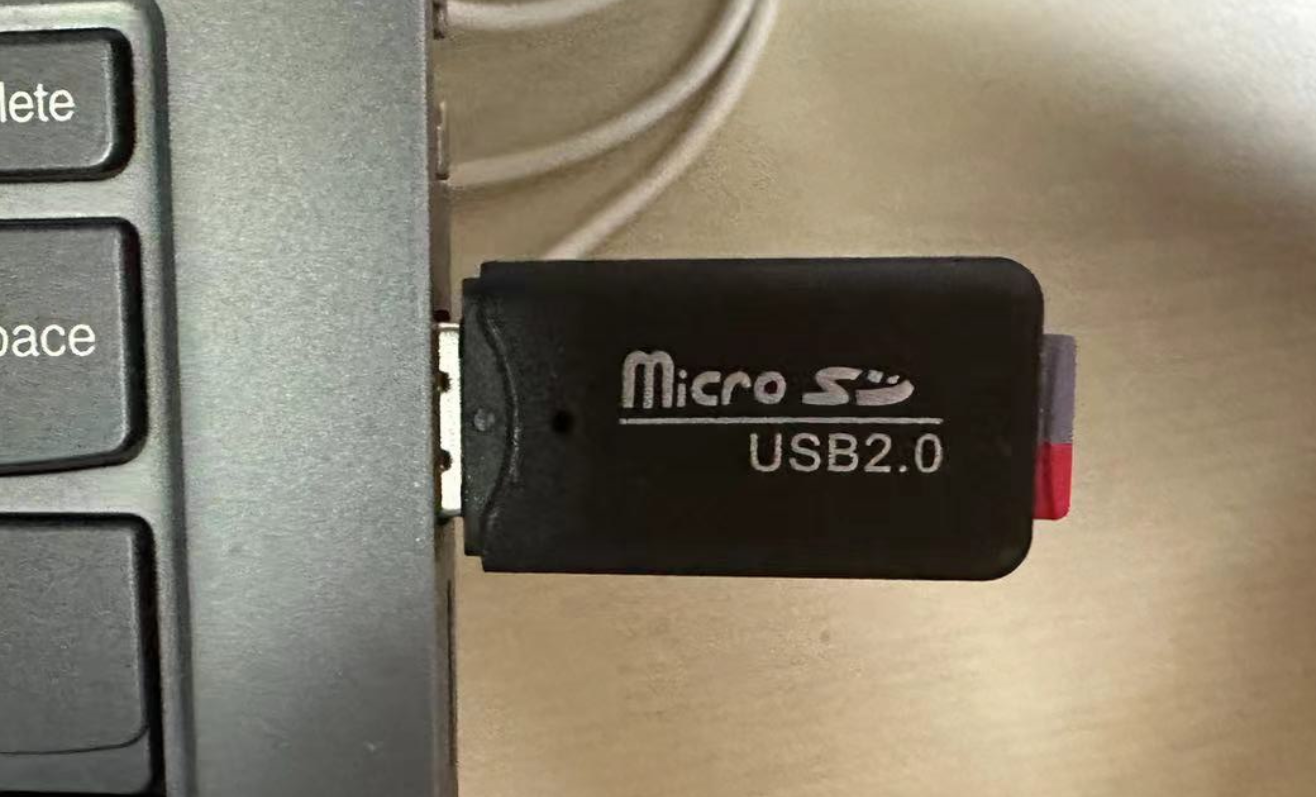
Insert the SD card into your computer:
Follow these steps to start burning:
- Select the image to burn;
- Choose 启动卡 (Boot Card);
- Select the drive letter of the inserted SD card;
- Click 烧卡 (Burn) to start burning.
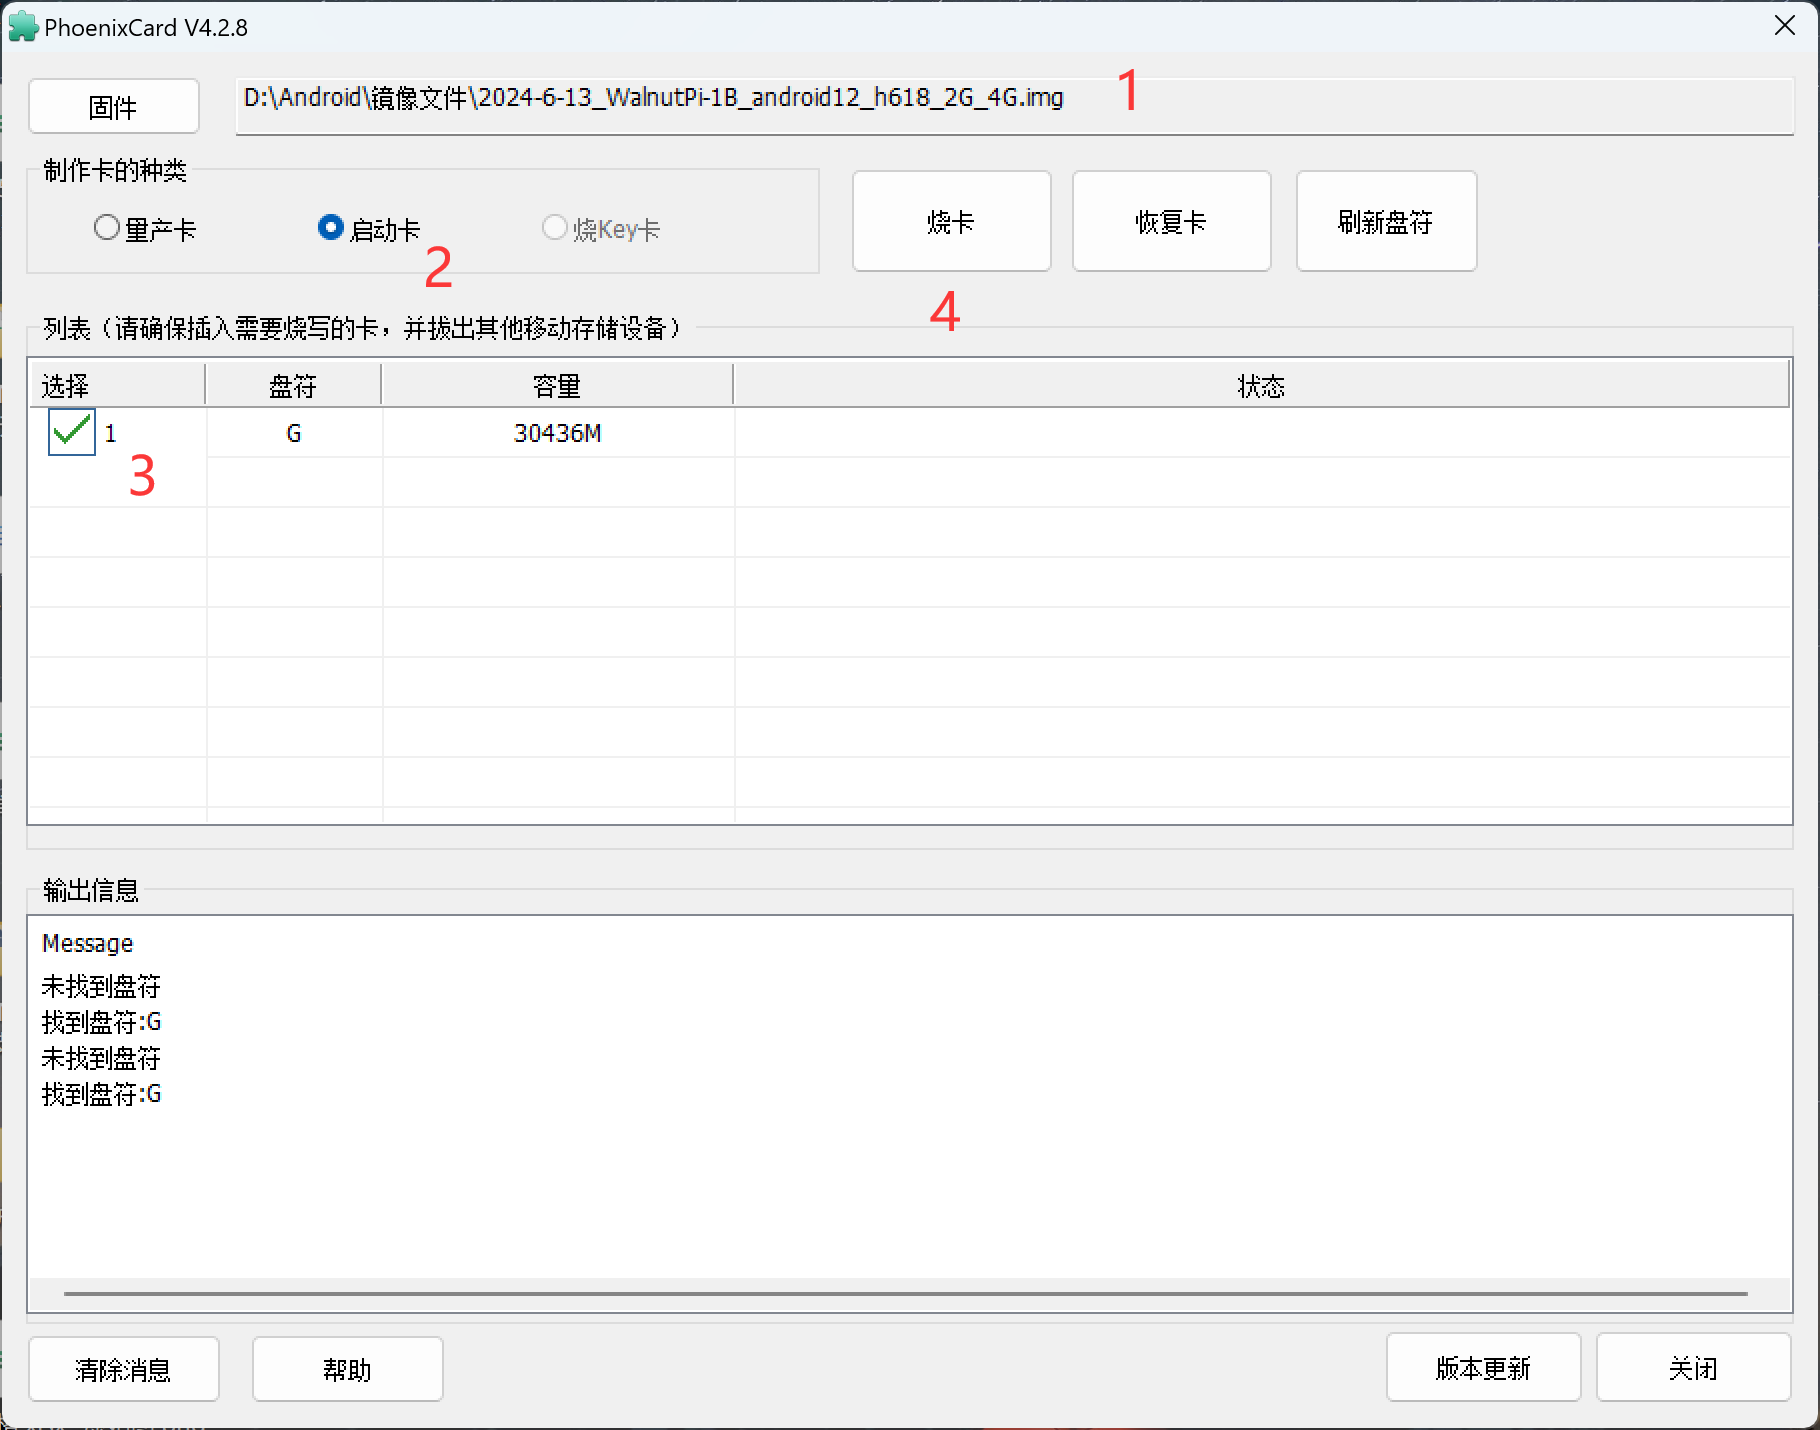
The progress bar may appear frozen during burning — wait for a few minutes. Please be patient. After burning completes, it will look like this:
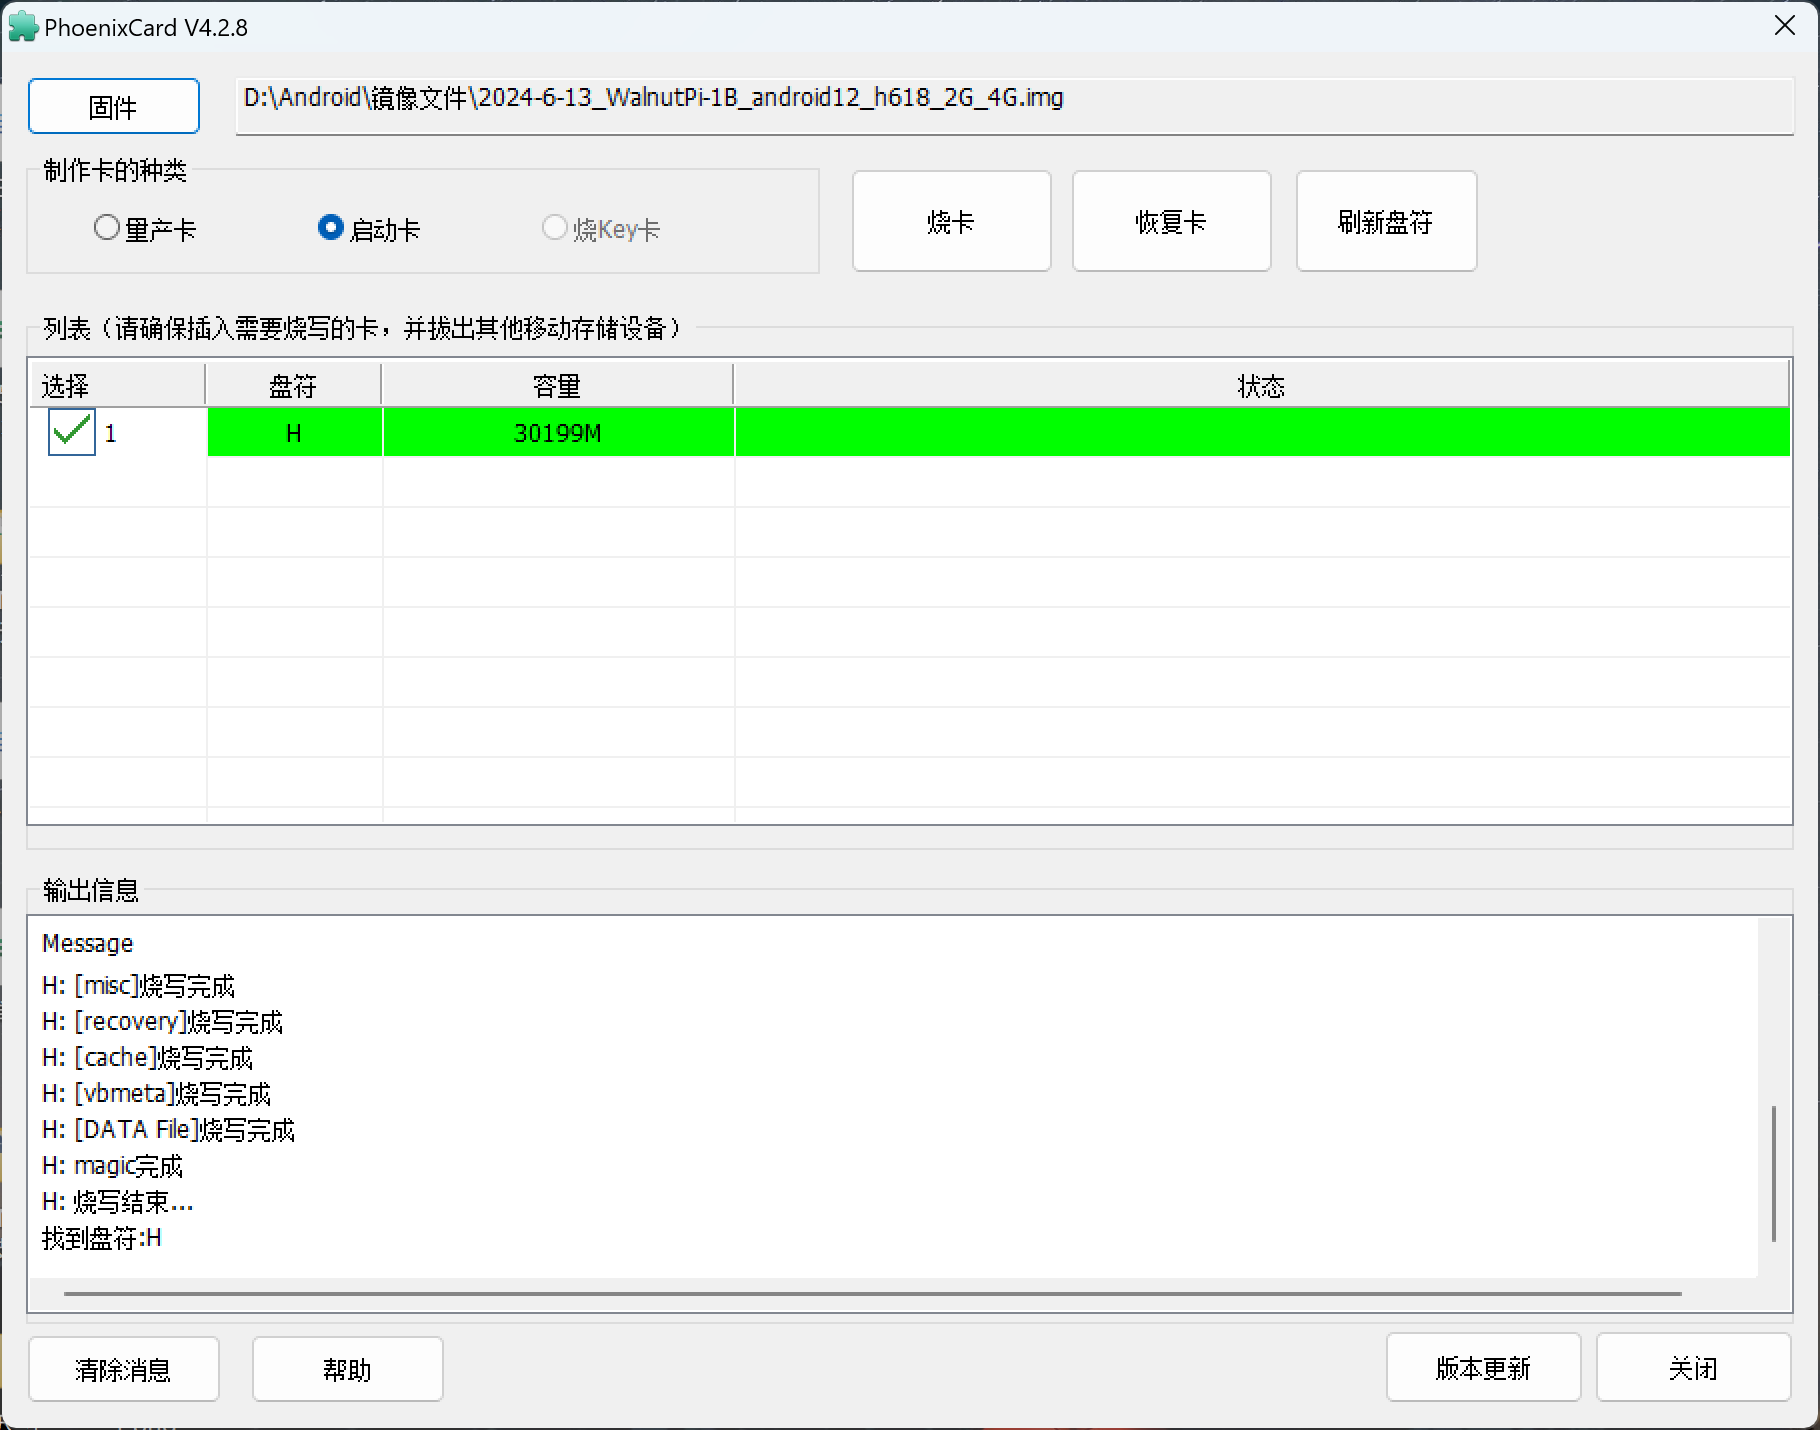
A drive of about 100+ MB will appear in My Computer. This contains some configuration files for the WalnutPi Android system.
After burning, insert the SD card into WalnutPi 2B and power it on.
Burning to EMMC
Use the burning tutorial above to burn to an SD card. The only difference is that you need to select 量产卡 (Mass Production Card); the rest of the process is the same.
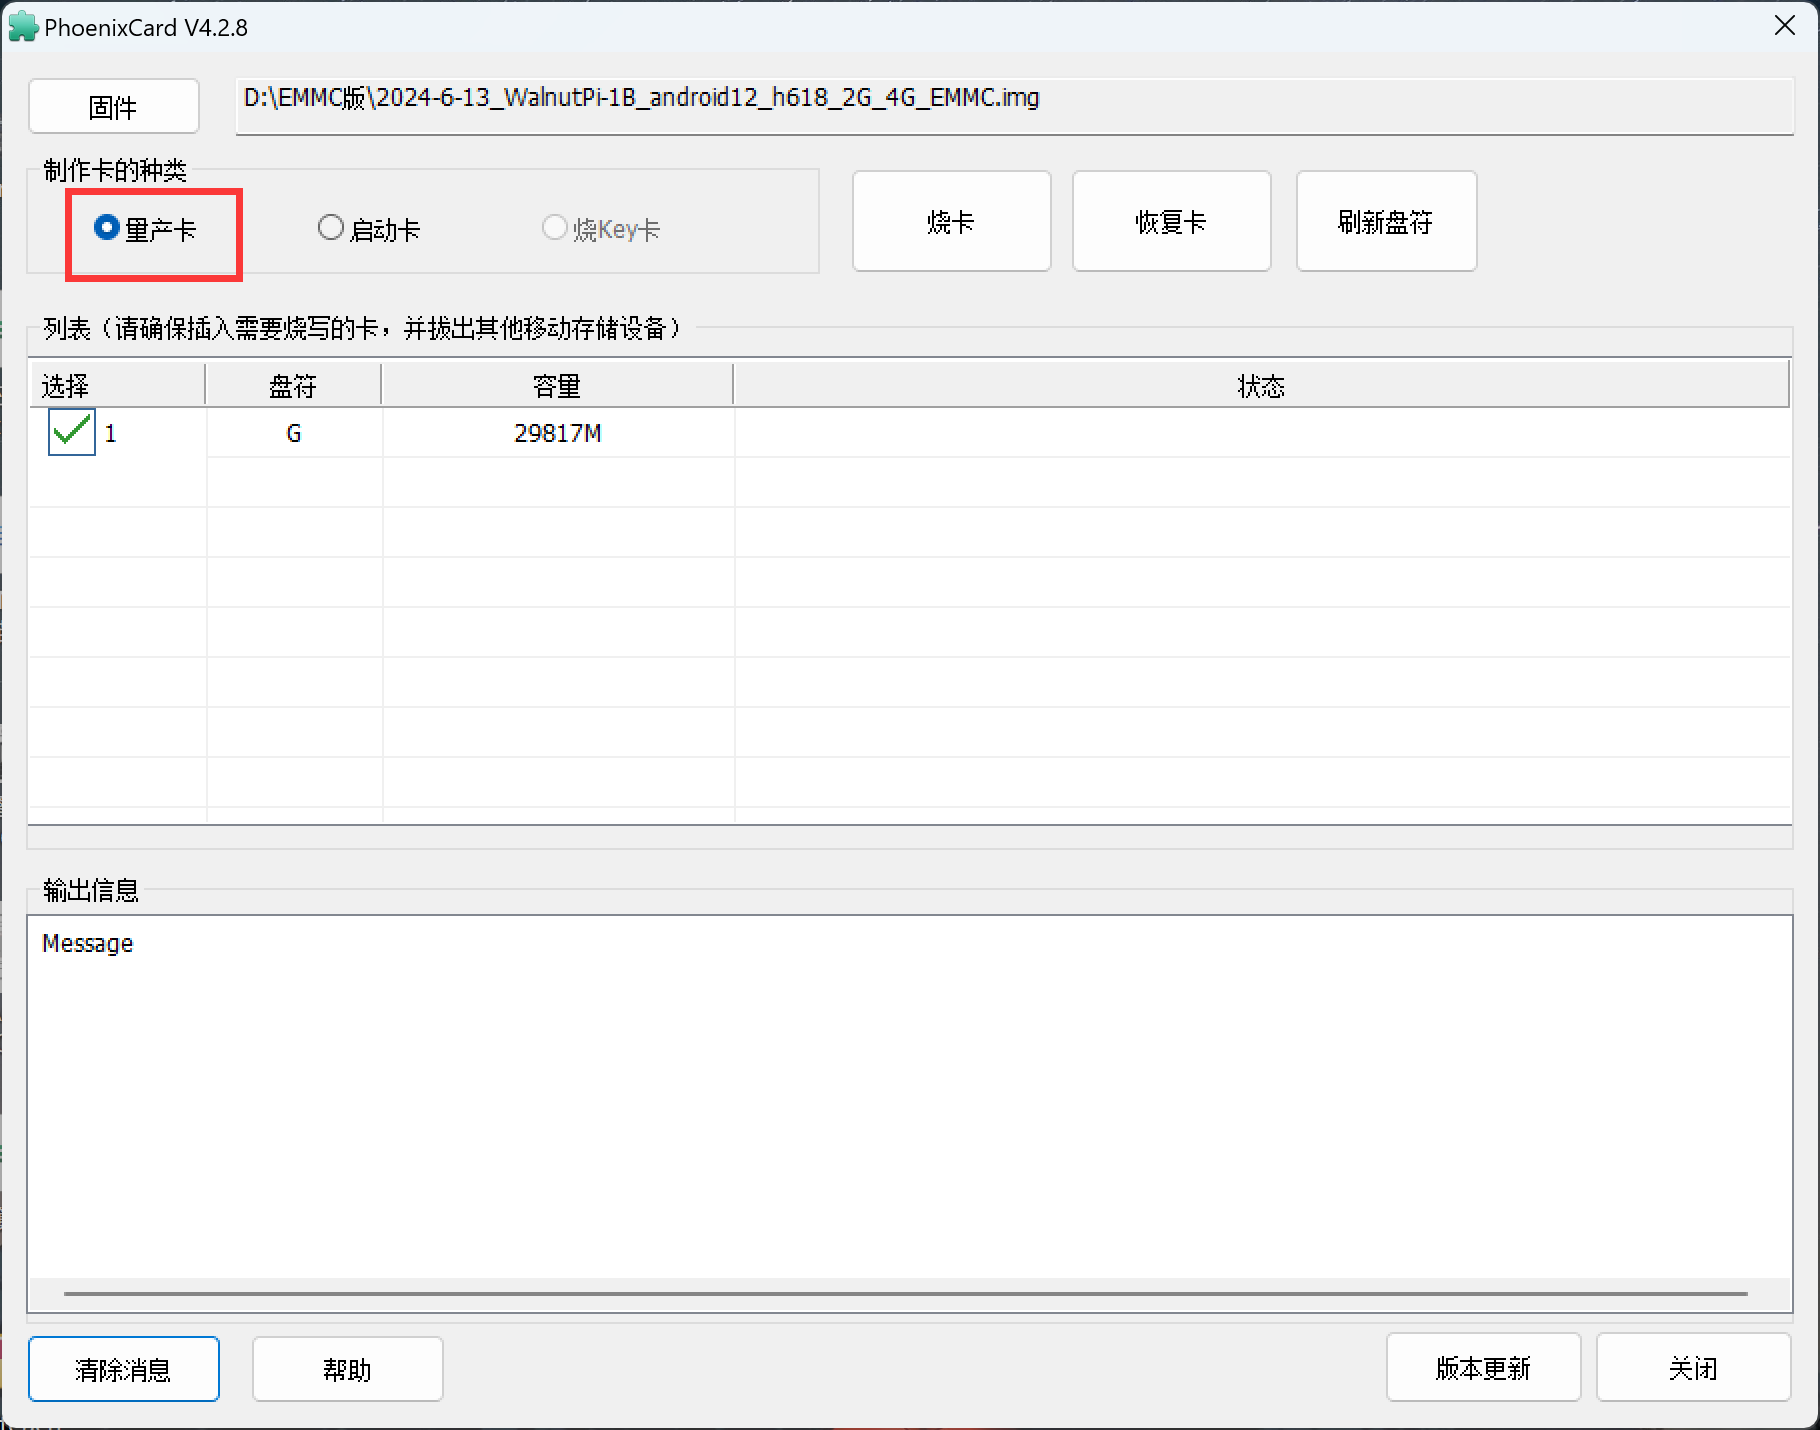
After burning, insert the SD card into the WalnutPi 2B EMMC version hardware and power on. A fast-blinking blue LED indicates that data is being written to EMMC.
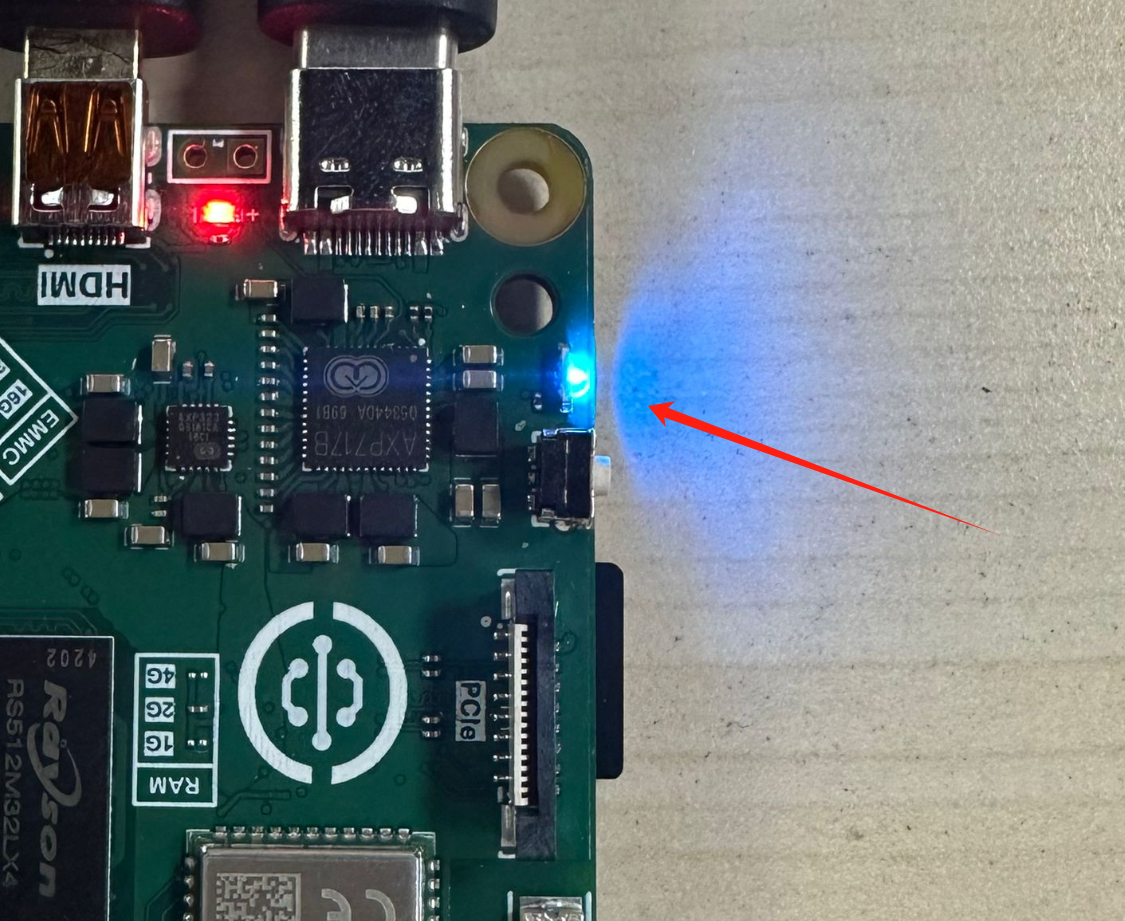
When the blue LED turns off, burning is complete.
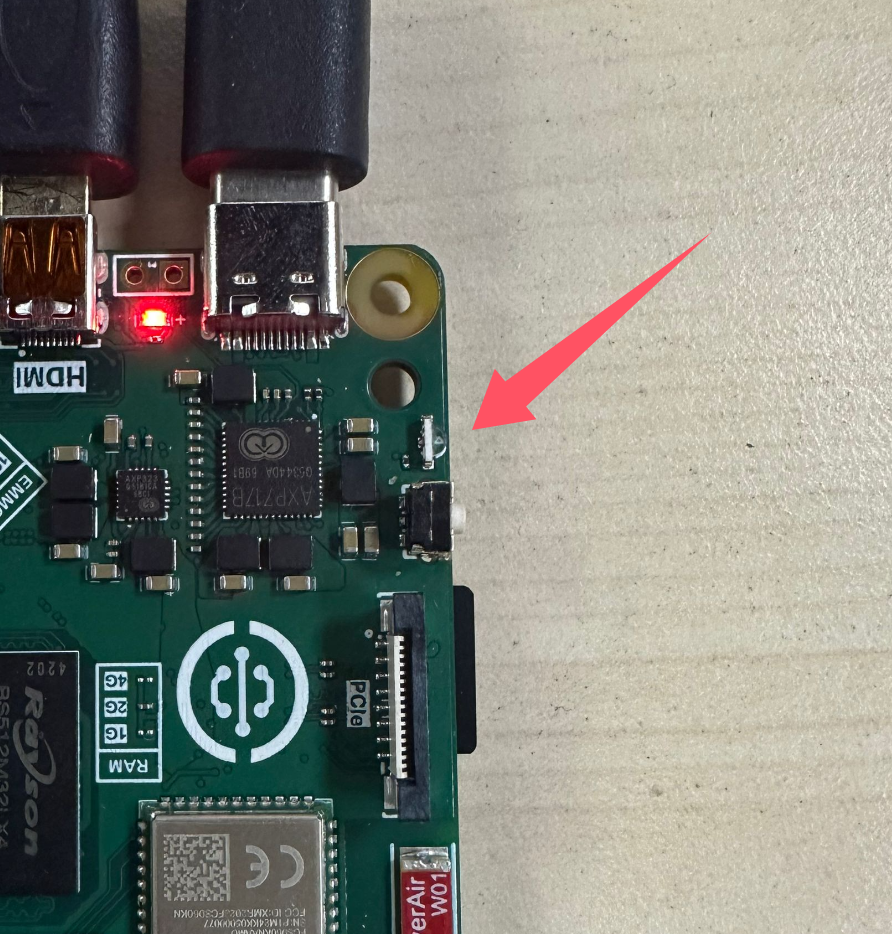
You can use a USB-to-TTL tool connected to the debug serial port to monitor the burning progress. Debug Serial Port Terminal
Power off, remove the SD card, and power on again to boot the Android system from EMMC.