Writing Text
Introduction
Text is a commonly used descriptive feature — for example, describing photo information or camera frame rates. These characters can be written at any position on the image for more intuitive observation.
Experiment Objective
Use the OpenCV library to write text.
Experiment Explanation
The OpenCV Python library provides the putText() function for writing text, which we can use directly.
putText() Usage
img = cv2.putText(img, text, org, fontFace, fontScale, color, thickness, lineType, bottomLeftOrigin)
To write text:
img: Image.text: The text string to write.org: Bottom-left corner coordinates of the text.fontFace: Font style, with the following font types available. Example:cv2.FONT_HERSHEY_SIMPLEXFONT_HERSHEY_SIMPLEX: Normal size sans-serif font.FONT_HERSHEY_PLAIN: Small sans-serif font.FONT_HERSHEY_DUPLEX: Normal size sans-serif font (more complex thanFONT_HERSHEY_SIMPLEX).FONT_HERSHEY_COMPLEX: Normal size serif font.FONT_HERSHEY_TRIPLEX: Normal size serif font (more complex thanFONT_HERSHEY_COMPLEX).FONT_HERSHEY_COMPLEX_SMALL: Simplified version ofFONT_HERSHEY_COMPLEX.FONT_HERSHEY_SCRIPT_SIMPLEX: Handwriting style font.FONT_HERSHEY_SCRIPT_COMPLEX: Handwriting style font (more complex thanFONT_HERSHEY_SCRIPT_SIMPLEX).FONT_ITALIC: Italic.
fontScale: Font size.color: Color.thickness: Thickness.
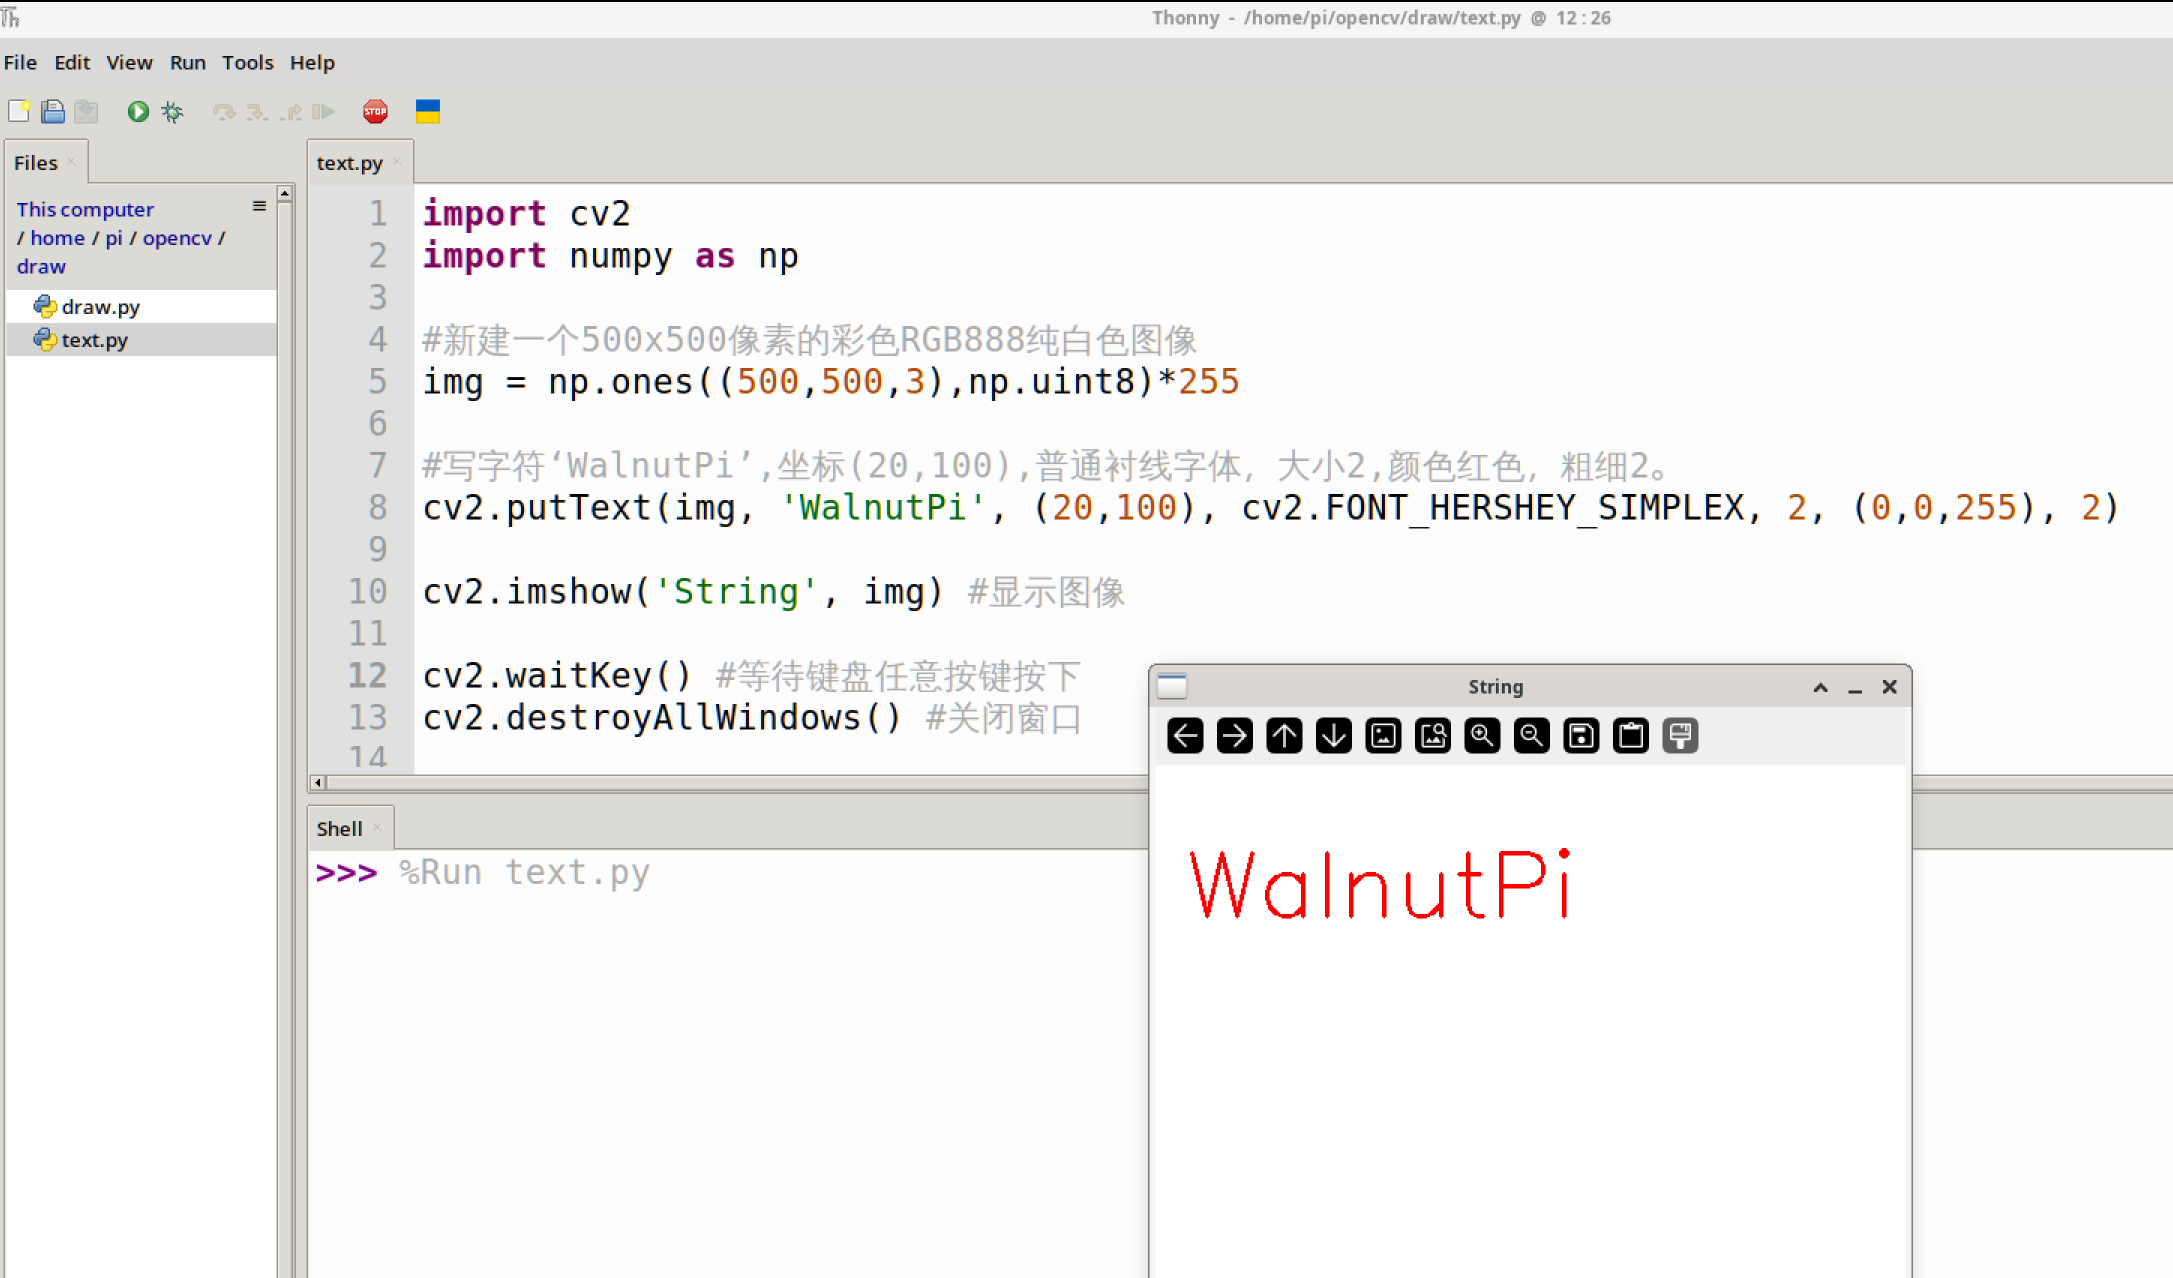
After becoming familiar with the text writing method, let's write a string on an image canvas and display it. The code flow is as follows:
The reference code is as follows. The code uses NumPy's array creation functionality. NumPy is not heavily used in this chapter, so it will not be expanded upon here; you can search and learn about it online.
'''
Experiment Name: Writing Text
Experiment Platform: WalnutPi 1B
'''

import cv2
import numpy as np

# Create a new 500×500 pixel RGB888 pure white image
img = np.ones((500,500,3),np.uint8)*255

# Write the text 'WalnutPi' at coordinates (20,100), normal sans-serif font, size 2, red color, thickness 2.
cv2.putText(img, 'WalnutPi', (20,100), cv2.FONT_HERSHEY_SIMPLEX, 2, (0,0,255), 2)

cv2.imshow('String', img) # Display the image

cv2.waitKey() # Wait for any keyboard key to be pressed
cv2.destroyAllWindows() # Close the window
Experiment Results
Run the code on the WalnutPi; the experiment results are as shown below: