Installing OpenCV
Installing OpenCV on the WalnutPi 1B is very simple — just use pip to install it. It is recommended to install the opencv-contrib-python library, which includes both the OpenCV main module and the contrib module for complete functionality.
Enter the following command in the WalnutPi terminal to install:
pip install opencv-contrib-python
If your network cannot download it, or if you are a user in mainland China, you can use the Tsinghua mirror source for faster downloads. Replace the above install command with the following:
pip install opencv-contrib-python -i https://pypi.tuna.tsinghua.edu.cn/simple
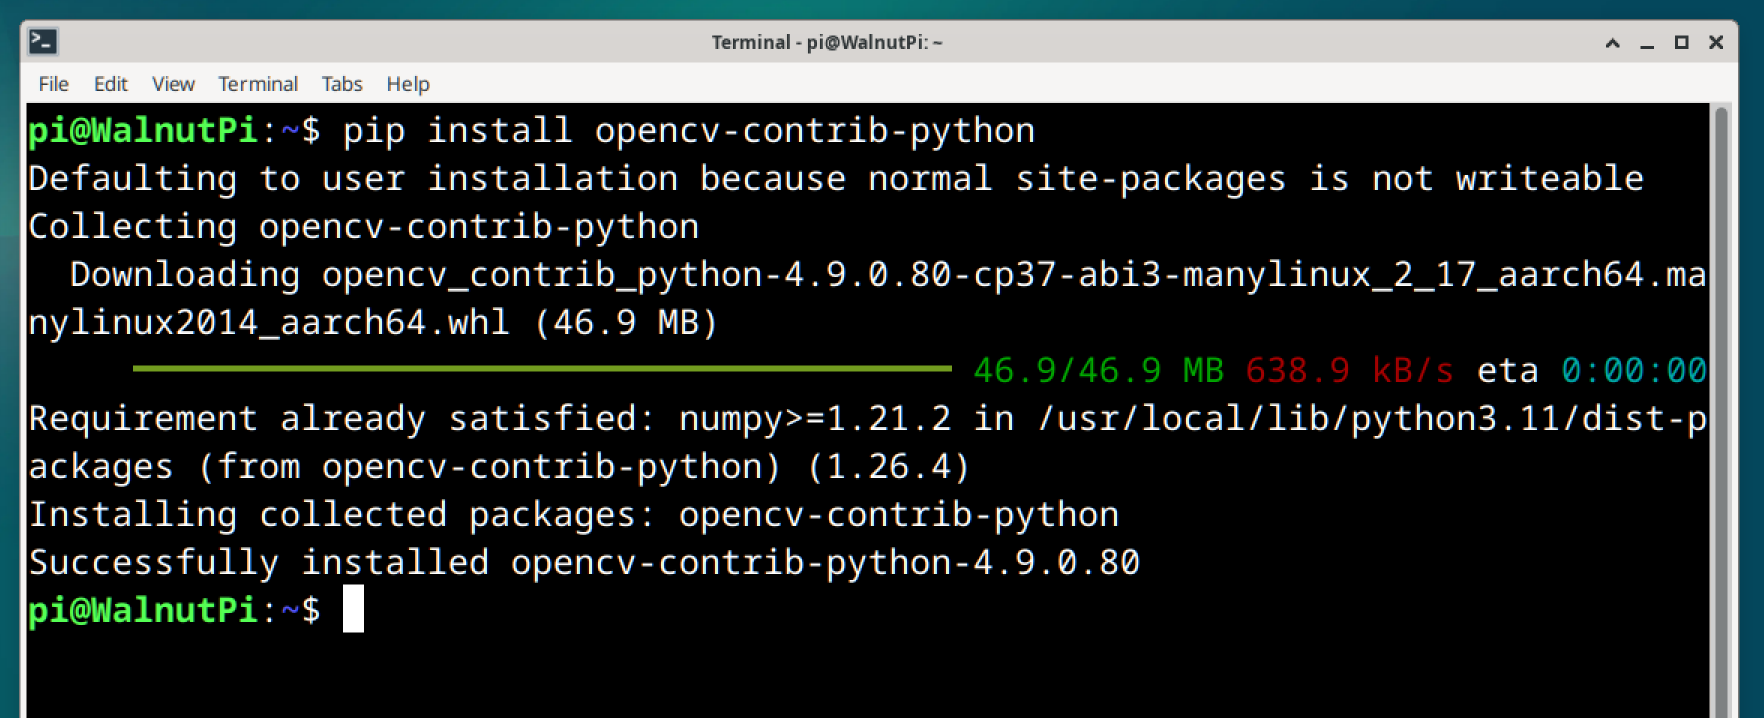
After installation, let's test whether the installation was successful.
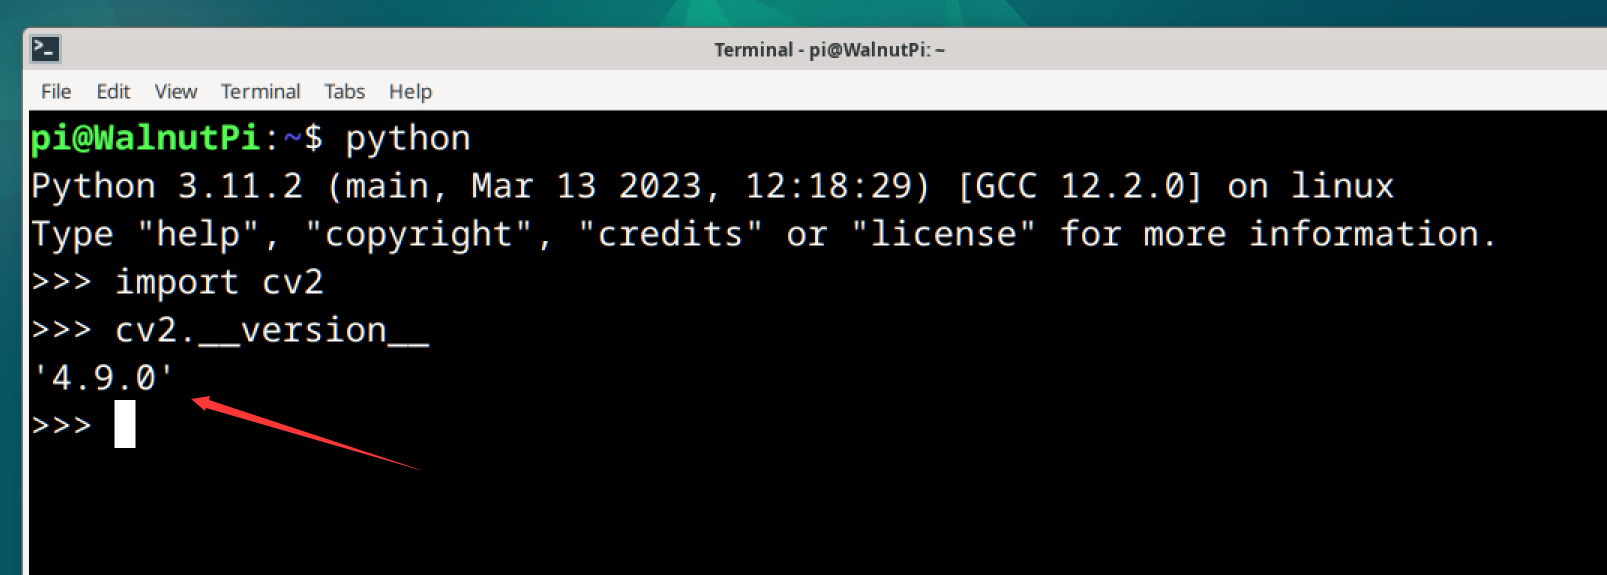
Enter the python command to enter the Python terminal:
python
Then enter the following command; if no error occurs, the installation was successful.
import cv2

Continue by entering the following command to view the version number:
cv2.__version__
Since this tutorial is based on Python development and the WalnutPi development board provides multiple ways to run Python code, please refer to the Running Python Code section for details, which will not be repeated here.
OpenCV is primarily for vision development, so it is recommended that users use a monitor, keyboard, and mouse for local development on the WalnutPi board, or develop via VNC remote desktop. WalnutPi VNC Remote