YOLO11 Detection
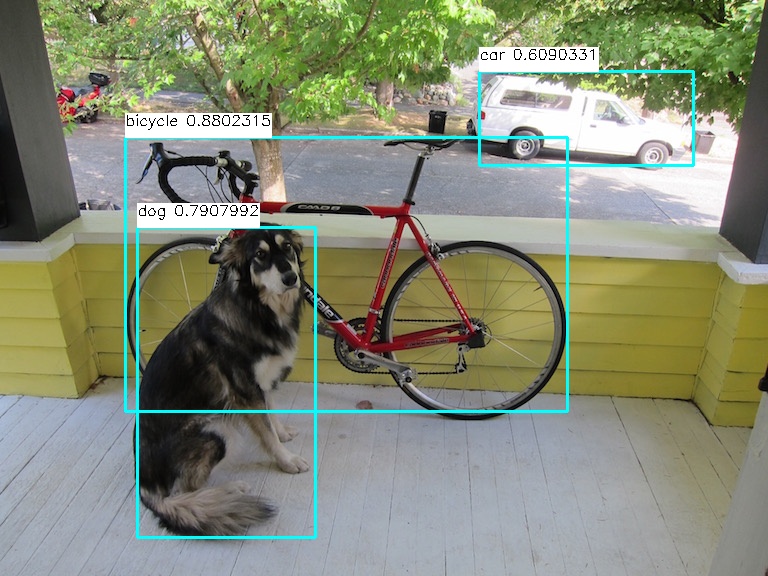
This model finds all annotated object types in an image.
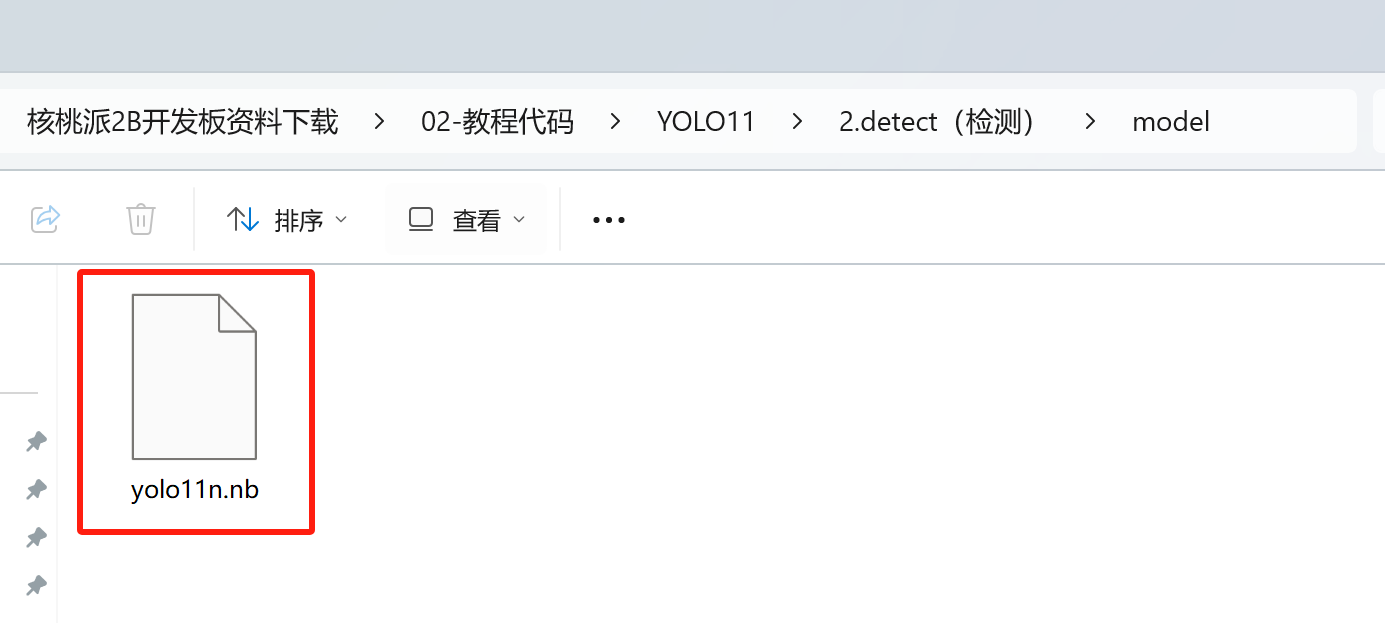
Prepare Model File
The program package we provide includes a file named yolo11n.nb, which is the model file for running YOLO11 detection on the WalnutPi 2B (T527) NPU.
If you want to try converting the model yourself, refer to: Model Conversion Tutorial
Install OpenCV
This tutorial requires the OpenCV library. For installation instructions, refer to: OpenCV Installation
Run Model with Python
WalnutPi 2B v1.3.0 and above provides a packaged YOLO11 Python library.
1. Instantiate yolo11 Class
Instantiate the YOLO11_DET class by passing the model file path:
from walnutpi import YOLO11
yolo = YOLO11.YOLO11_DET("model/yolo11n.nb")
2. Run Model - Blocking Mode
Use the run method to run the model and get detection results. It takes 3 parameters:
- Image data, read using OpenCV's image reading method
- Confidence threshold, only detection boxes above this confidence will be returned
- Detection box overlap threshold, the model often hits multiple boxes around an object. If the area overlap between boxes exceeds this value, only the box with the highest confidence is kept, and other overlapping boxes are removed
# Read image
import cv2
img = cv2.imread("image/dog.jpg")

# Detect
boxes = yolo.run(img, 0.5, 0.45)
3. Run Model - Non-blocking Mode
Use the run_async method, which creates a thread to run the model and returns immediately. It takes 3 parameters:
- Image data, read using OpenCV's image reading method
- Confidence threshold, only detection boxes above this confidence will be returned
- Detection box overlap threshold, the model often hits multiple boxes around an object. If the area overlap between boxes exceeds this value, only the box with the highest confidence is kept, and other overlapping boxes are removed
Non-blocking mode works with the is_running property, which has a value of true or false, indicating whether a run_async model thread is running in the background. If a thread is already running, calling run_async again won't start a new thread. You can also use this property to check if the model thread has finished and results are ready.
Use the get_result() method to return the background recognition result, which is the same as what the blocking run method returns:
import cv2
img = cv2.imread("image/dog.jpg")

yolo.run_async(img, 0.5, 0.45)
while yolo.is_running:
    time.sleep(0.1)
boxes = yolo.get_result()
4. Detection Results
Both the run method and get_result method return a list. If nothing is detected in the image, an empty list is returned. Each value in the list represents a detected box, and each box object contains the following properties:
| Property | Description |
|---|---|
| x | x-coordinate of the detection box center |
| y | y-coordinate of the detection box center |
| w | Width of the detection box |
| h | Height of the detection box |
| reliability | Confidence of the detection box, e.g., 0.78 |
| label | Label of the detection box |
Note that label is a number. For example, the official YOLO model was trained with 80 annotated types, so the detected label property will be 0-79.
The following code can be used to output all detected box information:
print(f"boxes: {boxes.__len__()}")
for box in boxes:
    print(
        "{:f} ({:4d},{:4d}) w{:4d} h{:4d} {:d}".format(
            box.reliability,
            box.x,
            box.y,
            box.w,
            box.h,
            box.label,
        )
    )
Example Programs
Image-Based
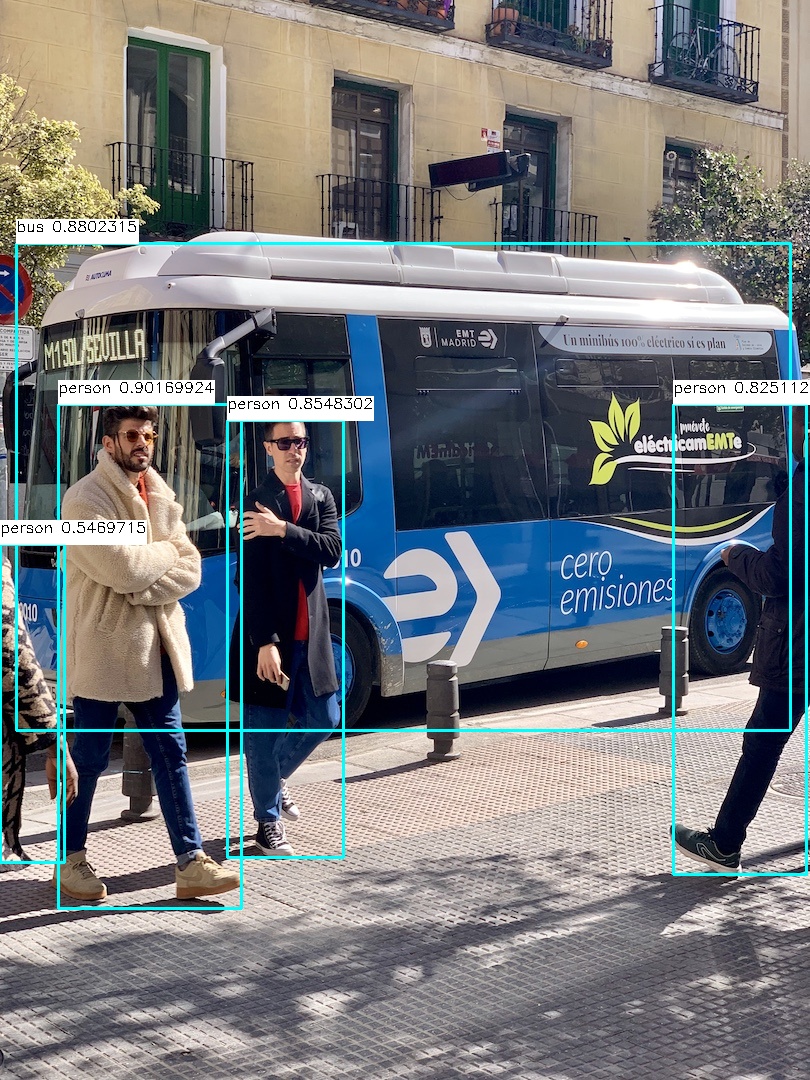
'''
Experiment Name: YOLO11 Detection
Experiment Platform: WalnutPi 2B
Description: Image detection
'''
from walnutpi import YOLO11
import dataset_coco
import cv2

# [Optional] Allow Thonny remote execution
import os
os.environ["DISPLAY"] = ":0.0"

path_model = "model/yolo11n.nb" # Model path
path_image = "image/bus.jpg" # Image path
output_path = "result.jpg" # Output result save path

# Read image
img = cv2.imread(path_image)

# Detect image
yolo = YOLO11.YOLO11_DET(path_model)

# Perform object detection with confidence threshold of 0.5 and IoU threshold of 0.45
boxes = yolo.run(img, 0.5, 0.45)

# Output detection results
print(f"boxes: {boxes.__len__()}")
for box in boxes:
    print(
        "{:f} ({:4d},{:4d}) w{:4d} h{:4d} {:s}".format(
            box.reliability,
            box.x,
            box.y,
            box.w,
            box.h,
            dataset_coco.label_names[box.label],
        )
    )

# Draw boxes on image
for box in boxes:
    left_x = int(box.x - box.w / 2)
    left_y = int(box.y - box.h / 2)
    right_x = int(box.x + box.w / 2)
    right_y = int(box.y + box.h / 2)
    label = str(dataset_coco.label_names[box.label]) + " " + str(box.reliability)
    (label_width, label_height), bottom = cv2.getTextSize(
        label,
        cv2.FONT_HERSHEY_SIMPLEX,
        0.5,
        1,
    )
    cv2.rectangle(
        img,
        (left_x, left_y),
        (right_x, right_y),
        (255, 255, 0),
        2,
    )
    cv2.rectangle(
        img,
        (left_x, left_y - label_height * 2),
        (left_x + label_width, left_y),
        (255, 255, 255),
        -1,
    )
    cv2.putText(
        img,
        label,
        (left_x, left_y - label_height),
        cv2.FONT_HERSHEY_SIMPLEX,
        0.5,
        (0, 0, 0),
        1,
    )

# Save image
cv2.imwrite(output_path, img)

# Display image in window
cv2.imshow('result',img)

cv2.waitKey() # Wait for any key press
cv2.destroyAllWindows() # Close window
Camera-Based
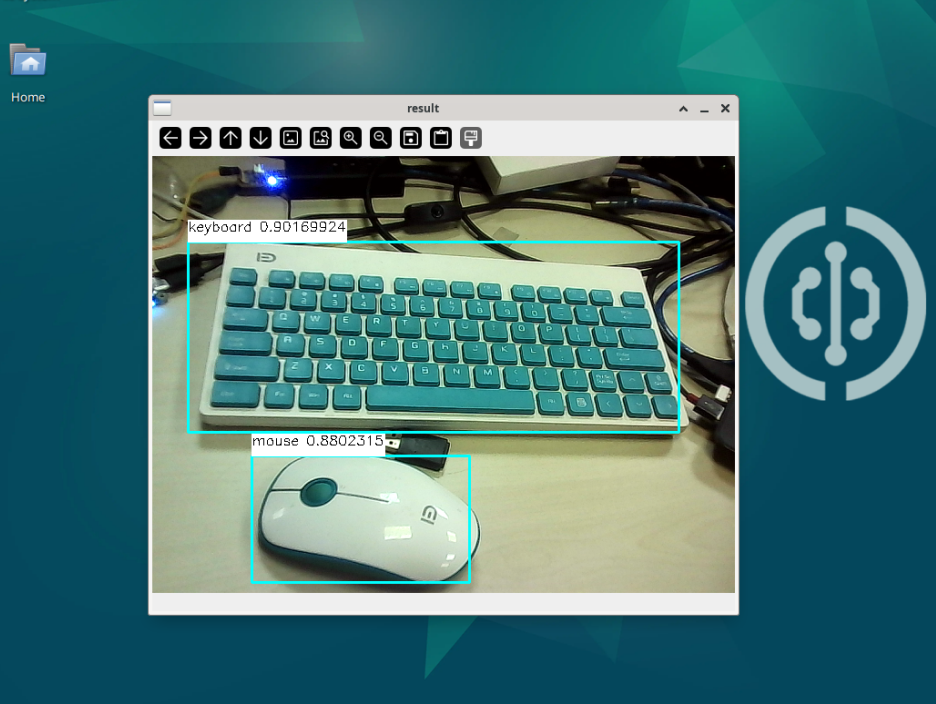
You can first learn about the USB Camera Usage Tutorial in OpenCV.
'''
Experiment Name: YOLO11 Detection
Experiment Platform: WalnutPi 2B
Description: Camera capture detection
'''

from walnutpi import YOLO11
import dataset_coco
import cv2,time

# [Optional] Allow Thonny remote execution
import os
os.environ["DISPLAY"] = ":0.0"

# Load model
path_model = "model/yolo11n.nb"
yolo = YOLO11.YOLO11_DET(path_model)

# Open camera
cap = cv2.VideoCapture(0)
if not cap.isOpened():
    print("Cannot open camera")
    exit()

# Set to 1080p
# cap.set(cv2.CAP_PROP_FOURCC, cv2.VideoWriter_fourcc(*"MJPG"))
# cap.set(cv2.CAP_PROP_FRAME_WIDTH, 1920)  # Set width
# cap.set(cv2.CAP_PROP_FRAME_HEIGHT, 1080)  # Set height

boxes = []

# Calculate FPS
count=0
pt=0
fps = 0

while True:

    # Calculate FPS
    count+=1
    if time.time()-pt >=1 : # Over 1 second

        fps=1/((time.time()-pt)/count)# Calculate FPS
        print(fps)
        count=0
        pt=time.time()

    # Read a frame from camera
    ret, img = cap.read()


    if not ret:
        print("Can't receive frame (stream end?). Exiting ...")
        break

    # Non-blocking image inference
    if not yolo.is_running:
        # Perform object detection with confidence threshold of 0.5 and IoU threshold of 0.45
        yolo.run_async(img, 0.5, 0.45)

    boxes = yolo.get_result()


    # Output detection results
    if boxes is not None:
        print(f"boxes: {boxes.__len__()}")
        for box in boxes:
            print(
                "{:f} ({:4d},{:4d}) w{:4d} h{:4d} {:s}".format(
                    box.reliability,
                    box.x,
                    box.y,
                    box.w,
                    box.h,
                    dataset_coco.label_names[box.label],
                )
            )

    # Draw boxes on image
    for box in boxes:
        label = str(dataset_coco.label_names[box.label]) + " " + str('%.2f'%box.reliability)
        left_x = int(box.x - box.w / 2)
        left_y = int(box.y - box.h / 2)
        right_x = int(box.x + box.w / 2)
        right_y = int(box.y + box.h / 2)
        (label_width, label_height), bottom = cv2.getTextSize(
            label,
            cv2.FONT_HERSHEY_SIMPLEX,
            0.5,
            1,
        )
        (label_width, label_height), bottom = cv2.getTextSize(
            label,
            cv2.FONT_HERSHEY_SIMPLEX,
            0.5,
            1,
        )
        cv2.rectangle(
            img,
            (left_x, left_y),
            (right_x, right_y),
            (255, 255, 0),
            2,
        )
        cv2.rectangle(
            img,
            (left_x, left_y - label_height * 2),
            (left_x + label_width, left_y),
            (255, 255, 255),
            -1,
        )
        cv2.putText(
            img,
            label,
            (left_x, left_y - label_height),
            cv2.FONT_HERSHEY_SIMPLEX,
            0.5,
            (0, 0, 0),
            1,
        )


    cv2.putText(img, 'FPS: '+str(fps), (10,30), cv2.FONT_HERSHEY_SIMPLEX, 1, (0,0,255), 2) # Draw FPS on image
    cv2.imshow("result", img)# Display image in window

    key = cv2.waitKey(1) # Window refresh interval of 1ms to prevent blocking
    if key == 32: # Press space key to exit
        break

cap .release() # Release camera
cv2.destroyAllWindows() # Destroy camera video window