Audio and Recording
The Walnut Pi 2B supports both HDMI audio and 3.5mm headphone jack audio output.
HDMI Audio
If your HDMI display has built-in speakers, you can verify this by connecting it to a Windows computer. If you can select audio output and hear sound, the HDMI display supports audio.
Viewing Audio Devices
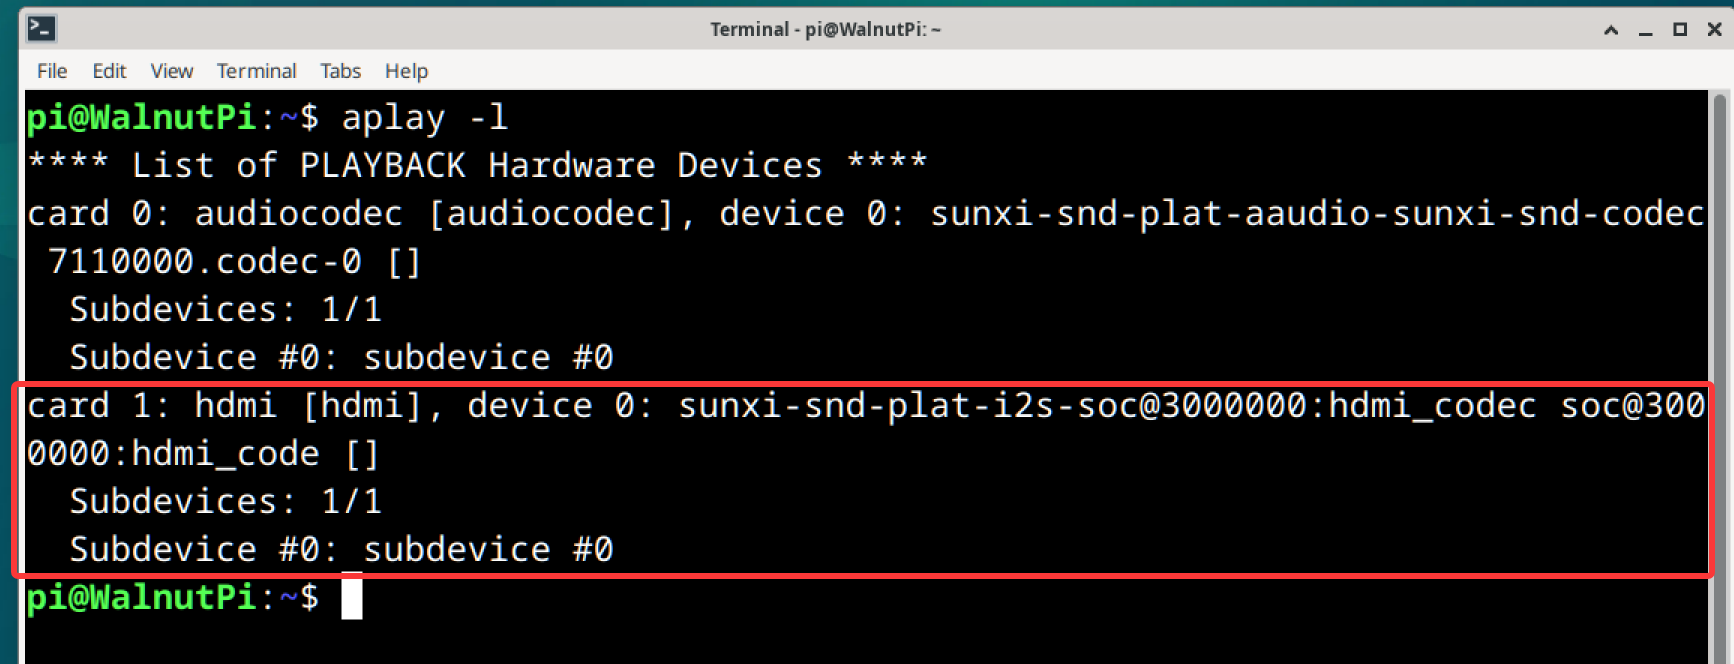
Use the following command to view HDMI audio information:
aplay -l
Audio Playback Test
Test by playing a built-in WAV audio file. The ahubhdmi in the command below is the HDMI audio device name found from the command above: (Note: this command uses [plughw] instead of [hw] as used for the headphone jack.)
aplay -D plughw:hdmi /usr/share/sounds/alsa/Noise.wav

Desktop Edition Music Playback
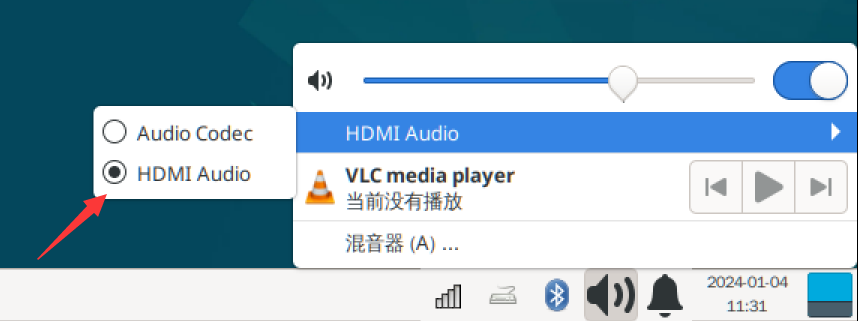
You can directly use the pre-installed VLC media player on the Desktop edition to play audio. The Walnut Pi system defaults to the headphone jack for audio output. Simply switch to HDMI in the bottom-right system tray to globally switch the audio output for players, browsers, etc.
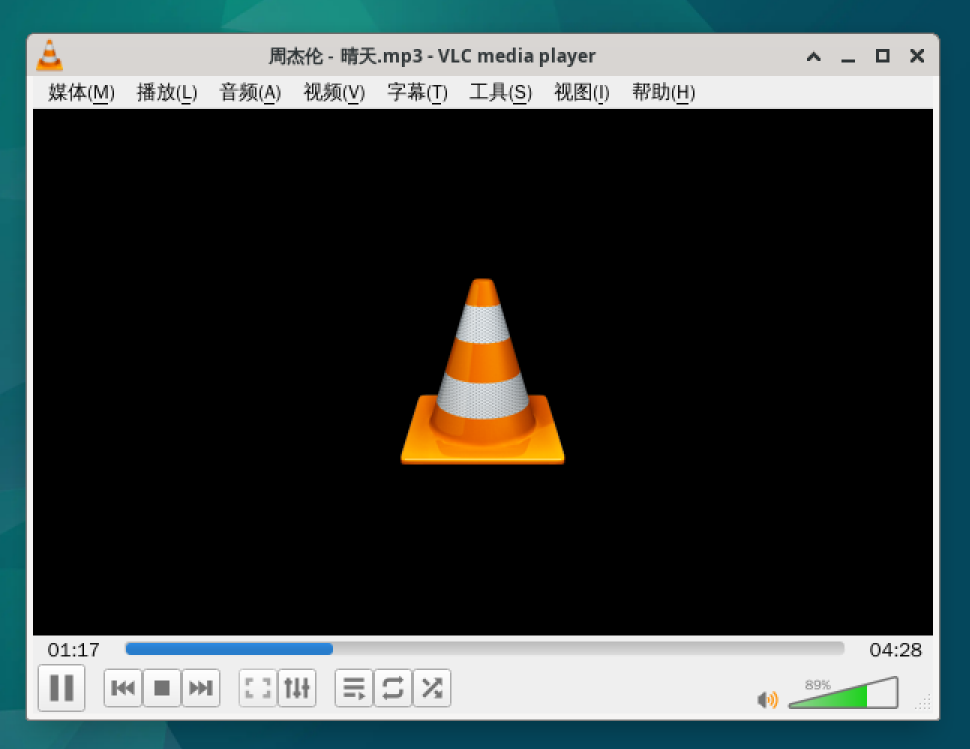
First, copy audio files to the Walnut Pi via USB drive or SSH, then right-click and select Open with VLC Media Player:
3.5mm Headphone Jack
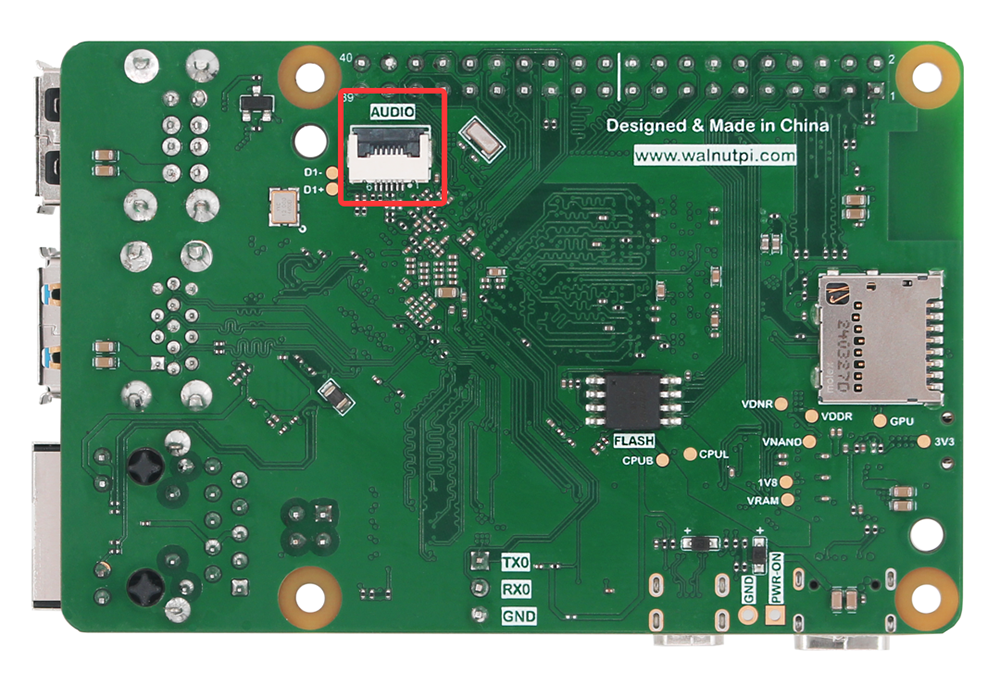
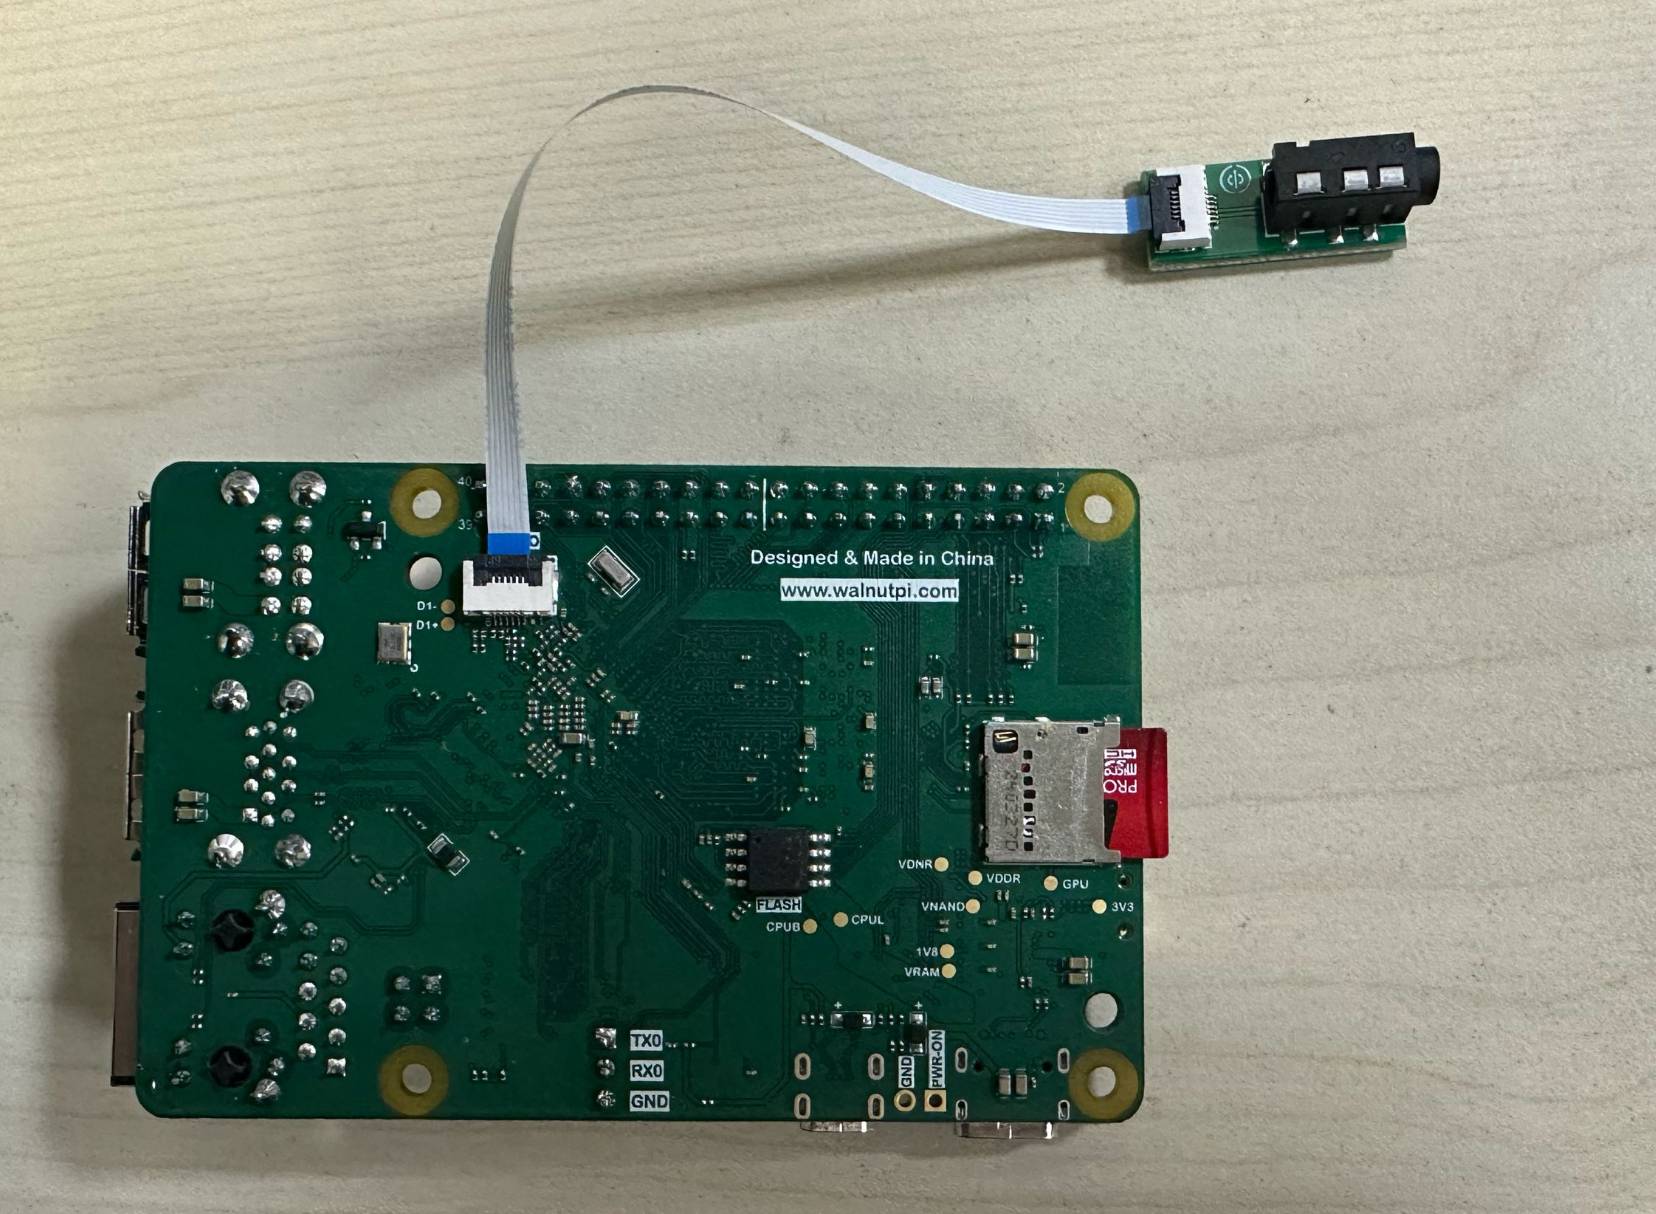
The back of the Walnut Pi 2B has an audio FPC connector, which can be adapted to a 3.5mm audio jack (the common headphone jack) using an adapter board. This can be used to connect headphones or speakers for louder sound output.
The Walnut Pi 2B's 3.5mm audio output jack has a certain output power and can drive both headphones and powered speakers.
Viewing Audio Devices
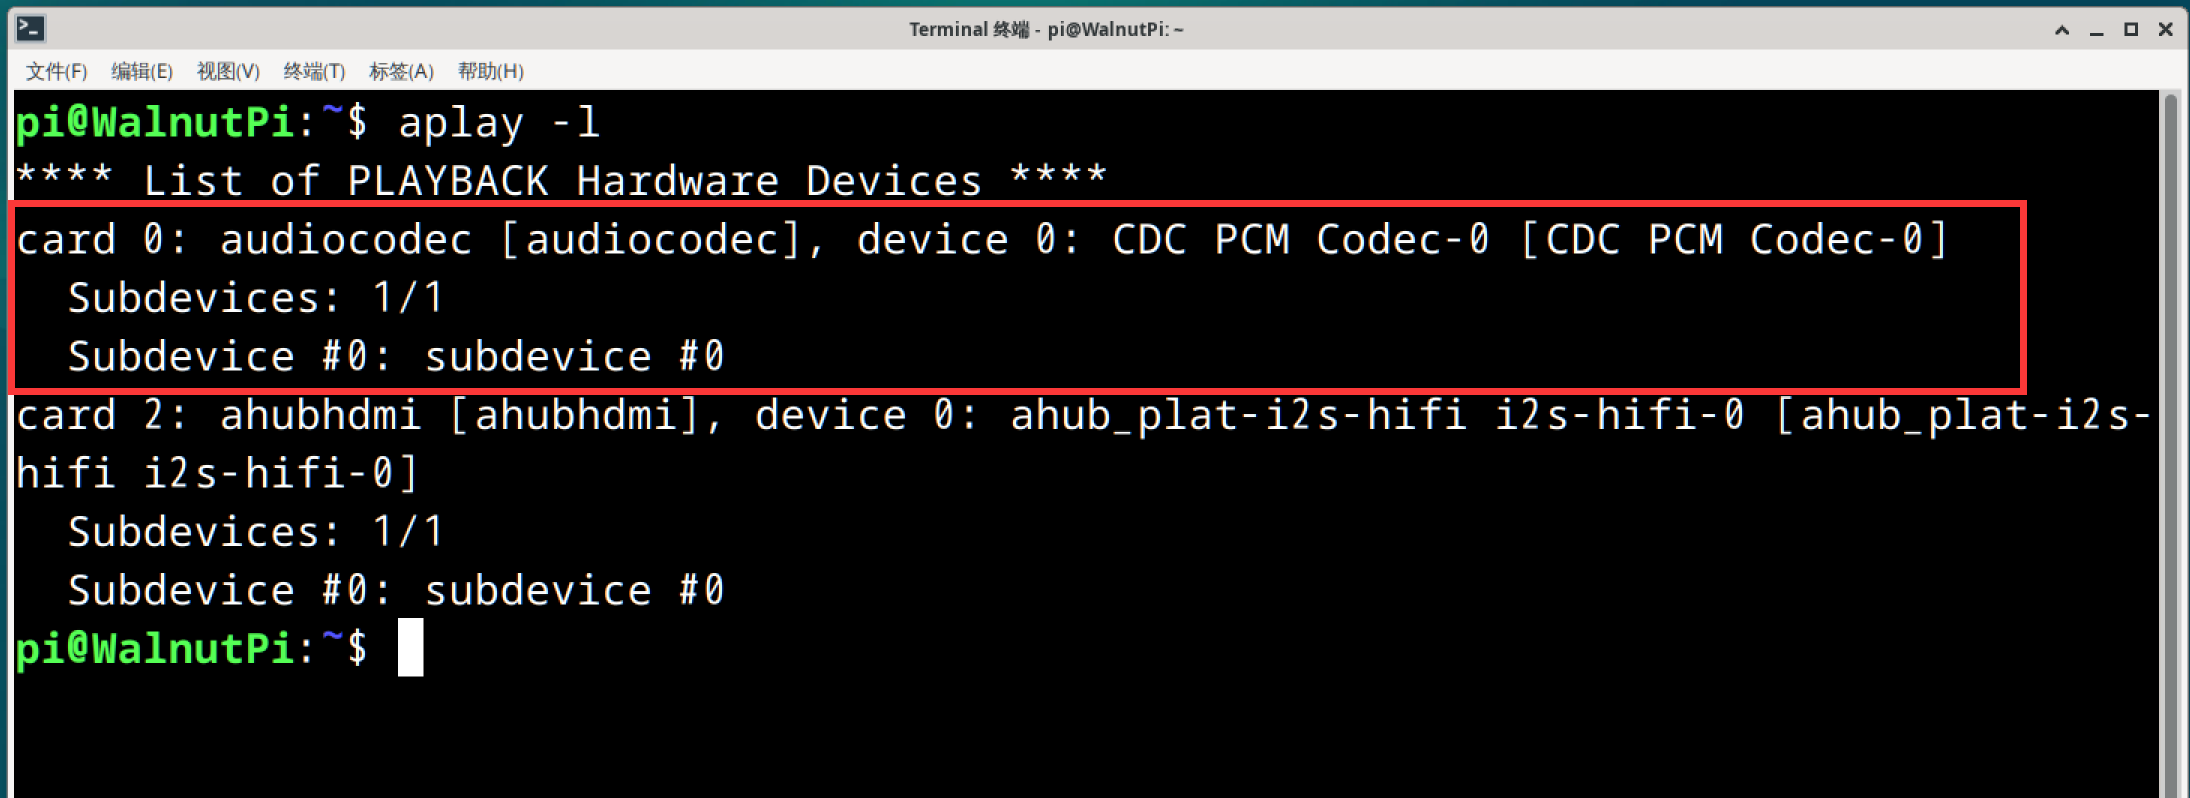
Use the following command to view audio device information:
aplay -l
Audio Playback Test
Test by playing a built-in WAV audio file. The audiocodec in the command below is the headphone jack device name found from the command above:
aplay -D hw:audiocodec /usr/share/sounds/alsa/Noise.wav

Connect headphones or speakers to the audio jack to hear the sound.
Desktop Edition Music Playback
You can directly use the pre-installed VLC media player on the Desktop edition to play audio.
First, copy audio files to the Walnut Pi via USB drive or SSH, then right-click and select Open with VLC Media Player:
Recording
The Walnut Pi can use a USB microphone as a recording input device. This tutorial uses the following common Raspberry Pi USB microphone:
The Walnut Pi 2B requires image version V1.1.0 or later.
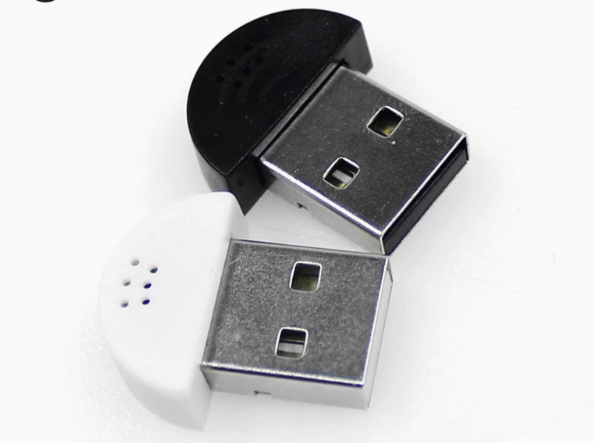
Plug the USB microphone into any USB port on the Walnut Pi.

Use the following command to identify the USB microphone device:
lsusb
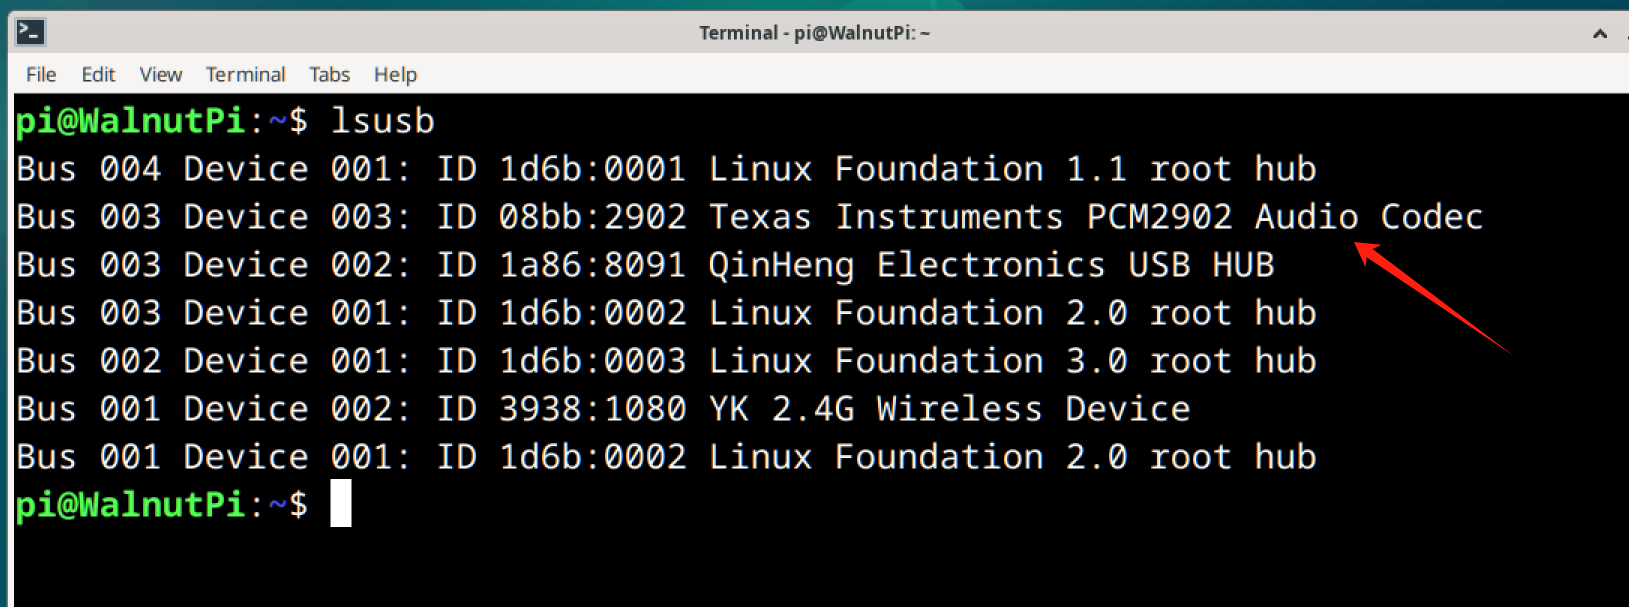
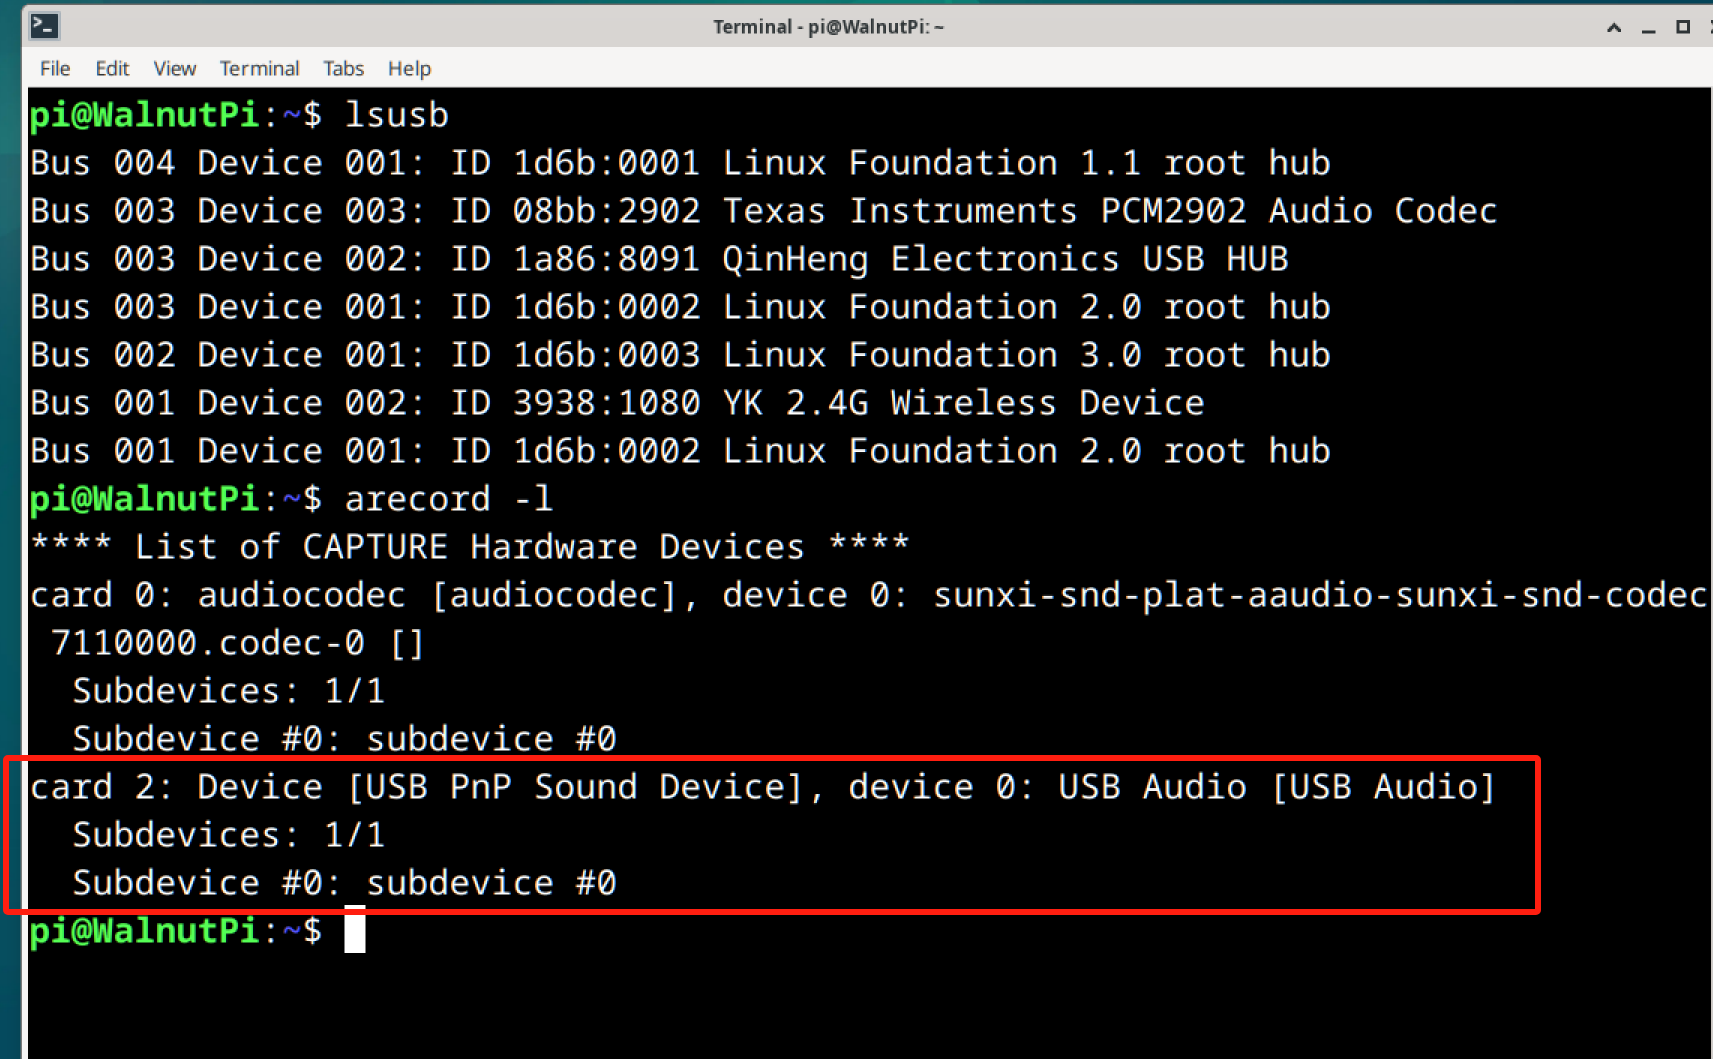
The following command lists audio devices:
arecord -l
Recording Test
You can record using the following command:
arecord -D "plughw:2,0" -f S16_LE -r 16000 -d 10 -t wav test.wav
- -D: Device name. From
arecord -labove, this is card2, device0. Use: "plughw:2,0"; - -f: Recording format. S16_LE means 16-bit;
- -r: Sample rate. 16000 means 16 kHz;
- -d: Recording duration. 10 means 10 seconds;
- -t: File format. wav means WAV format;
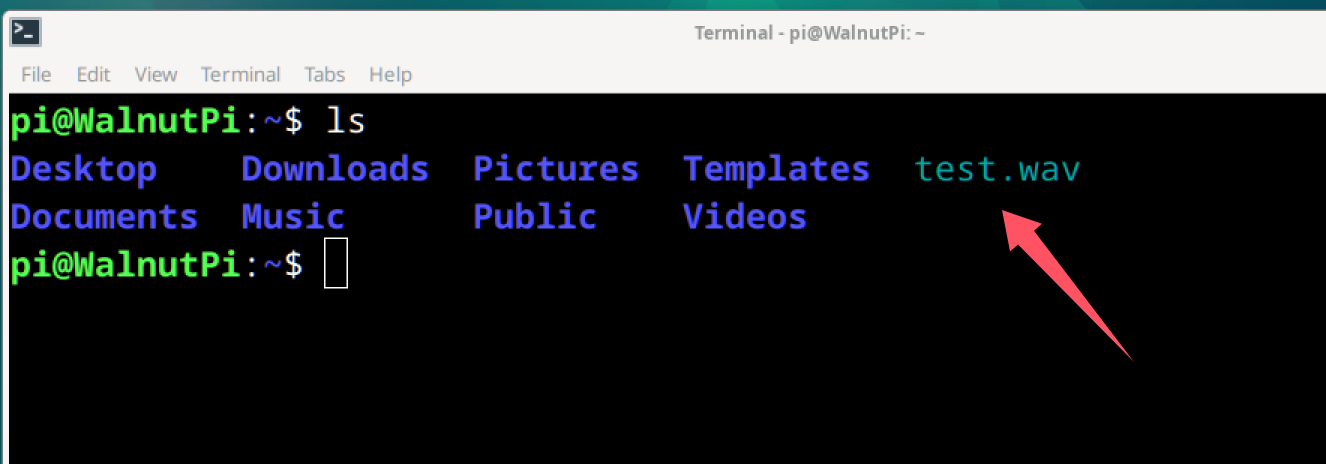
- test.wav: Generates a test.wav file in the current directory.
After recording, you will see the generated test.wav file in the current directory:
You can play it back through the audio jack with the following command:
aplay -D hw:audiocodec test.wav
Adjusting Microphone Volume
The default microphone volume may be low. You can adjust it as follows:
Enter the following command:
alsamixer
In the pop-up interface, press F6 and select the USB microphone.
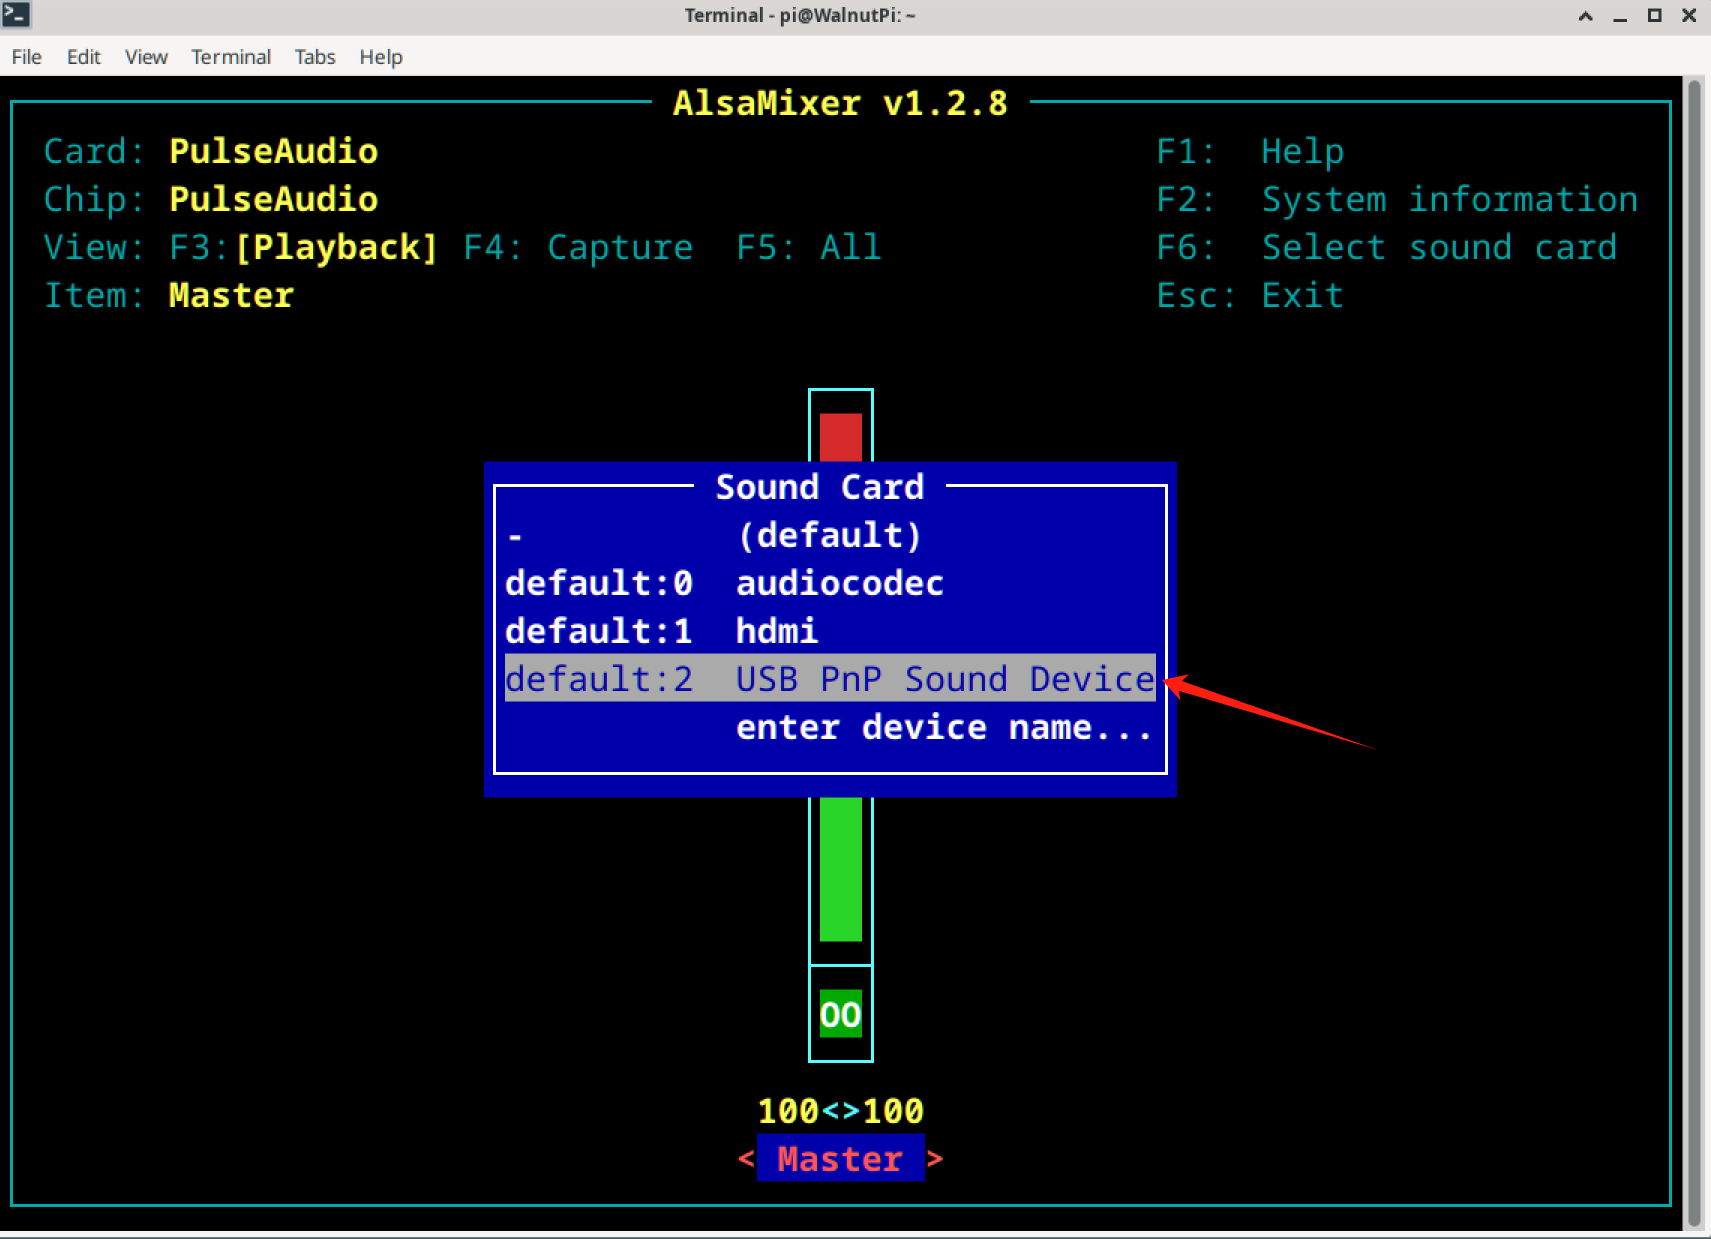
Then press F5, and use the mouse or keyboard arrow keys to select MIC:
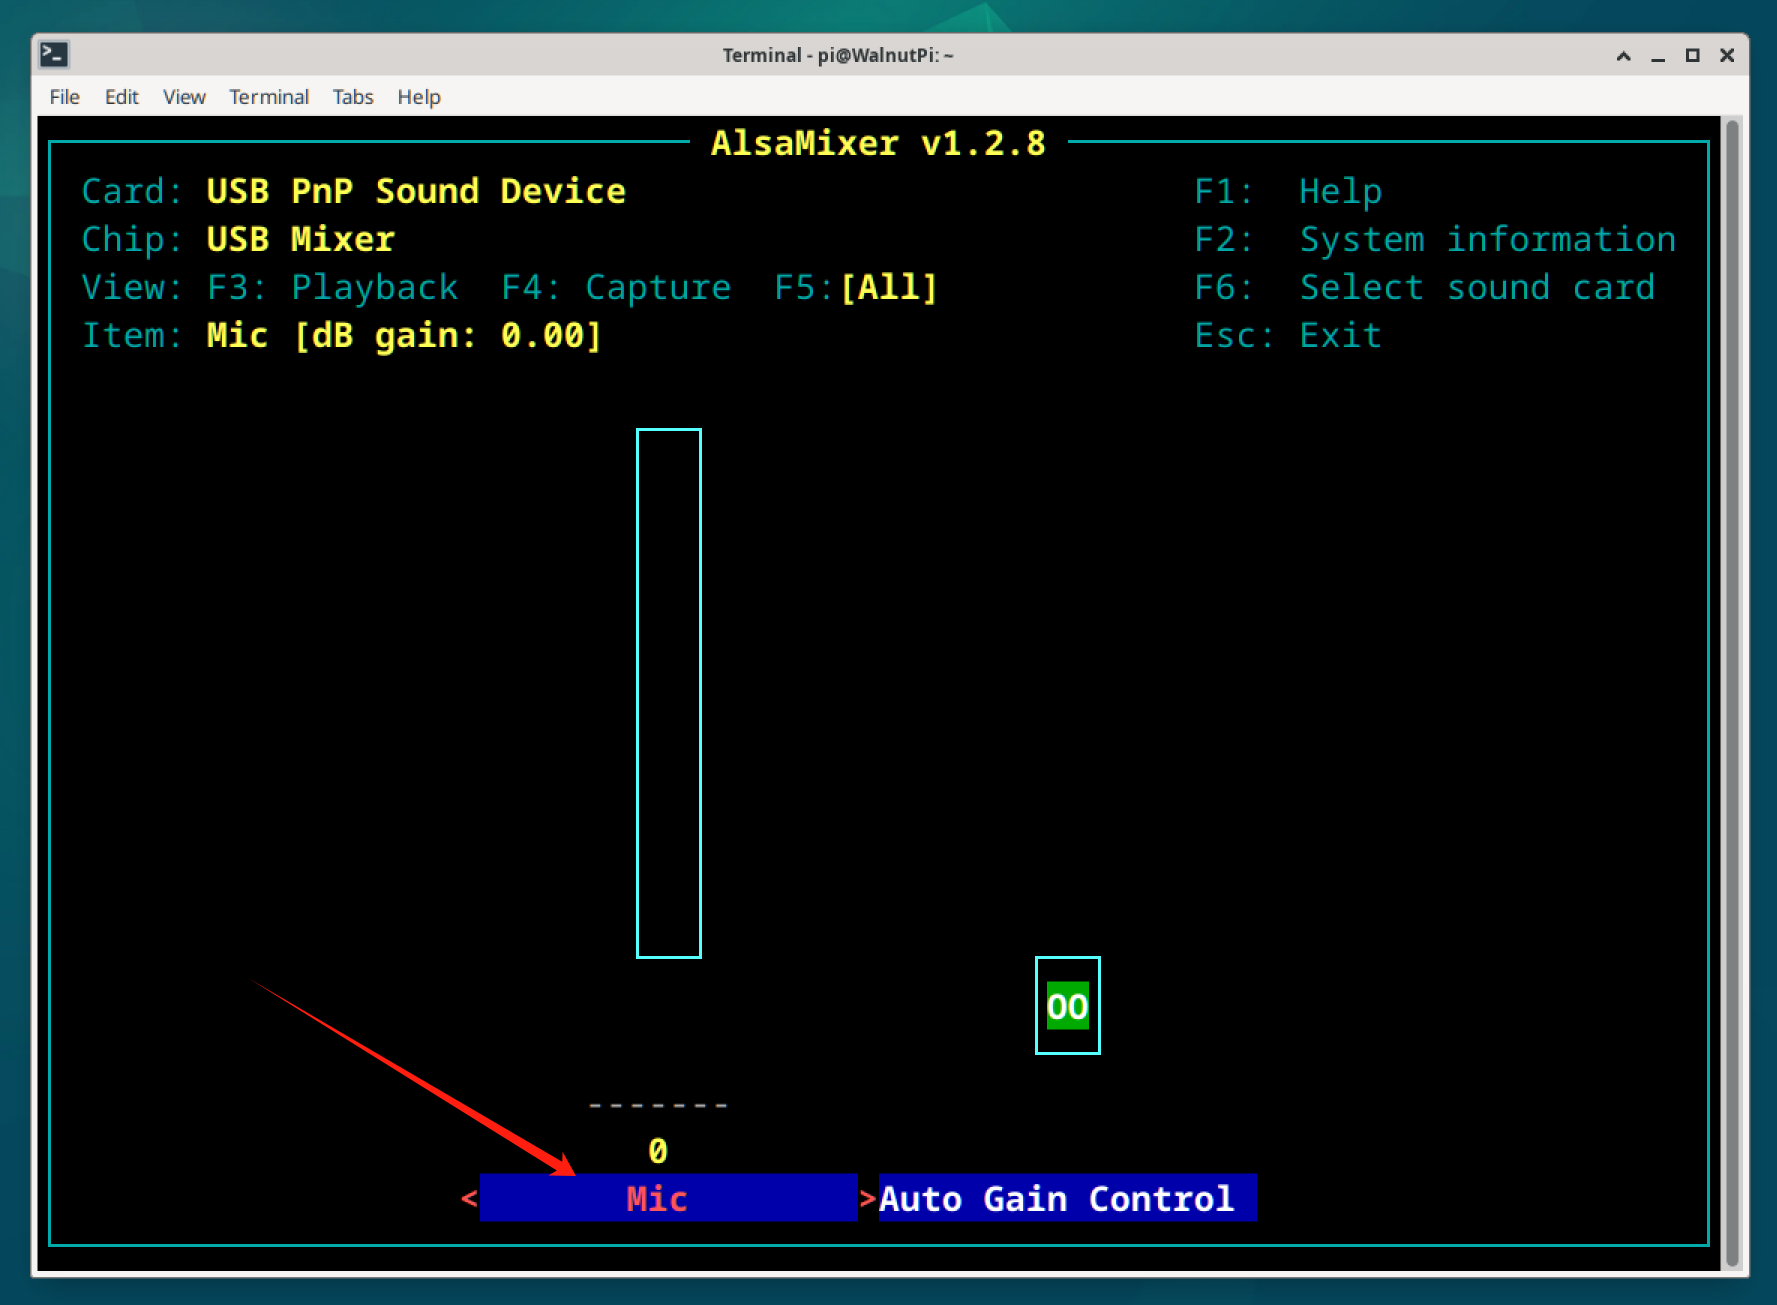
Use the keyboard up and down arrow keys to adjust the volume. Press ESC to exit when done.
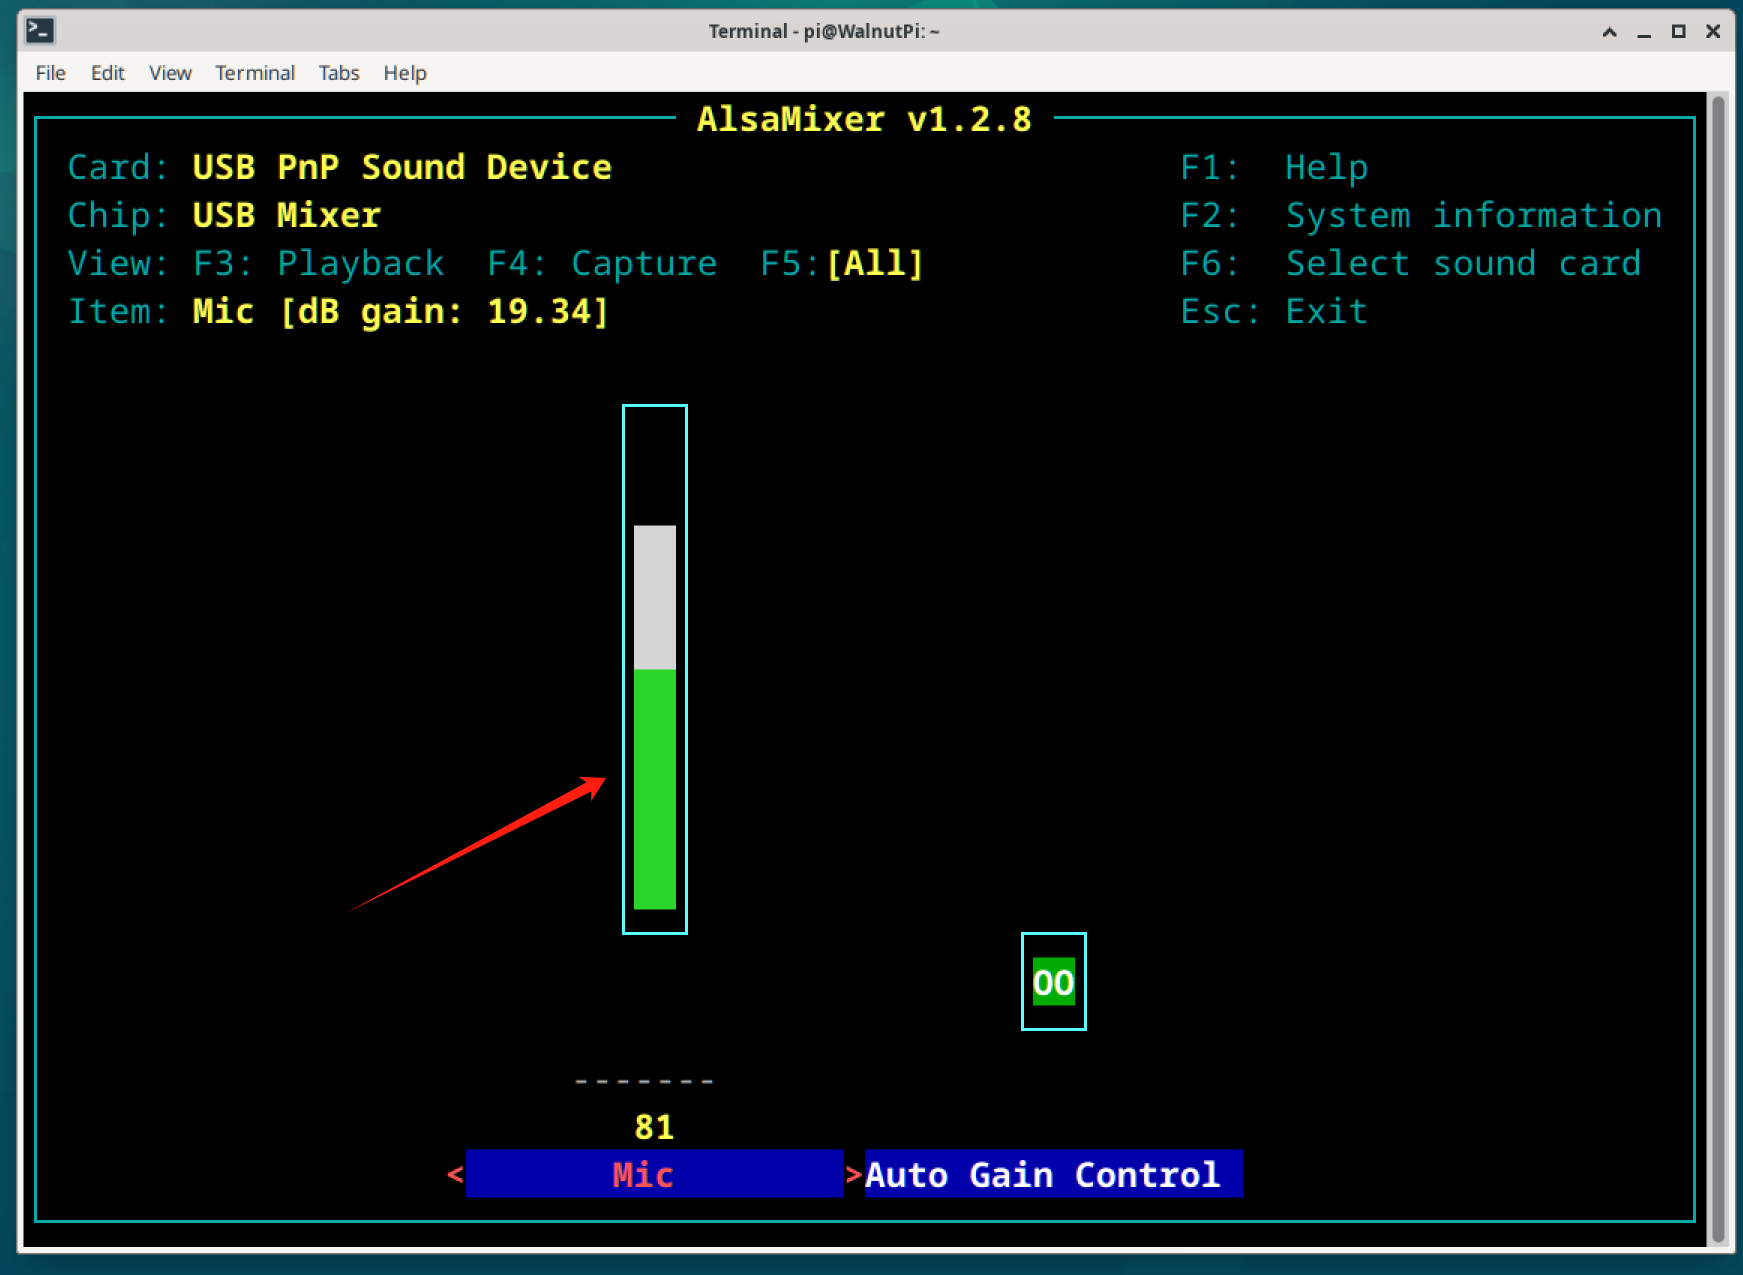
Run the recording command again, and you should hear a change in the recorded audio volume.
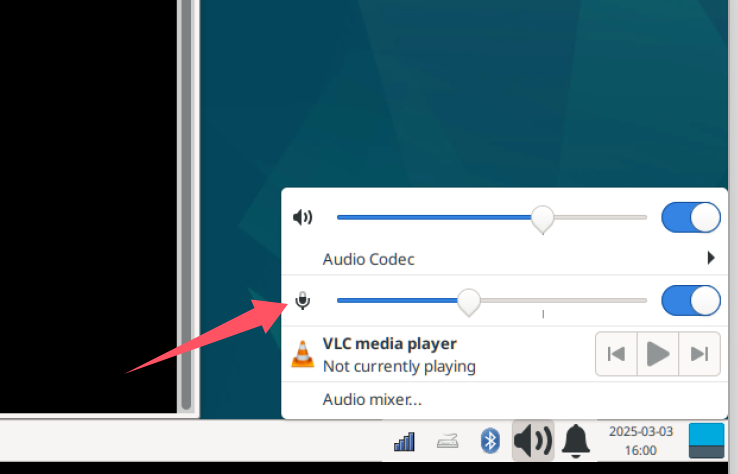
If you are using the Desktop edition, you can directly adjust the microphone volume via the audio icon in the bottom-right corner.