MIPI Camera
This tutorial requires Walnut Pi 2B system version V1.6.0 or later.
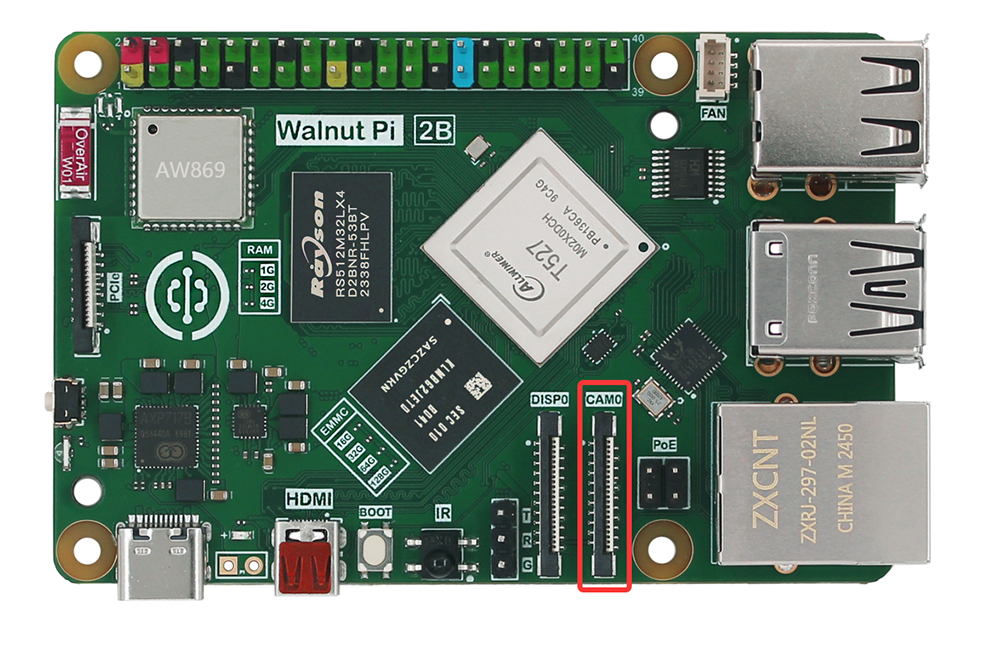
The Walnut Pi 2B has 1 MIPI CSI interface (1x4 lane CSI, 2 lane compatible), which can connect external MIPI cameras with support up to 4K@60fps. The interface definition is compatible with Raspberry Pi.
OV5647
The OV5647 is a commonly used MIPI camera on various development boards, featuring 5 megapixels and high cost-effectiveness. Click to buy >>
Specifications
| Specifications | |
|---|---|
| Sensor | OV5647 |
| Pixels | 5MP |
| Interface | MIPI CSI 2 lane |
| Field of View | 72° / 120° (Optional) |
| Connector | 22P-0.5mm FPC |
| Physical Specifications | |
|---|---|
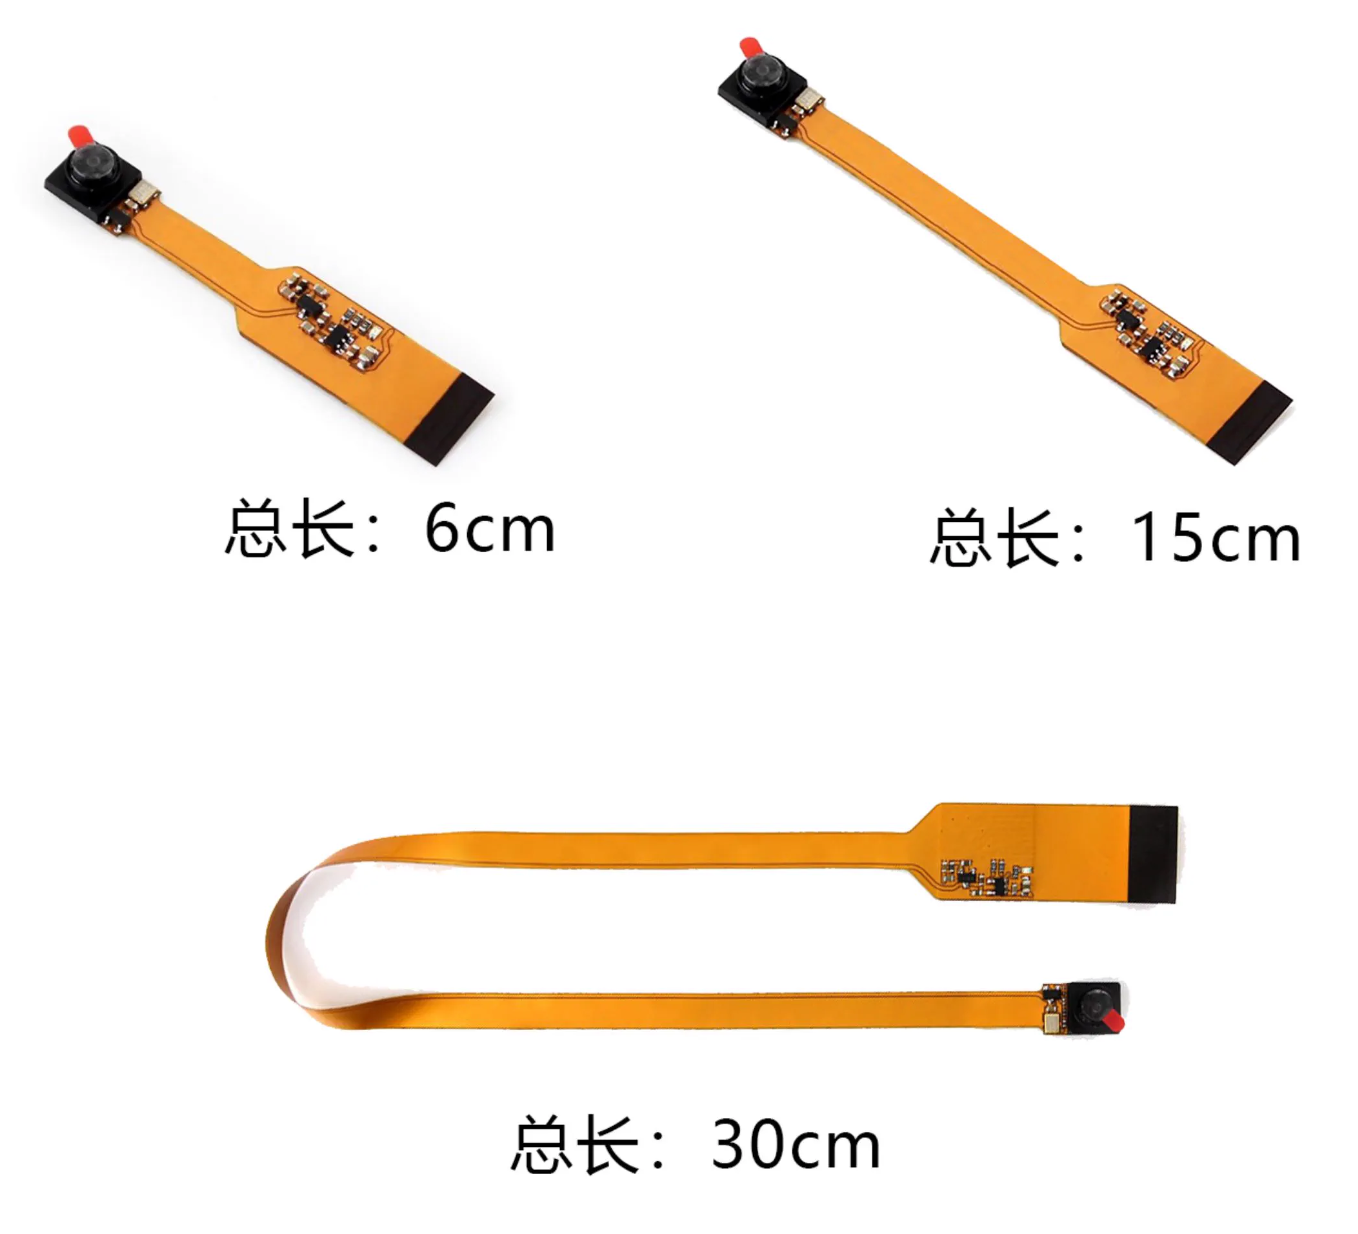
| Dimensions | 6cm/15cm/30cm cable length options |
Usage Instructions
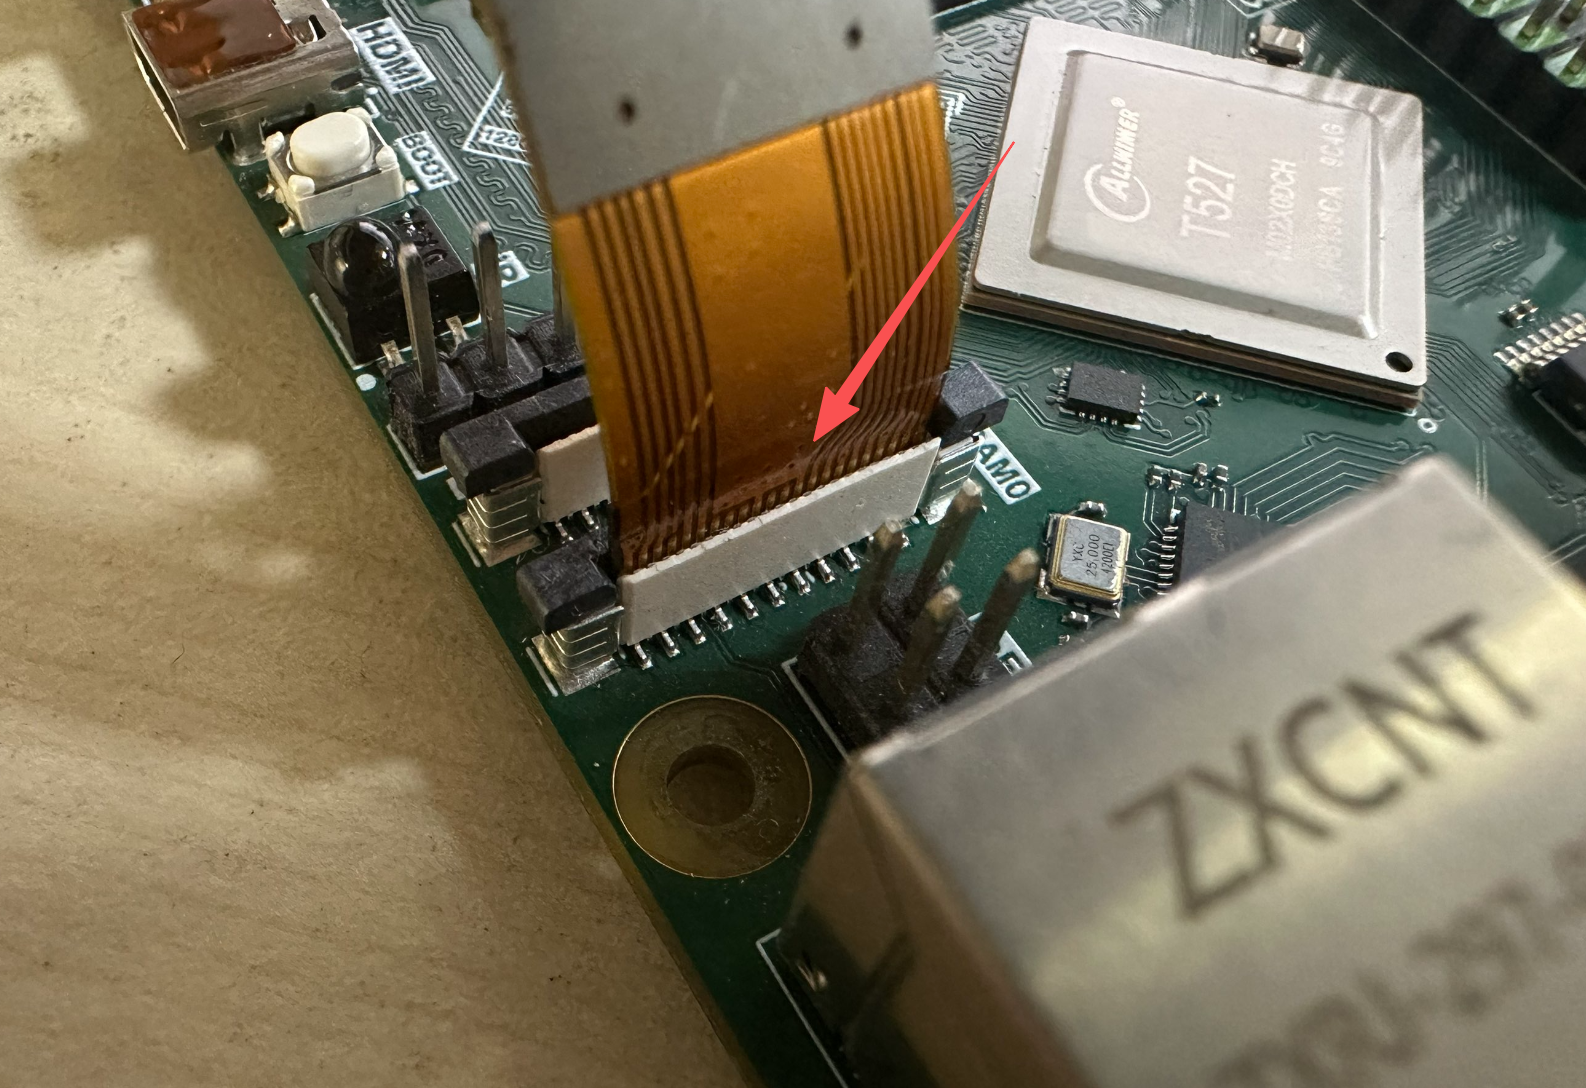
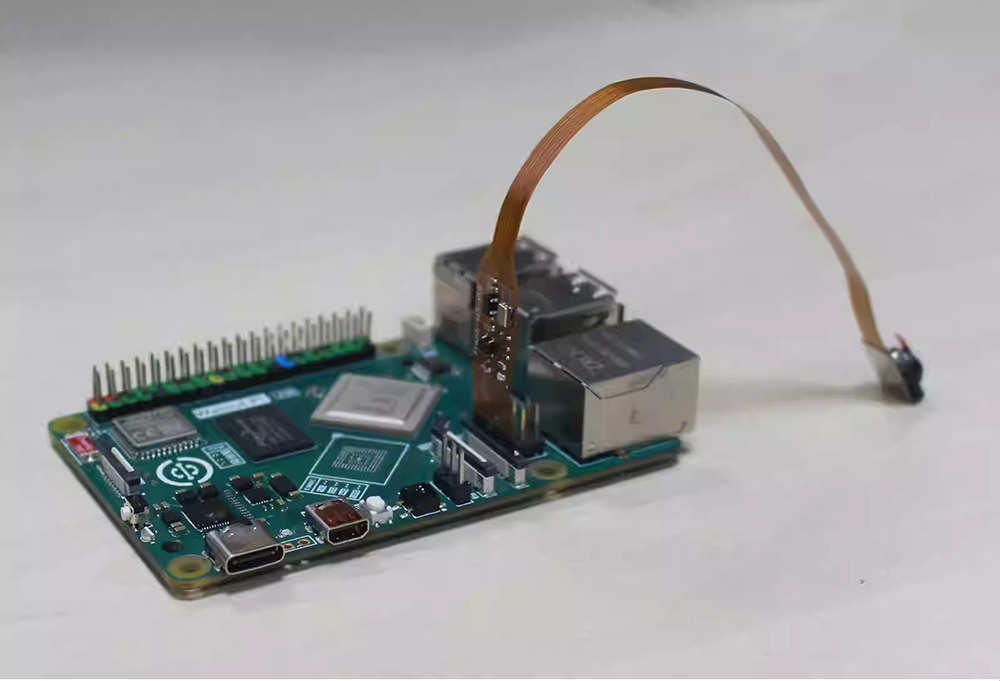
First, connect the camera to the Walnut Pi 2B's MIPI CSI interface. Ensure the gold fingers are oriented as shown below:
Then power on the Walnut Pi system. The system will automatically load the relevant drivers upon detecting the camera connection.
Getting Device Information
First, use v4l2-ctl to view the current MIPI camera device information. Install v4l—most Walnut Pi software can be installed via sudo apt install:
sudo apt install v4l-utils
After installation, run the following command to view the connected USB camera information:
v4l2-ctl --list-devices
Here, sunxi-vin() is the Walnut Pi 2B's MIPI camera, assigned as video0:
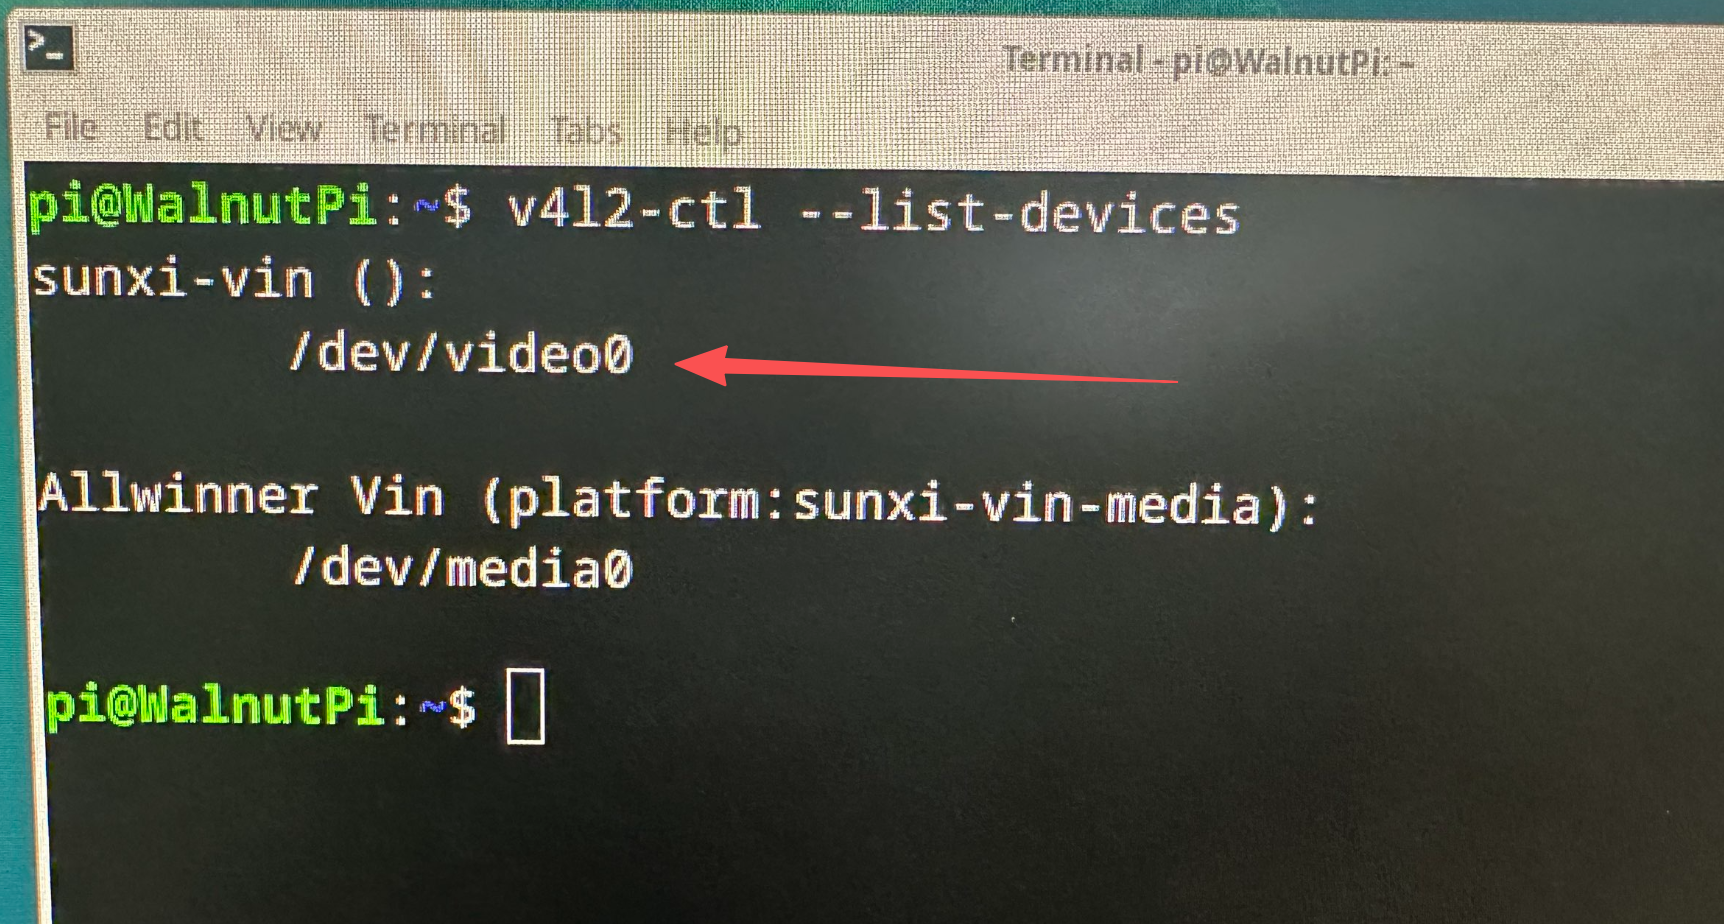
The current MIPI camera requires the chipset's ISP (Image Signal Processor) and only supports the video0 device. If both a USB camera and a MIPI camera are connected at boot, the system will prioritize assigning video0 to the USB camera, preventing the MIPI camera from functioning. Therefore, when using both MIPI and USB cameras simultaneously, connect the MIPI camera first, wait for the system to boot, and then plug in the USB camera to ensure the MIPI camera is assigned to video0.
Testing the Camera
You can quickly test it using OpenCV code:
'''
Experiment: MIPI Camera Usage
Platform: Walnut Pi 2B
Description: Read the MIPI camera using the OpenCV library
Note: Ensure the MIPI camera is assigned to video0, i.e., the first video device loaded at boot.
(If using a USB camera simultaneously, plug it in after the system boots)
'''

import cv2
from walnutpi import isp

cam = cv2.VideoCapture(0) # Open camera, confirm the device number. video0

# Declare that the camera uses NV12 format for transfer
cam.set(cv2.CAP_PROP_FOURCC, cv2.VideoWriter.fourcc('N','V','1','2'))
isp.start(camera=0) # Matches the camera device number above. video0

# Set resolution, defaults to 640x480 if not set
#cam.set(cv2.CAP_PROP_FRAME_WIDTH, 1920)
#cam.set(cv2.CAP_PROP_FRAME_HEIGHT, 1080)

while (cam.isOpened()): # Confirm it is opened

    retval, img = cam.read() # Read image from camera in real time

    cv2.imshow("Video", img) # Display the captured image in a window

    key = cv2.waitKey(1) # Window refresh interval of 1ms to prevent blocking

    if key == 32: # If the spacebar is pressed, quit
        break

capture.release() # Close the camera
cv2.destroyAllWindows() # Destroy the camera video window
Run the code to see the results as shown below:
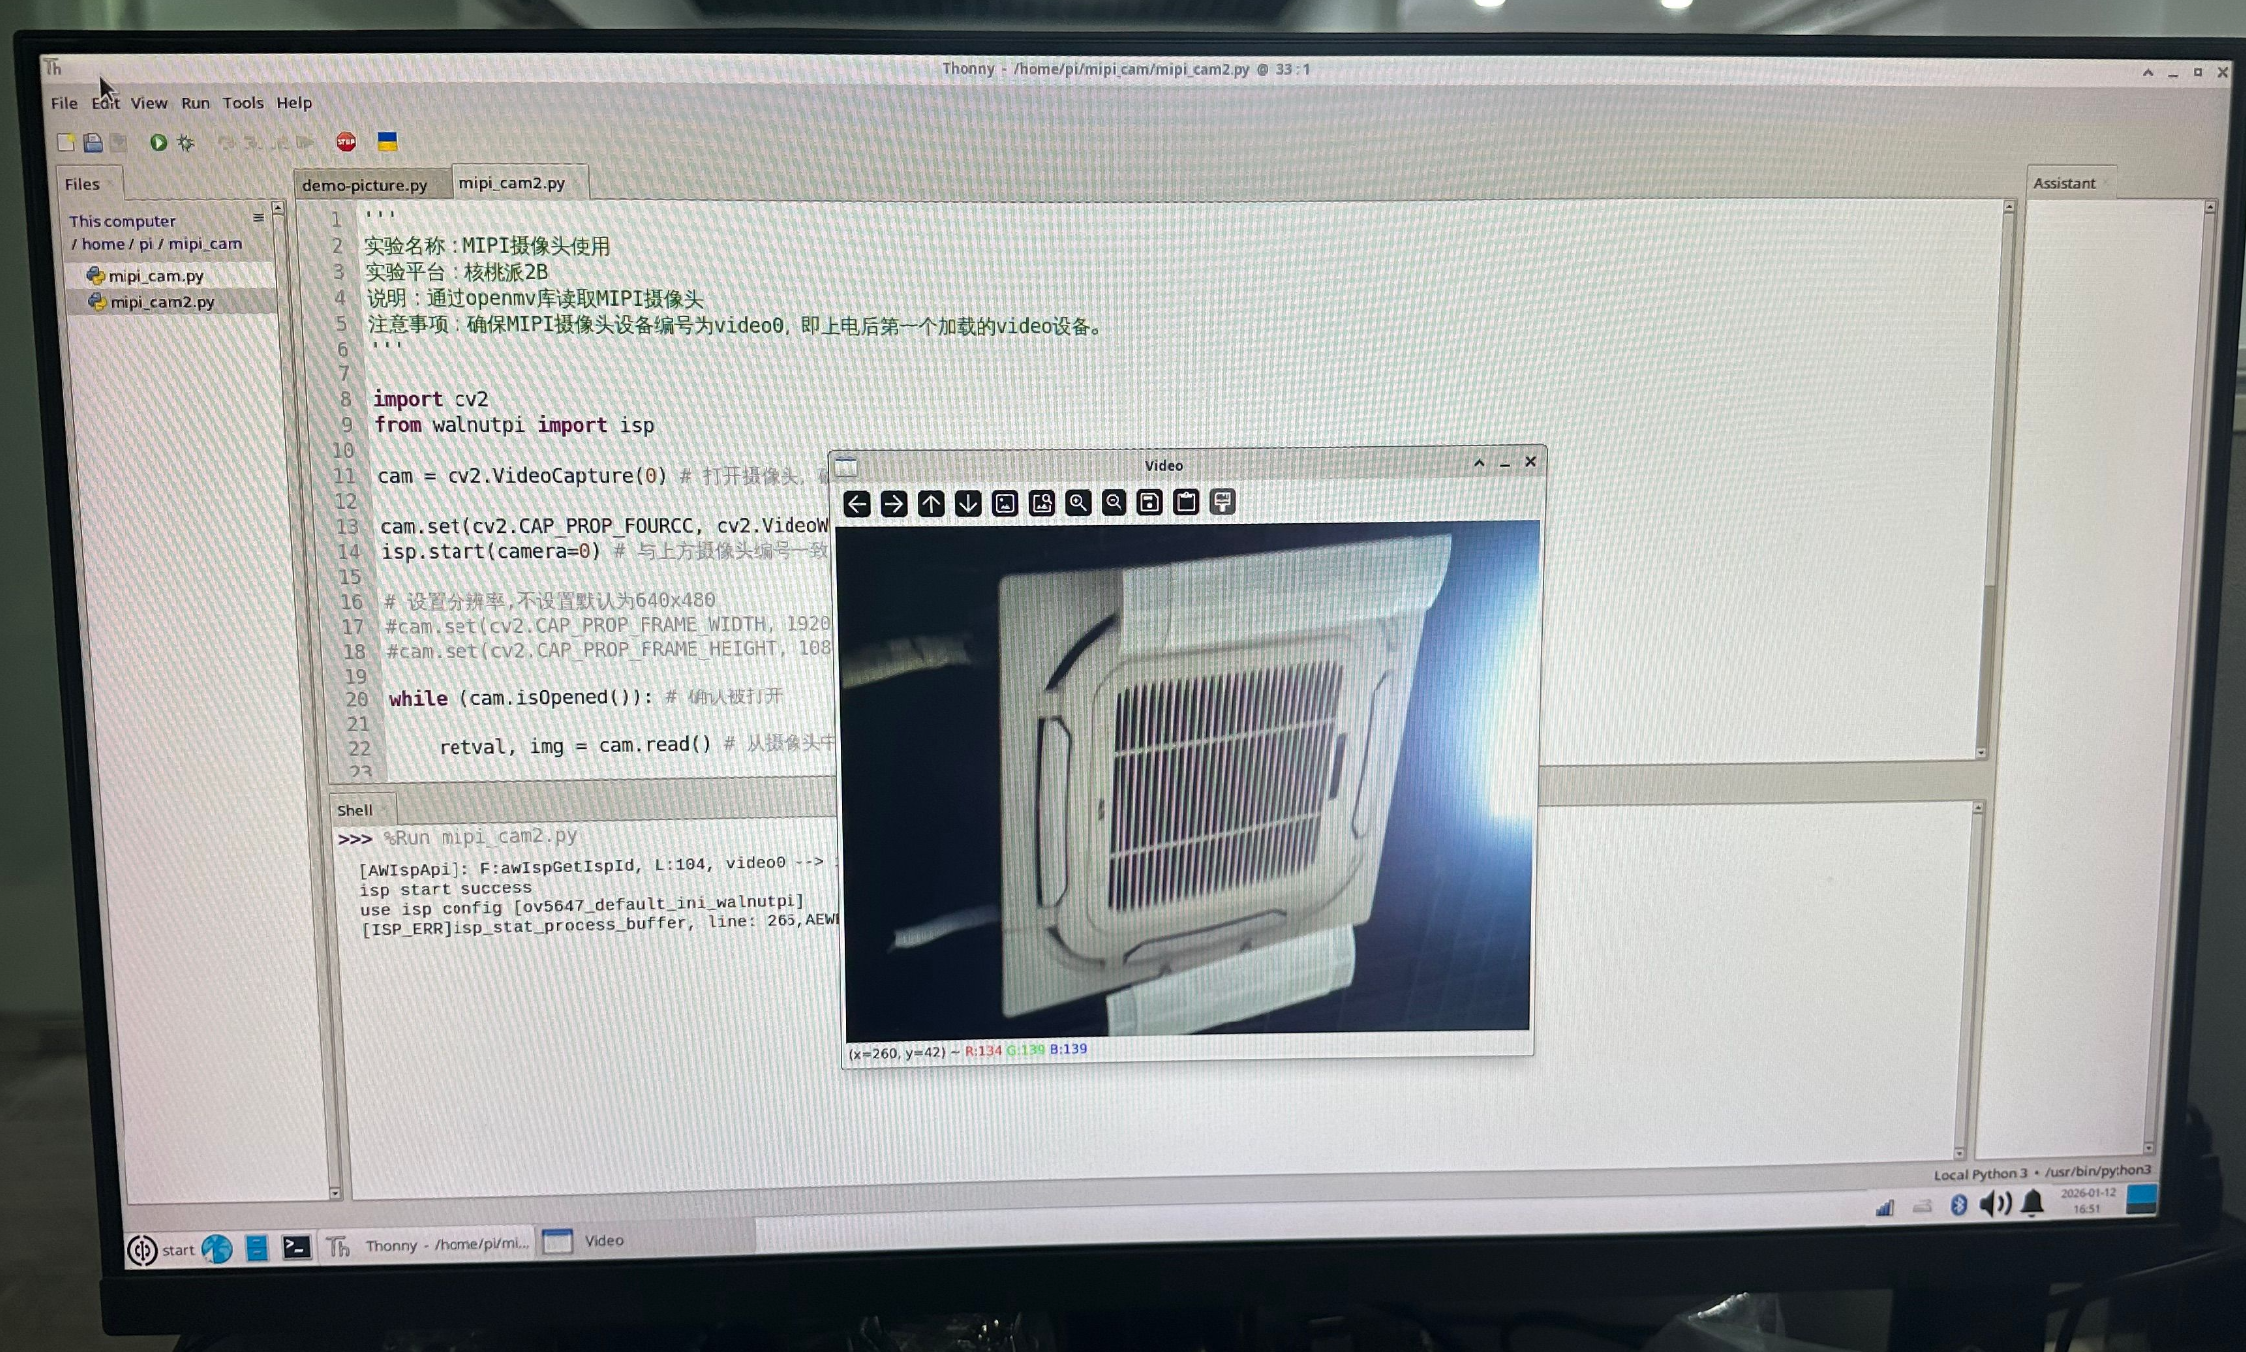
The main difference between the above code and OpenCV USB Camera is that the MIPI camera uses the T527's internal ISP (Image Signal Processor) to implement various functions. The Walnut Pi 2B system has encapsulated the ISP library and calls it with the following code:
Compared to a USB camera, the following additional code is needed:
- Import the ISP-related library:
from walnutpi import isp
- Declare that the camera uses NV12 format for transfer:
cam.set(cv2.CAP_PROP_FOURCC, cv2.VideoWriter.fourcc('N','V','1','2'))
- Enable ISP functionality:
isp.start(camera=0) # Matches the camera device number above. video0
For more OpenCV tutorial examples, see the OpenCV chapter.