USB Camera
The WalnutPi system has built-in USB camera drivers. Most USB cameras on the market are supported. The following model is used in this guide:
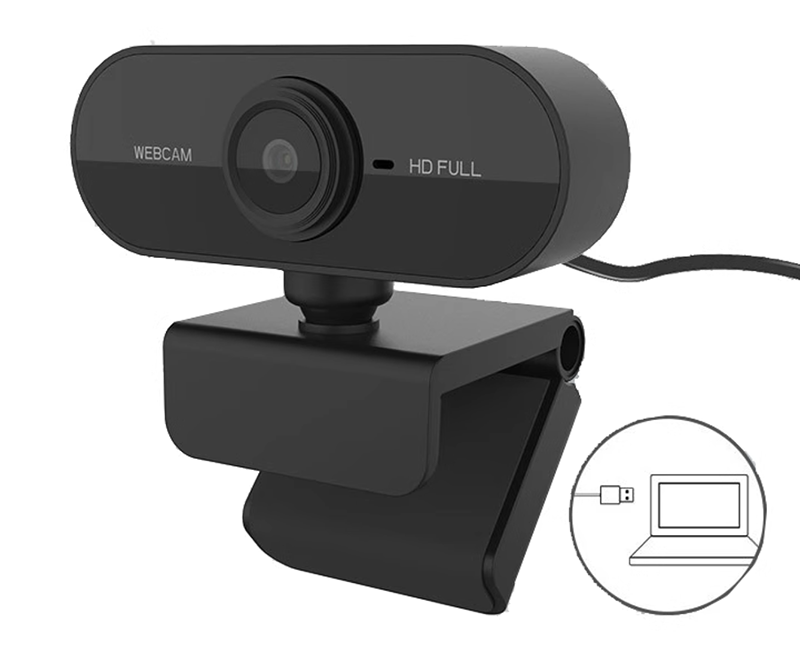
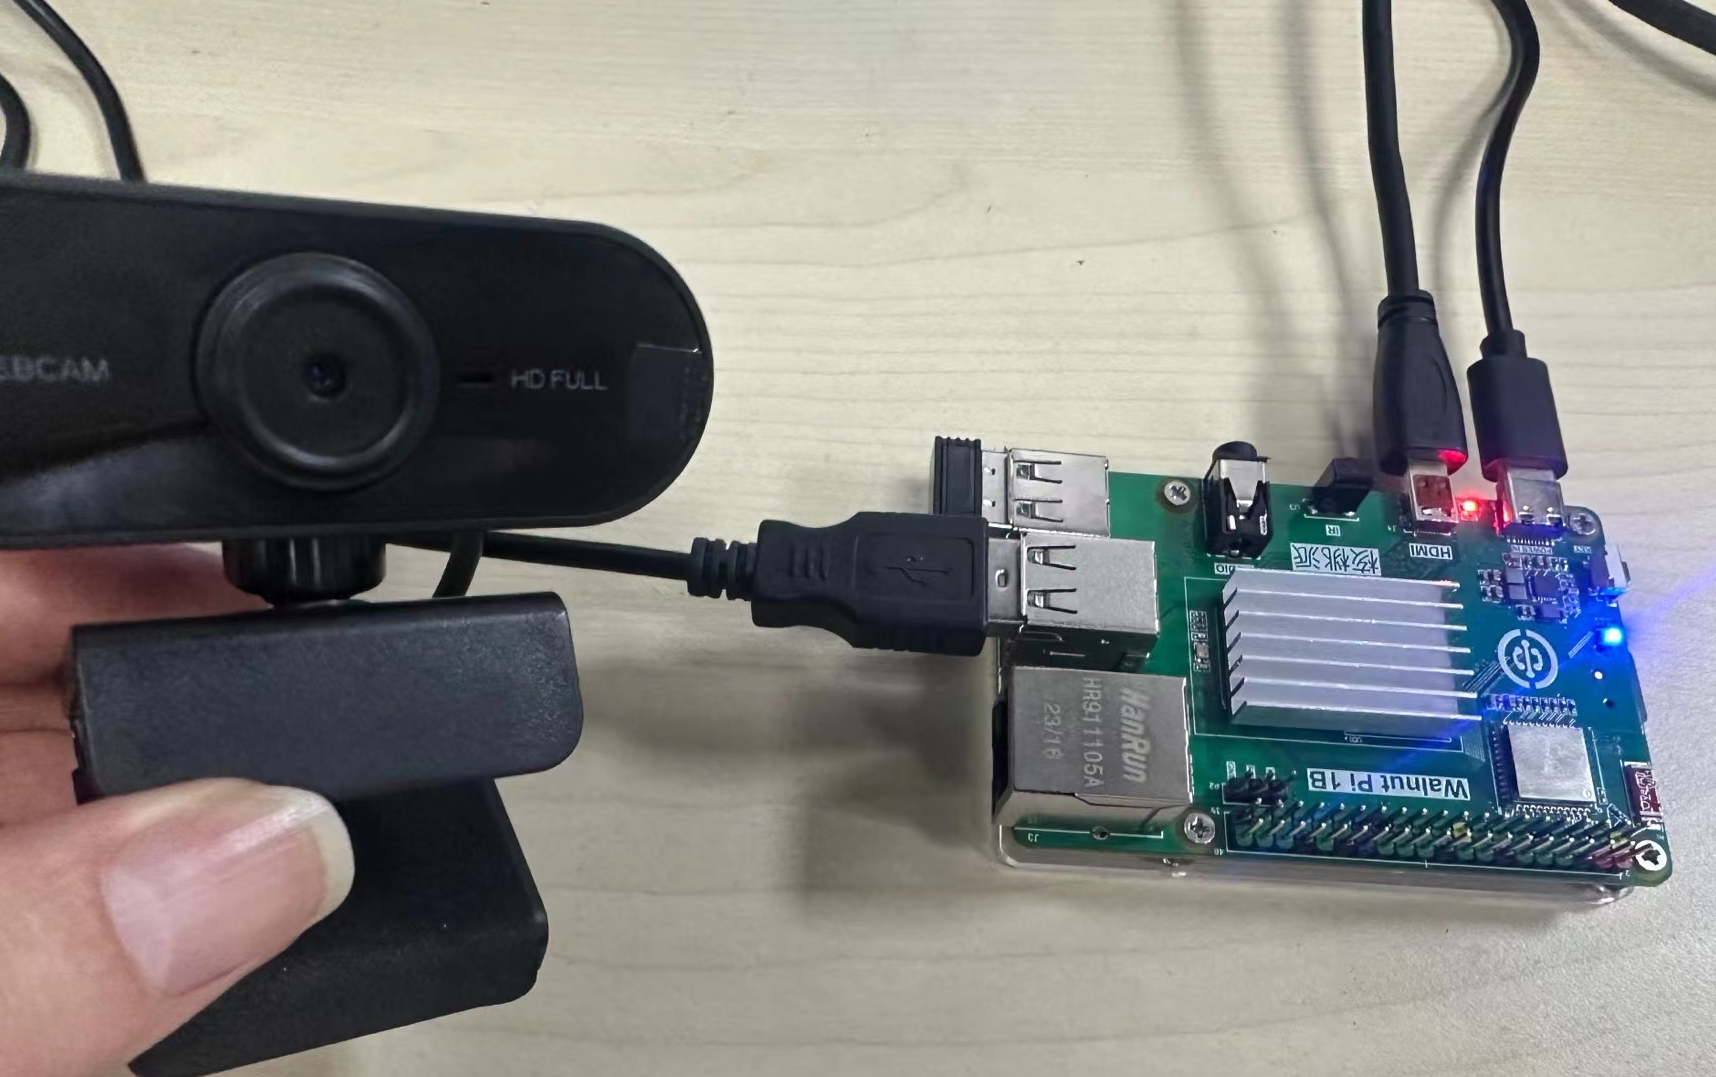
Simply plug it into one of the WalnutPi's USB ports.
Getting Device Information
First, use v4l2-ctl to view the current USB camera device information. You need to install v4l. Most WalnutPi software can be installed via sudo apt install:
sudo apt install v4l-utils
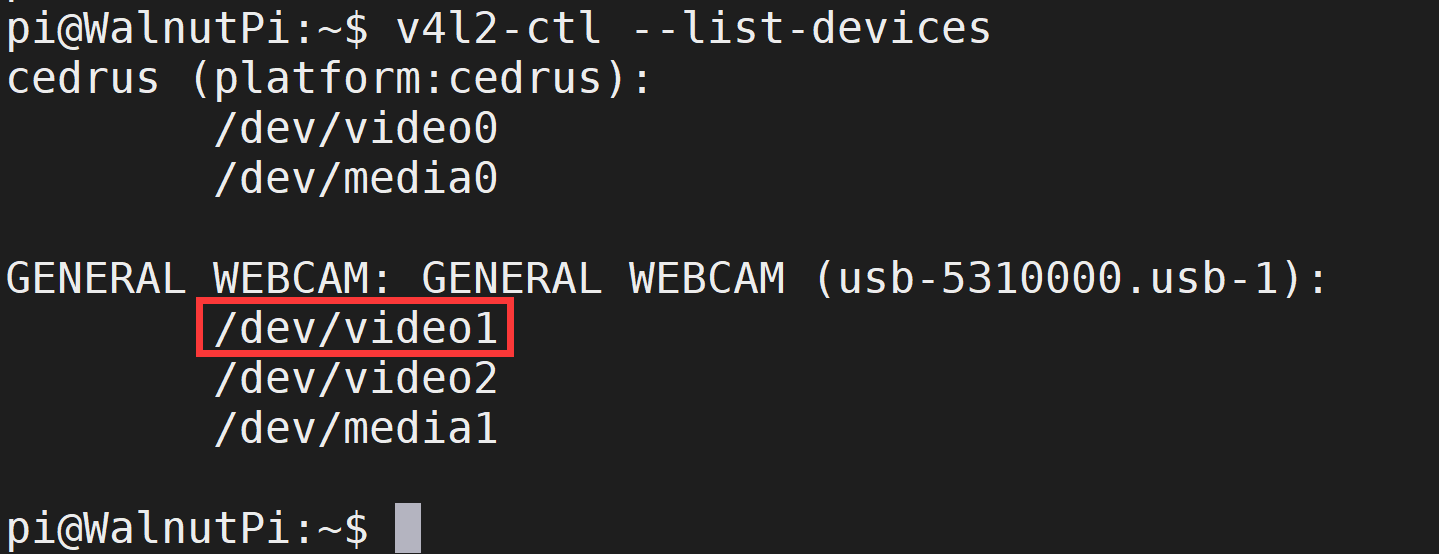
After installation, run the following command to view the inserted USB camera information:
v4l2-ctl --list-devices
You can see that this camera has multiple video devices, usually the first one. Here it is: video1
Testing with mjpg-streamer
Download the Project
Project URL: https://github.com/jacksonliam/mjpg-streamer
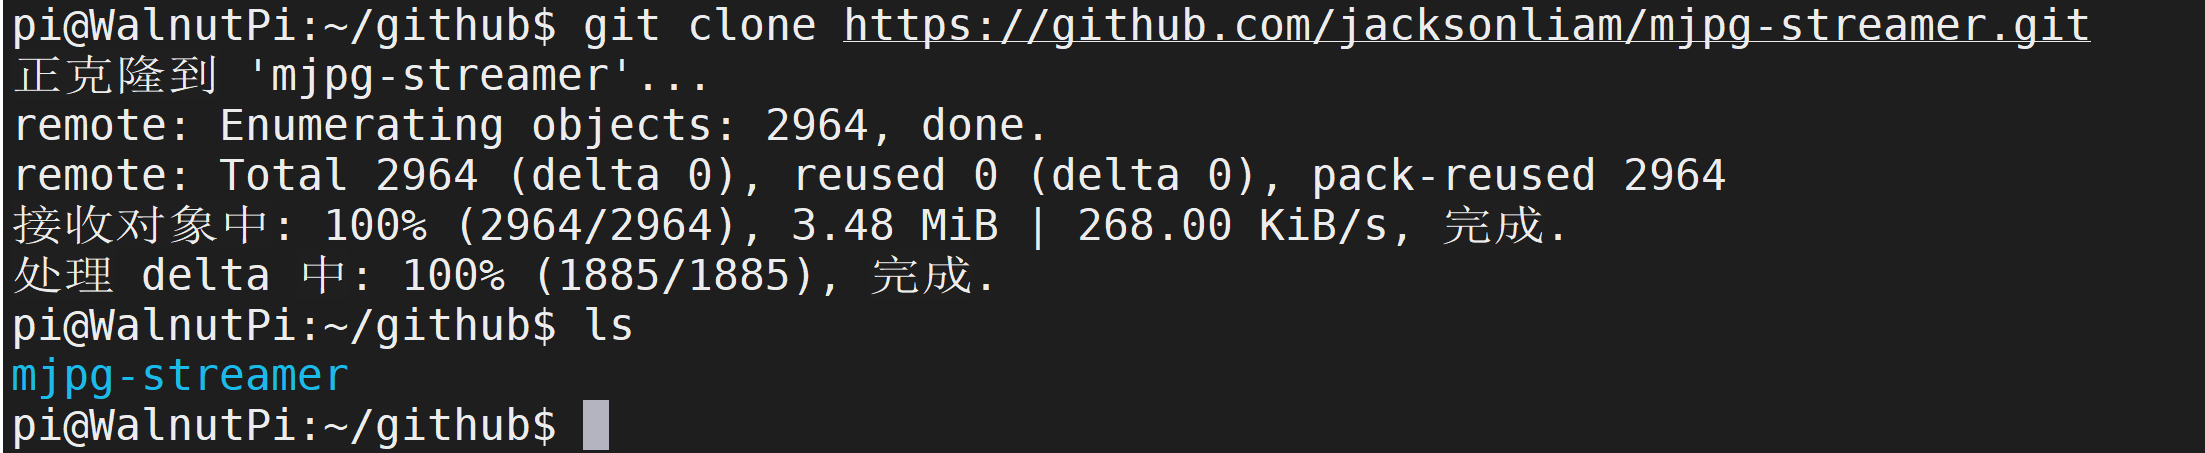
Here we use git to download, making future updates easier.
git clone https://github.com/jacksonliam/mjpg-streamer.git
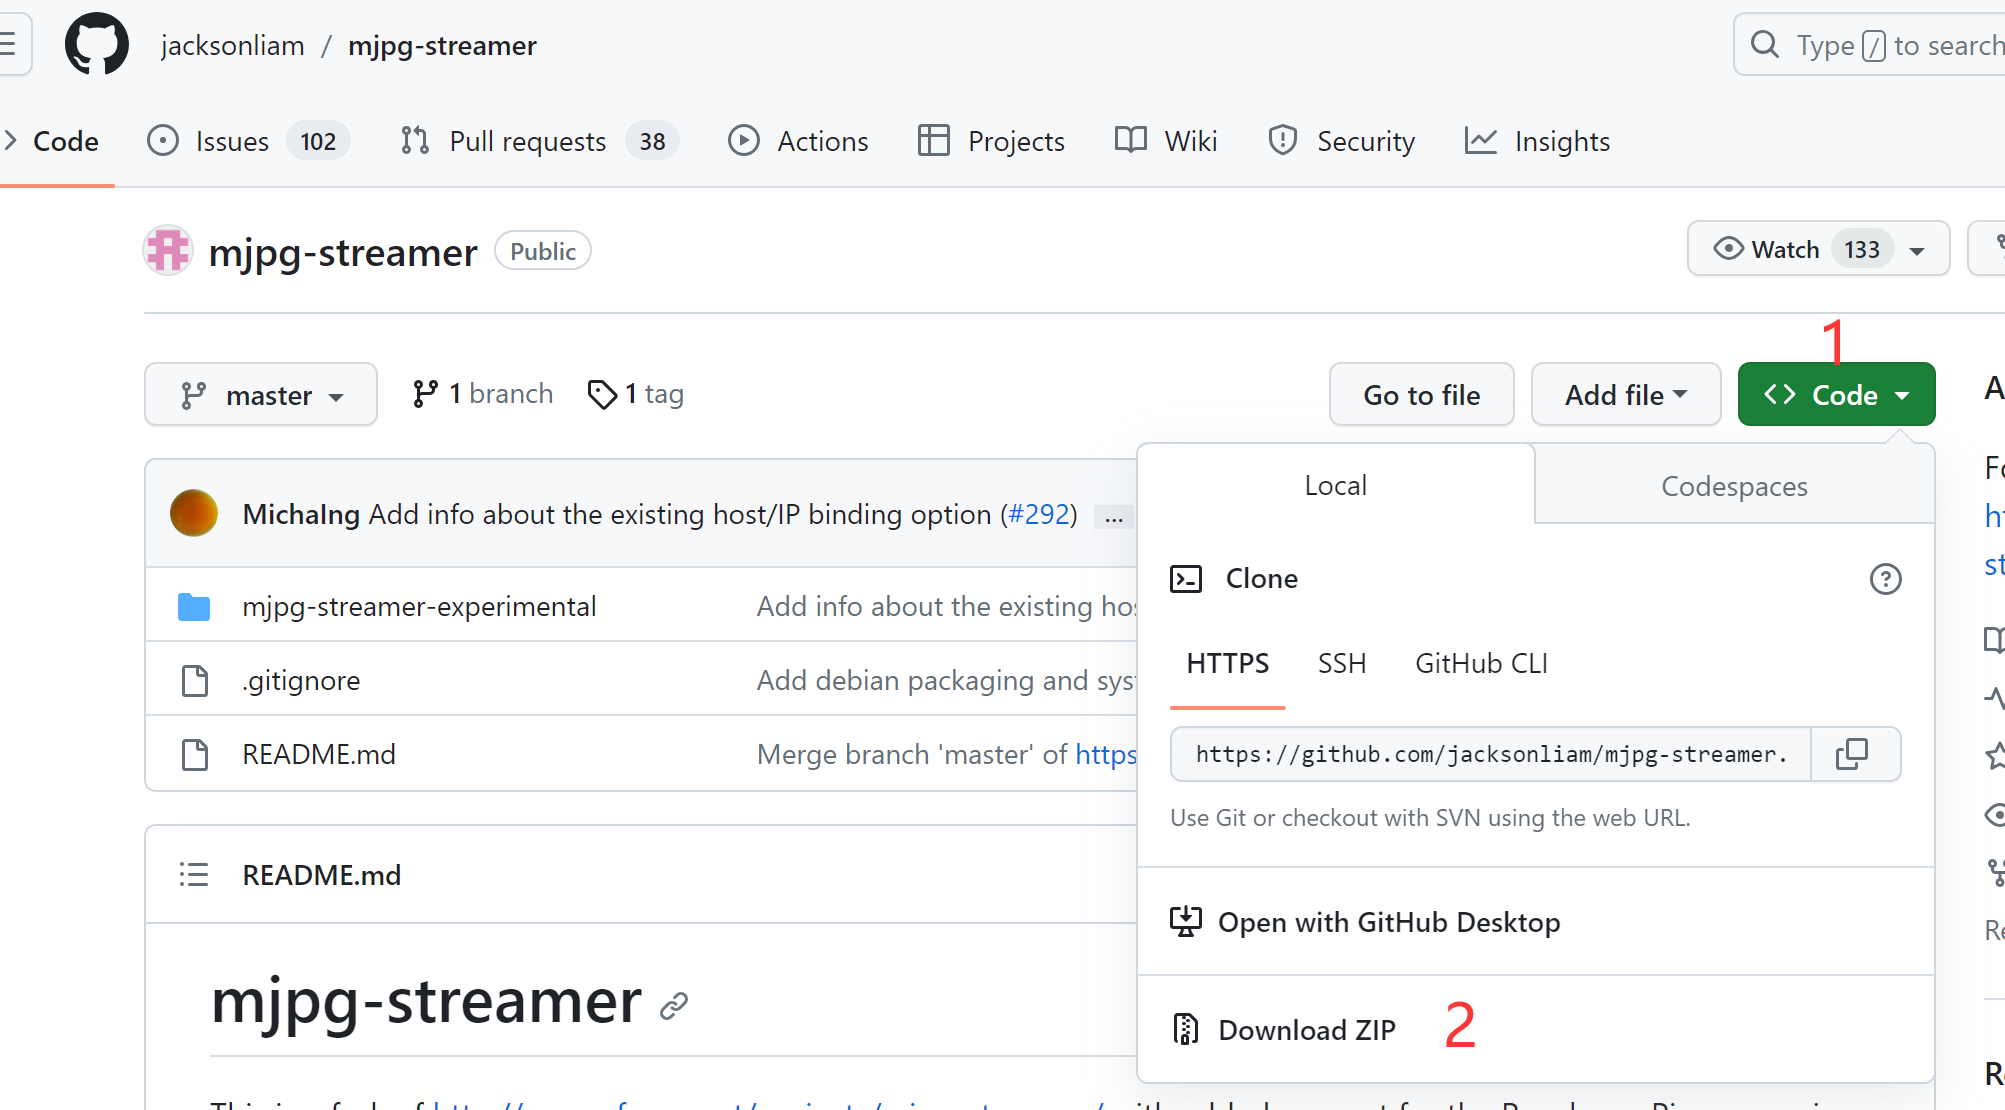
If you don't have access to GitHub, you can open the project URL in a browser, click Code -- Download Zip to download the project files, then copy them to the WalnutPi.
Also install the required dependencies:
sudo apt install -y cmake libjpeg62-turbo-dev
Compile and Install
Next, execute the following commands to compile and install mjpg-streamer:
cd mjpg-streamer/mjpg-streamer-experimental
make -j4
sudo make install
Start Testing
After installation, enter the following command to start mjpg_streamer. Note that we use video1 here; adjust according to your actual device number.
export LD_LIBRARY_PATH=.
sudo ./mjpg_streamer -i "./input_uvc.so -d /dev/video1 -u -f 30" -o "./output_http.so -w ./www"
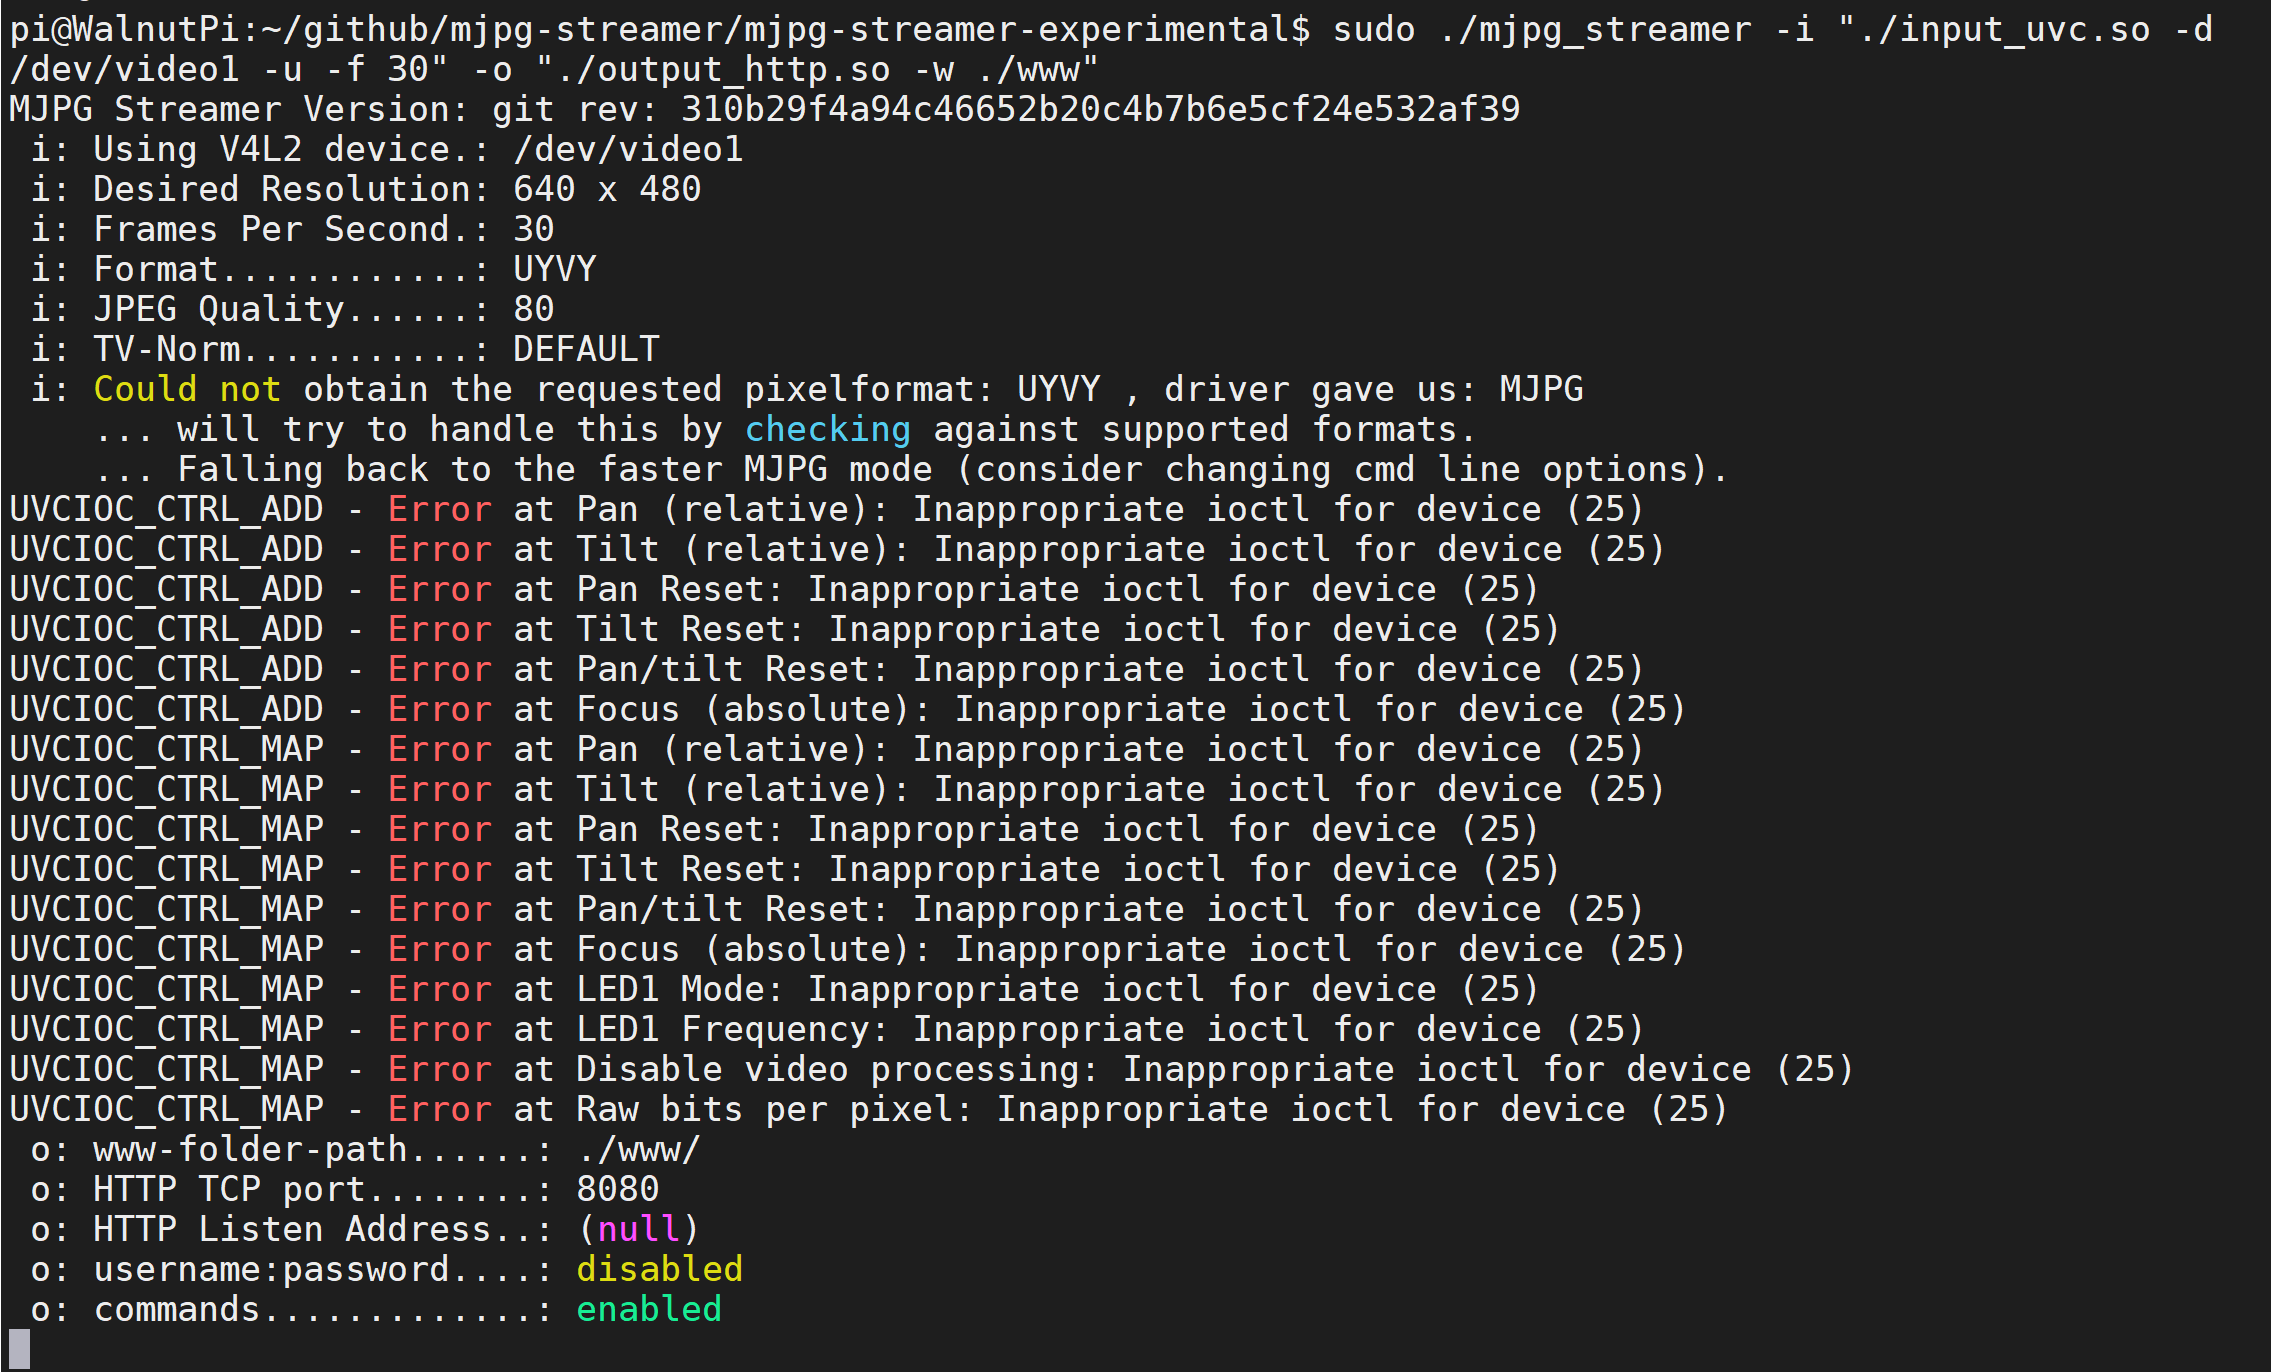
After a successful start, the output looks like the following. Some error messages can be ignored:
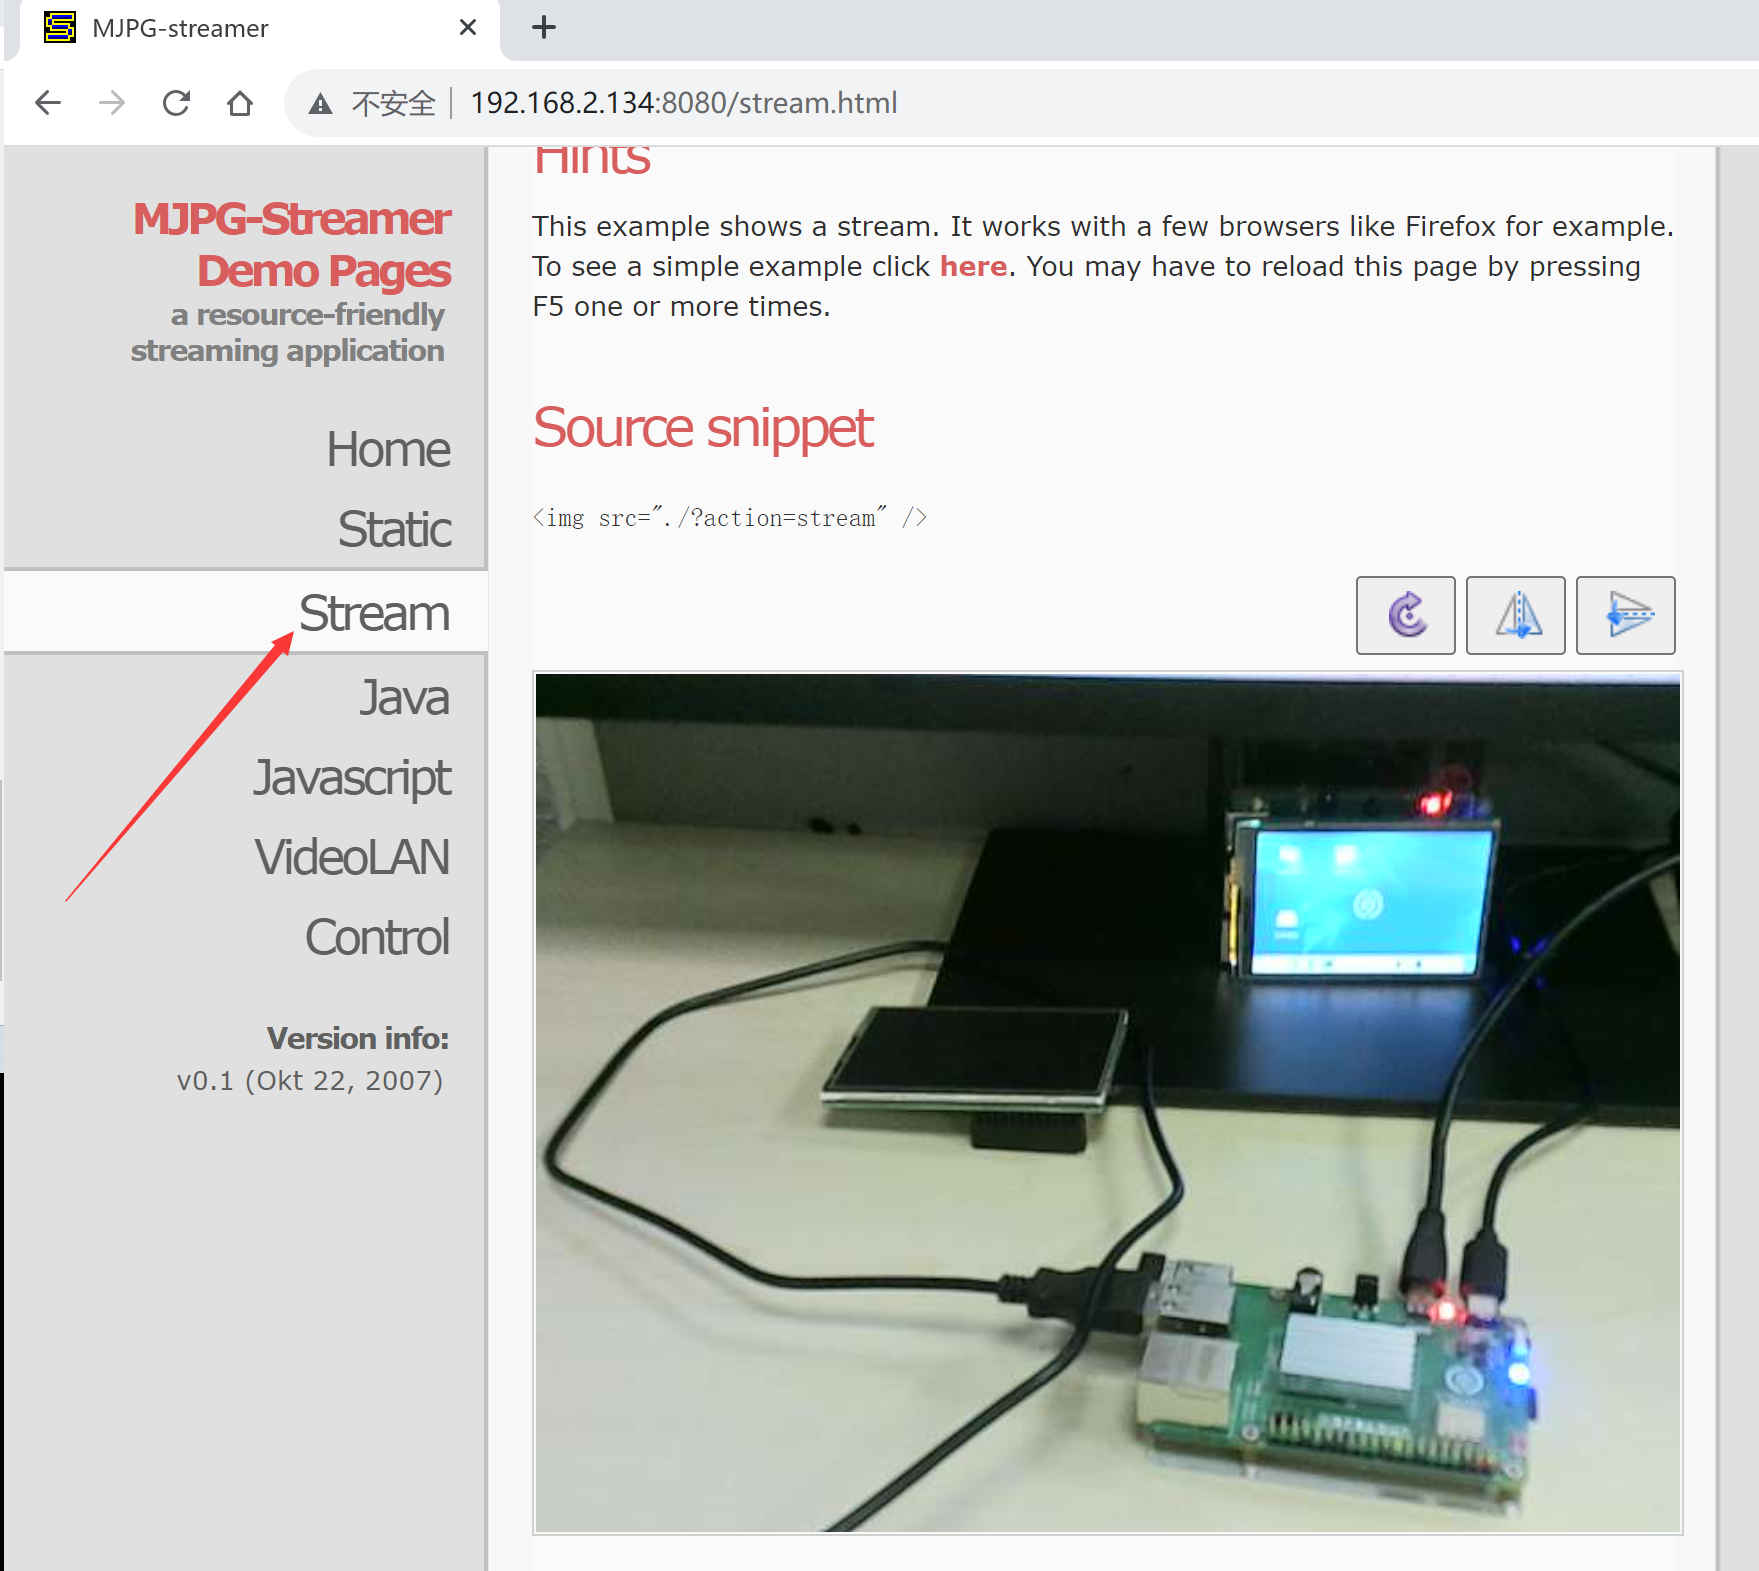
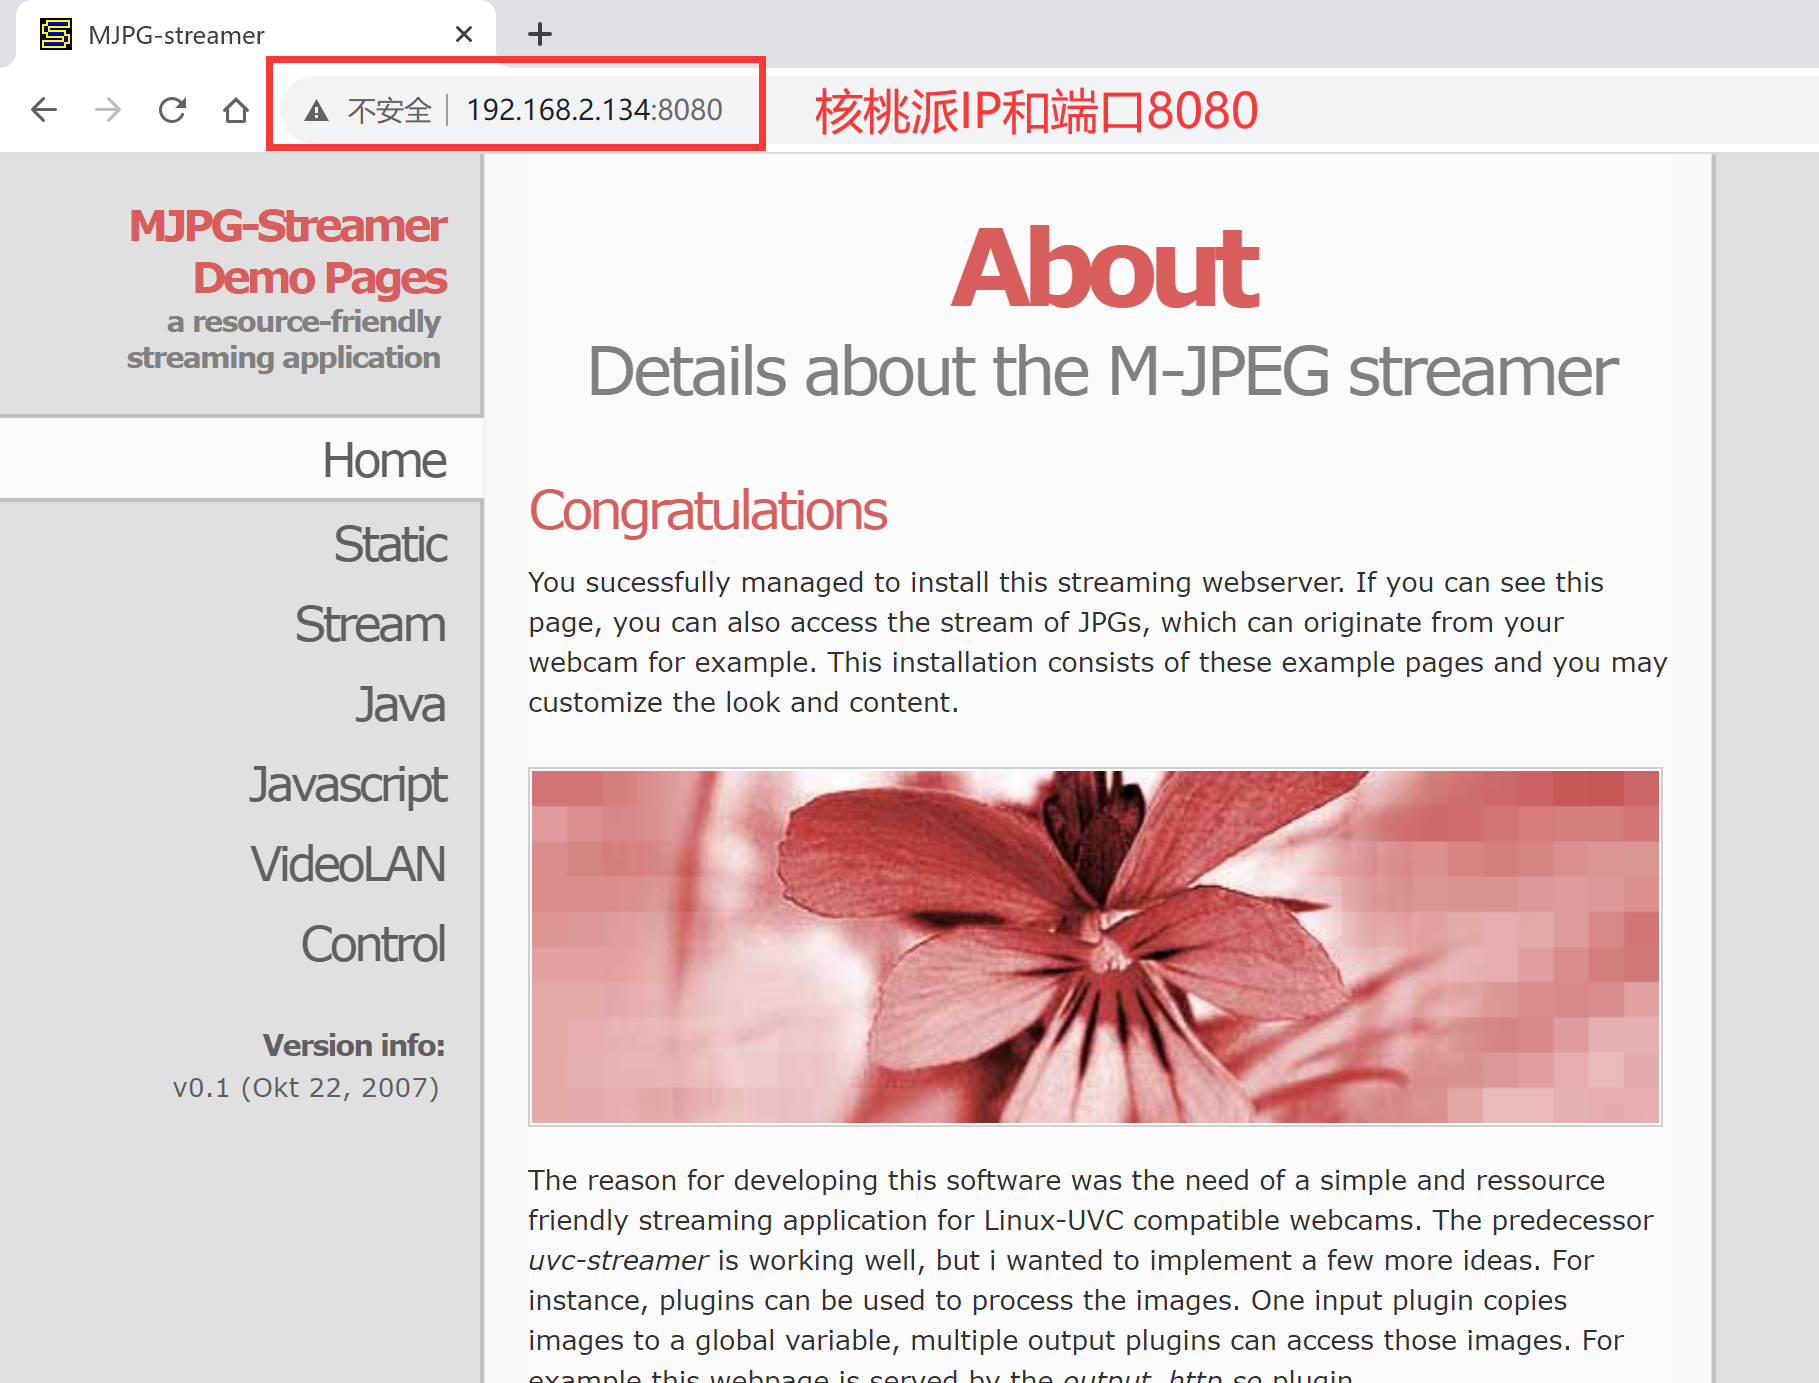
On a computer on the same LAN (usually under the same router), open a browser and enter the WalnutPi's IP address and port 8080, e.g., 192.168.2.134:8080. Open the webpage and you will see the mjpg_streamer homepage. You can also do this directly in the browser on the WalnutPi's desktop system.
Click Stream to see the real-time video stream captured by the camera.